Hero · Priest · Skipping stone · Dragon · Lily pad · MirrorScreen 1 of 5
Hint 1
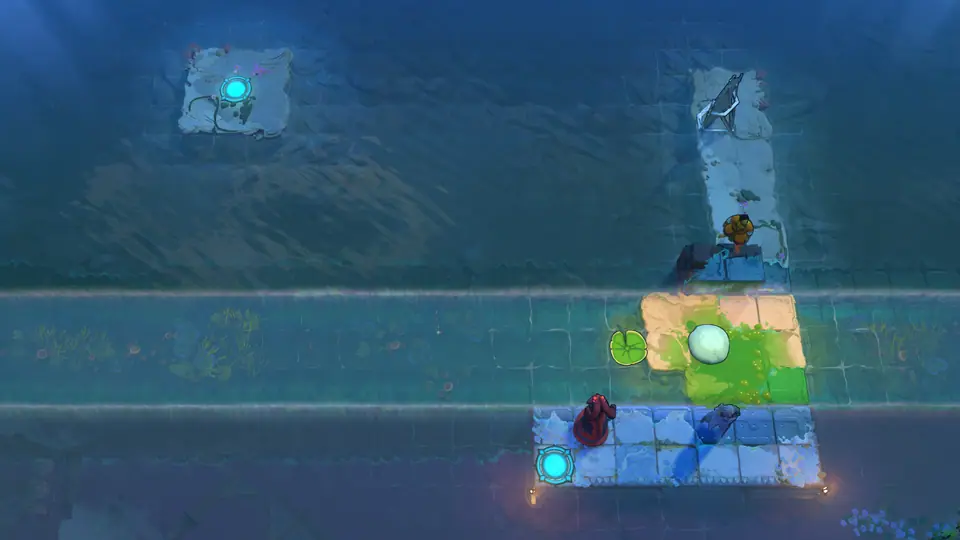
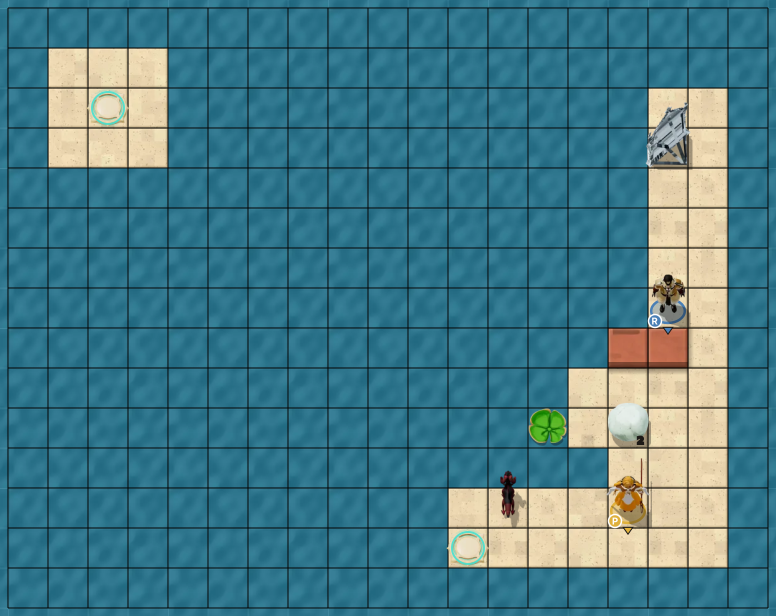
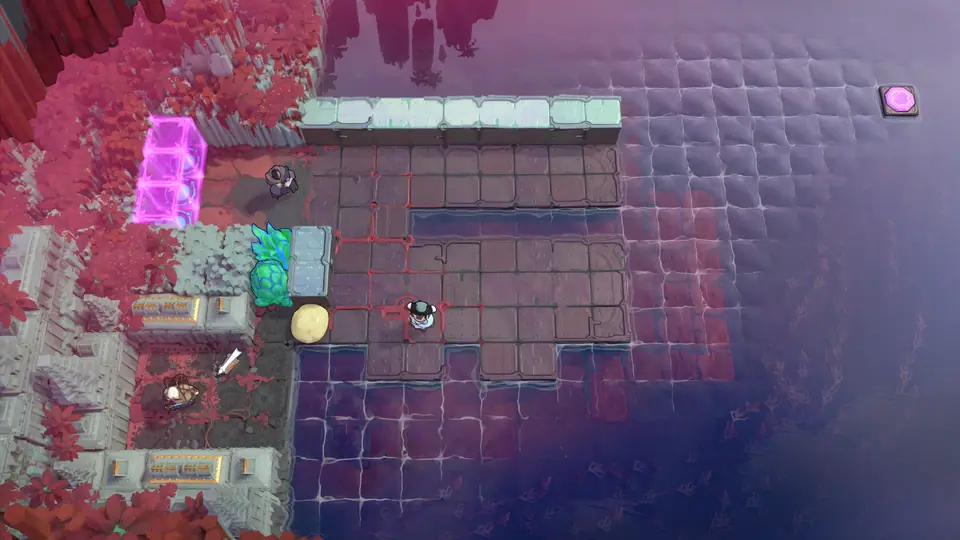
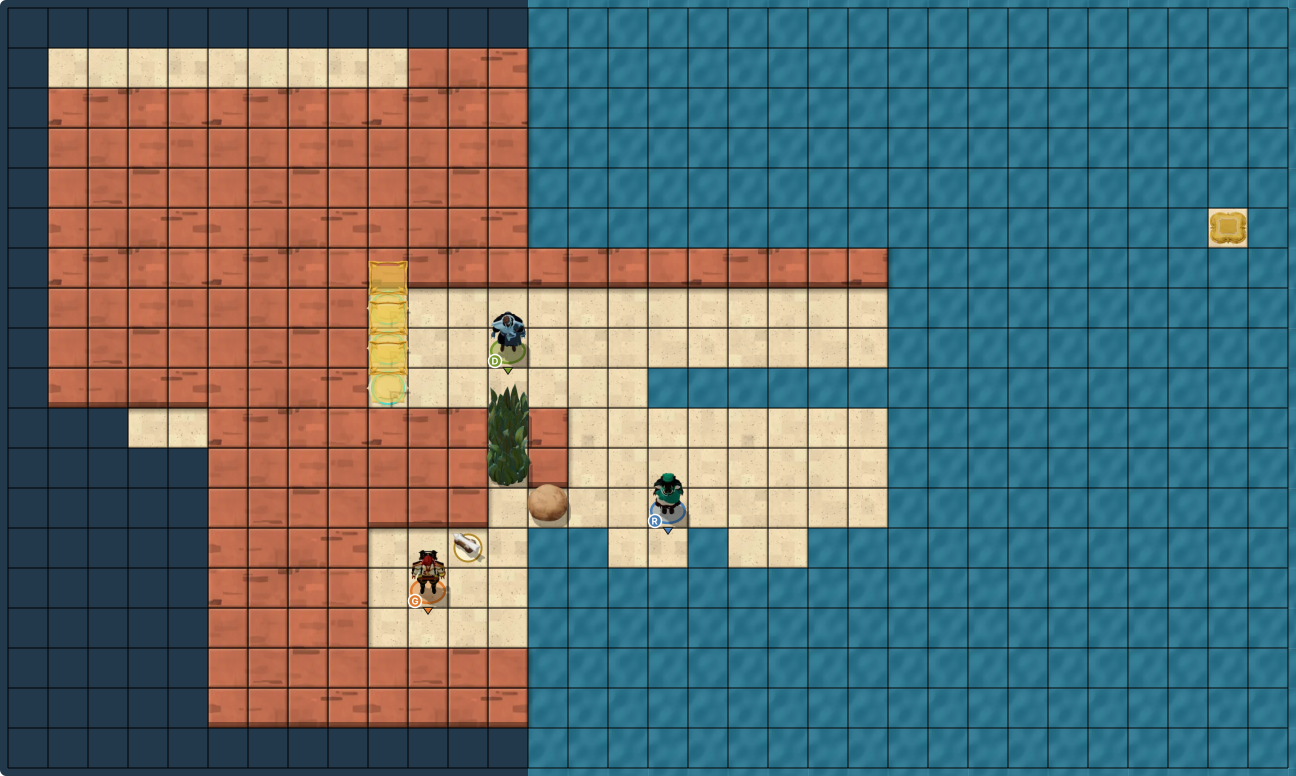
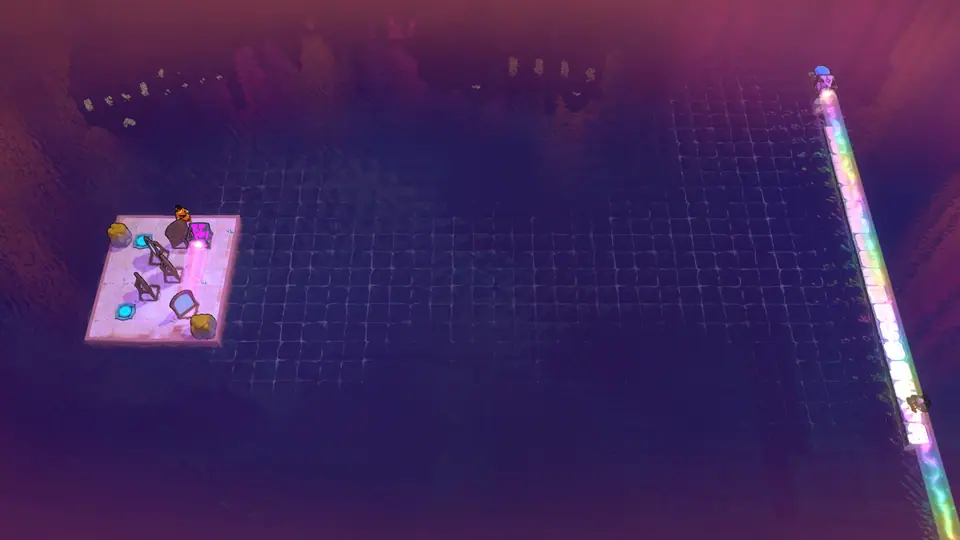
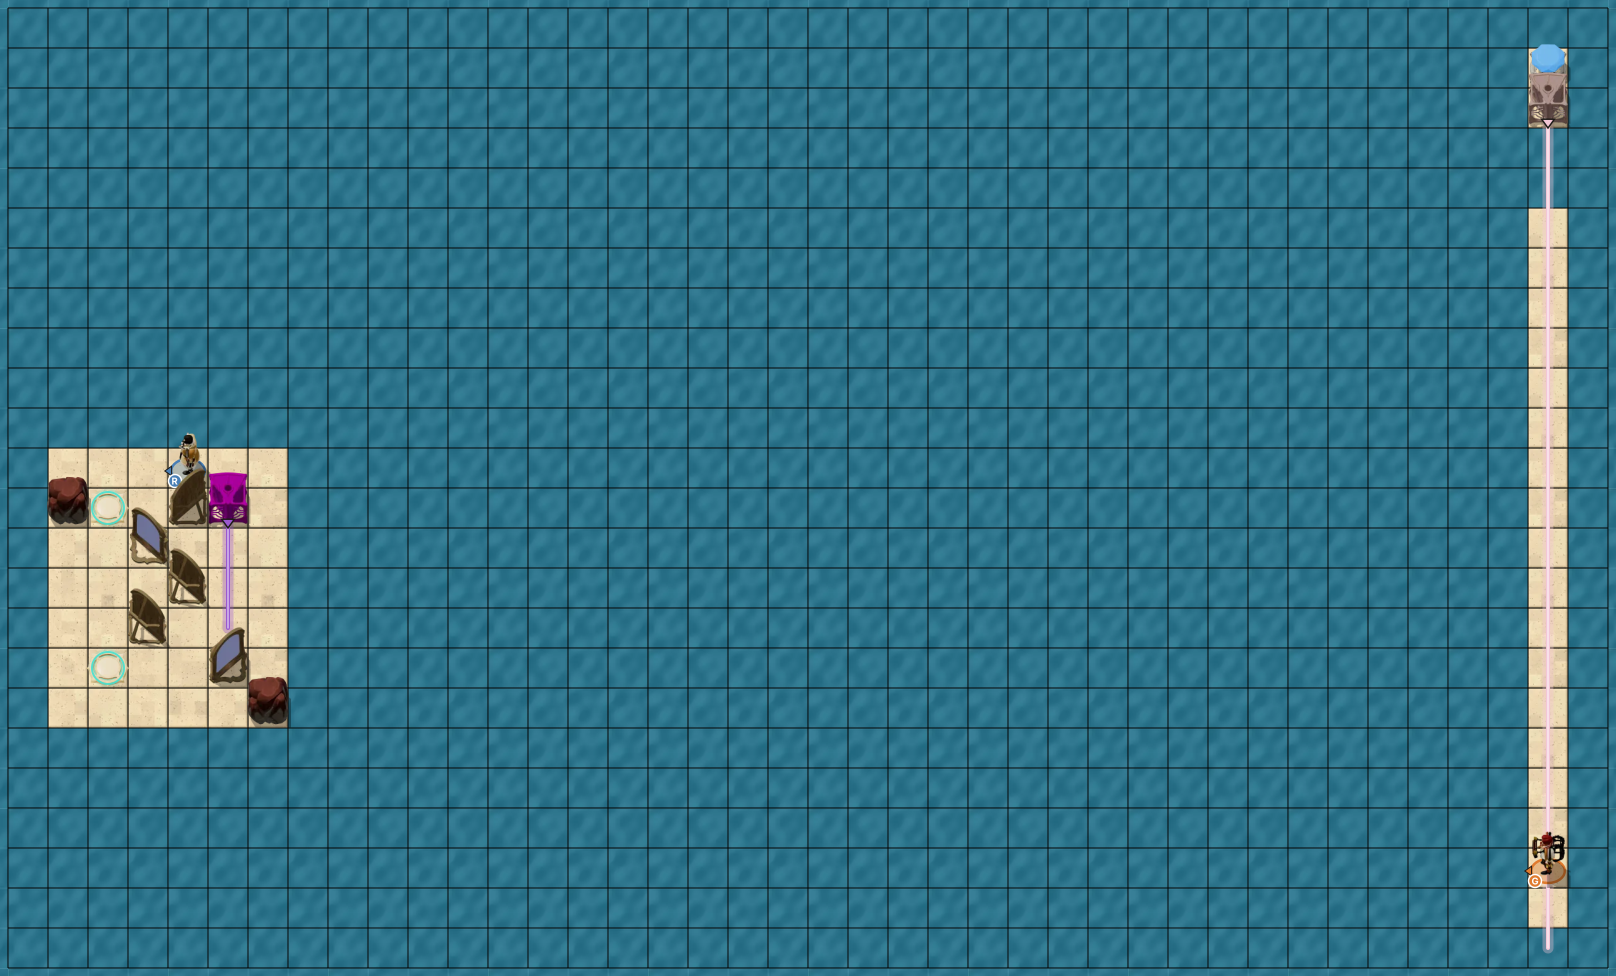
A Priest struck by dragon breath floats over water. The Hero can push the dragon, and the magic mirror can teleport it.
Hint 2
Push the dragon onto the lily pad so it breathes up the water: the Priest walks up through its breath. Then skip the stone along the row just below the pad: passing it, the stone kicks the pad drifting up past the mirror.
Hint 3
Activate when the dragon is three tiles left of the mirror: it lands three tiles above it, breathing left along the top row, and the Priest walks across to the top left exit.
Full solution95 steps
Verified in the game · build 26006400 · Oct 20, 2026
Use the dragon's breath as a bridge for the Priest twice: on the lily pad, then teleported by the mirror.
Move as soon as you can; wait only where marked.
Hero→ ·↑×5 ·← ·↓×2
Priest→ ·↑×3 ·→ ·↓×4
Hero→ ·↓×5 ·←×3 ·↓ ·→
Hero↓×3 ·←×4 ·↑ ·→×3 ·↓ ·→ ·↑×2
Hero↓ ·→×2 ·↑×3 ·← ·↓ ·←×2
Priest↑×4 ·←×4 ·↑×7
Hero↑ ·→×3 ·↓×2 ·←×2
Hero wait for the lily pad to reach 5 tiles above its starting position, activate
Hero: right 1, up 5, left 1, down 2. Priest: right 1, up 3, right 1, down 4. Hero: right 1, down 5, left 3, down 1, right 1, down 3, left 4, up 1, right 3, down 1, right 1, up 2, down 1, right 2, up 3, left 1, down 1, left 2. Priest: up 4, left 4, up 7. Hero: up 1, right 3, down 2, left 2, wait for the lily pad to reach 5 tiles above its starting position then activate. Priest: left 11. Hero: down 2, left 4.
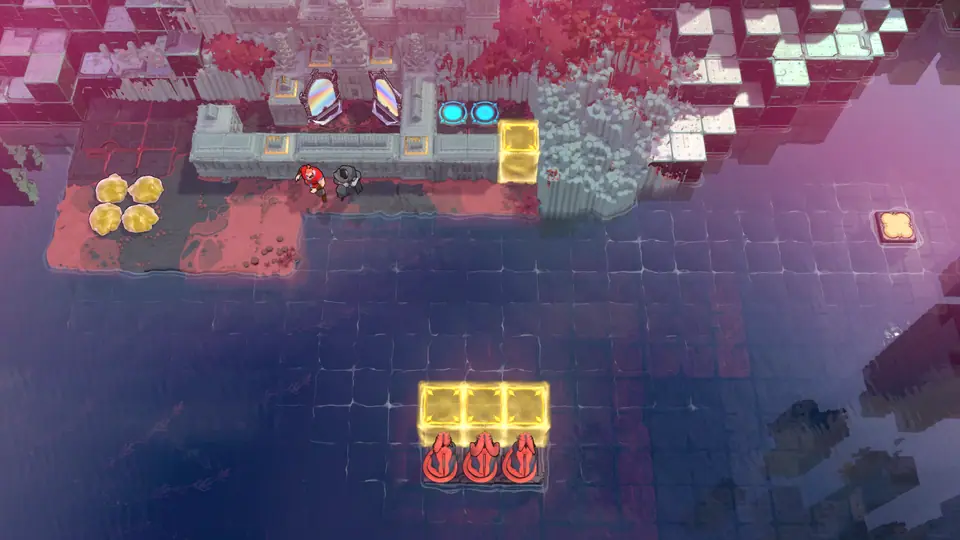
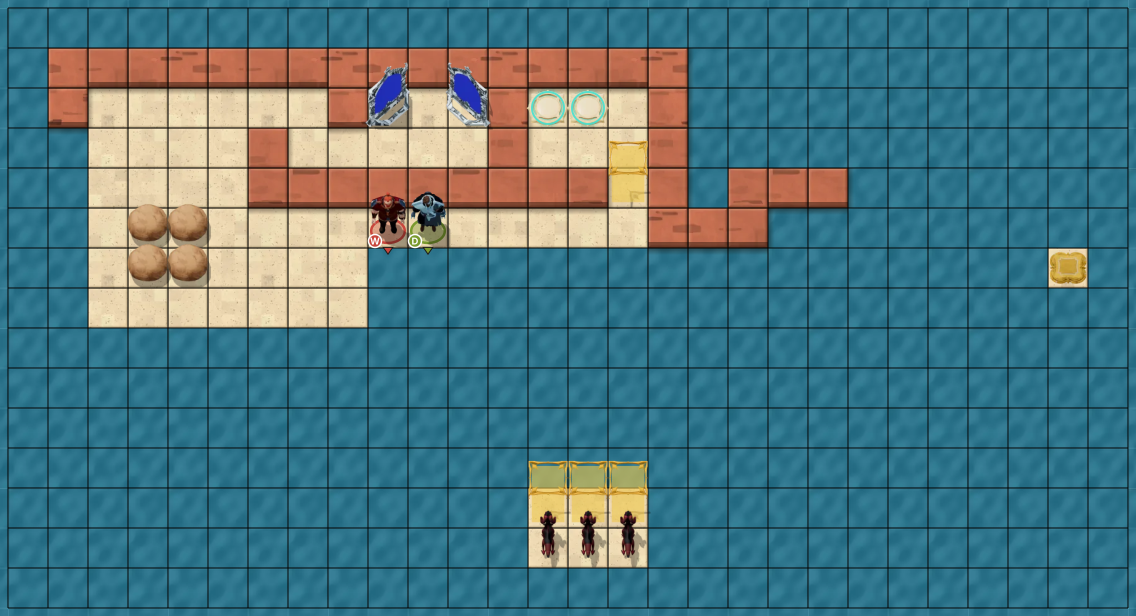
The Druid turns stones into trees and back, and a hero into a crystal. Two magic mirrors that both see a crystal copy it.
Hint 2
Build a row of sunk stones along the water from the left shore, then skip the last skipping stone off its far end onto the switch. A tree in the gate column blocks the right dragon once the switch opens its gate.
Hint 3
Turn the Warrior into a crystal, Activate to copy it, turn one copy back into the Warrior and push the other into the water. Repeat until the row is complete.
Full solution474 steps
Verified in the game · build 26006400 · Oct 24, 2026
Sink skipping stones and mirror copies of the crystal Warrior into a causeway, then skip the last stone onto the switch.
Before step 1: hold Ctrl for 41 frames (0.683 s). Move as soon as you can; wait only where marked.
Warrior←×4
Druid→×5
Warrior↓×2 ·←×2 ·↑ ·→×5
Druid wait for the lower right crystal to reach two tiles below the top gate, ↓ · ↓×2
Warrior←
Warrior←×3 ·↑ ·→ ·↑×2 ·← ·↓×3 ·← ·↓ ·→×5
Druid wait for the upper right crystal to reach 3 tiles below the top gate, ↓
Warrior↑ ·←×6 ·↑ ·→×2 ·↑ ·→ ·↓ ·← ·↓ ·→×4 · wait for the lower left crystal to reach 7 tiles right of its starting position, ↑ · →×4
Warrior: left 4. Druid: right 5. Warrior: down 2, left 2, up 1, right 5. Druid: wait for the lower right crystal to reach two tiles below the top gate then down, down 2. Warrior: left 4, up 1, right 1, up 2, left 1, down 3, left 1, down 1, right 5. Druid: wait for the upper right crystal to reach 3 tiles below the top gate then down. Warrior: up 1, left 6, up 1, right 2, up 1, right 1, down 1, left 1, down 1, right 4, wait for the lower left crystal to reach 7 tiles right of its starting position then up, right 7, left 1. Druid: up 1. Warrior: left 10, up 2, left 1, down 2, left 1, down 1, right 6, up 1, right 6, left 6, down 1. Druid: left 10, up 1, wait about 85 s then left. Warrior: up 1, left 3, up 3, right 2, down 1, right 2. Druid: up 2, right 3, down 1, right 2, activate (2 times), right 1, left 1, up 1, left 3. Warrior: left 2, up 1, left 2, down 3, right 10, down 1, left 1. Druid: wait about 6.5 s, down 3, right 10, down 1, left 9, up 3, right 2, down 1, right 4, left 3, up 1, left 3, down 3. Warrior: left 4, up 1, left 2, down 3, right 10, down 1, left 1, up 1, left 7, down 1, right 1, wait about 20 s then up, left 3, up 3, right 2, down 1, right 2. Druid: up 3, right 3, down 1, right 2, activate (2 times), right 1, left 1, up 1, left 3. Warrior: left 2, up 1, left 2, down 3, right 3, down 1. Druid: down 3, right 4, down 1, left 3, up 3, right 2, down 1, activate (2 times), right 2, left 1, up 1, left 3. Warrior: left 2, up 1, left 2, down 3, right 2, down 1, right 1. Druid: down 3, right 4, down 1, left 3, up 3, right 2, down 1, activate (2 times), right 2, left 1, up 1, left 3. Warrior: left 2, up 1, left 2, down 3, right 2, down 1, right 2, left 1. Druid: down 3, right 4, down 1, left 3, up 3, right 2, down 1, activate (2 times), right 2, left 1, up 1, left 3. Warrior: left 2, up 1, left 2, down 3, right 2, down 1, right 3, left 2. Druid: down 3, right 4, down 1, left 3, up 3, right 2, down 1, activate (2 times), right 2, left 1, up 1, left 3. Warrior: left 2, up 1, left 2, down 3, right 2, down 1, right 4. Druid: down 3, right 11. Warrior: right 4. Druid: wait about 45 s then up, up 2, left 2. Warrior: up 4, left 1.
Gemsman · Hero · Druid · Button · Skipping stone · Gate ×3 · Tree ×2 · RodScreen 2 of 5Opens after Three at Once 2
Hint 1
The Rod sends what is in front of the Gemsman to the next free tile ahead, jumping trees and walls; a skipping stone passing in front of him is sent the same way and keeps skipping.
Hint 2
The switch lies out on the water, in the row just past the corridor's top wall. With two trees in the corridor above the Gemsman, a Rod shot carries the stone over the trees and the wall into the switch's row.
Hint 3
The Druid turns trees into crystals and back, and the Hero can push them while they are crystals. Put both trees in one corridor column above the water, stand the Gemsman below that water, then push the stone in and fire as it skips past.
Full solution336 steps
Verified in the game · build 26006400 · Oct 24, 2026
Walk the two trees, in crystal form, into one corridor column above the water, then Rod the skipping stone over them onto the far switch.
Before step 1: hold Ctrl for 41 frames (0.683 s). Move as soon as you can; wait only where marked.
Gemsman: right 1, up 1, right 1, up 1, activate. Druid: down 1, wait about 2 s then right, up 2. Gemsman: down 1. Hero: left 3. Gemsman: left 1, down 1, right 1, up 1, activate, up 1. Hero: right 1. Gemsman: right 1. Hero: up 4, left 3, down 1, right 2. Druid: down 1, up 1, left 1. Hero: up 1, left 1. Gemsman: right 1, up 2, activate, down 2, right 1. Druid: right 1, down 2, right 1, down 3, left 2, up 1. Gemsman: up 2. Druid: right 3. Gemsman: left 1, down 2, left 2, down 1, up 1, activate, right 1. Druid: left 1, wait about 2 s then up, up 1. Gemsman: left 1, down 1, up 1, activate, down 1. Druid: down 2, left 2, up 2. Gemsman: up 1, activate. Hero: right 1, down 1, right 2, up 1, left 4, down 1, right 3, up 1, left 3. Gemsman: right 2, up 2, right 1. Druid: down 2, right 2, up 4, right 1. Hero: down 2, right 2. Druid: up 1, left 2. Hero: left 1, down 3, right 2, up 4, left 1, up 1, right 1, down 1. Druid: right 4, left 1. Hero: up 1, right 3. Druid: down 1, right 2, left 1. Hero: down 1, right 2. Gemsman: left 1, up 3, right 3, down 1, right 1, left 1, activate, left 1, activate, up 1, left 3. Hero: left 3, up 1, left 2, down 1. Druid: up 1. Hero: right 2, up 1, right 3, left 3, down 1, left 3. Gemsman: right 1, down 1, activate, down 1, activate, down 1, right 1, down 1, up 1. Hero: right 8, up 1, left 5, down 1, left 3. Druid: right 3. Hero: up 1, left 2, down 1, right 3, left 1. Druid: down 1, right 1. Hero: left 1, down 4, right 2, up 2, down 2, left 2, up 3, right 1. Druid: up 1, right 1, left 1, right 3, down 1, left 1. Hero: right 1, down 1. Gemsman: right 1, down 1, up 1. Hero: up 3, right 1, left 1, down 1. Druid: up 1, right 3, down 1. Hero: right 1, left 1. Druid: down 1, right 1. Hero: down 1. Druid: up 1, right 1, left 1. Hero: up 1, right 1, up 1, right 1, left 1, down 1. Druid: right 3, down 1, left 1. Hero: right 1, left 1. Druid: left 1. Hero: up 1. Druid: right 1, down 1, right 2. Gemsman: right 1, down 1, up 1. Druid: up 1, left 1. Hero: left 1, down 2. Druid: down 1, right 1. Hero: right 1. Gemsman: activate. Hero: wait about 13 s. Druid: left 7. Hero: left 6. Gemsman: down 1, left 3, up 4, left 5.
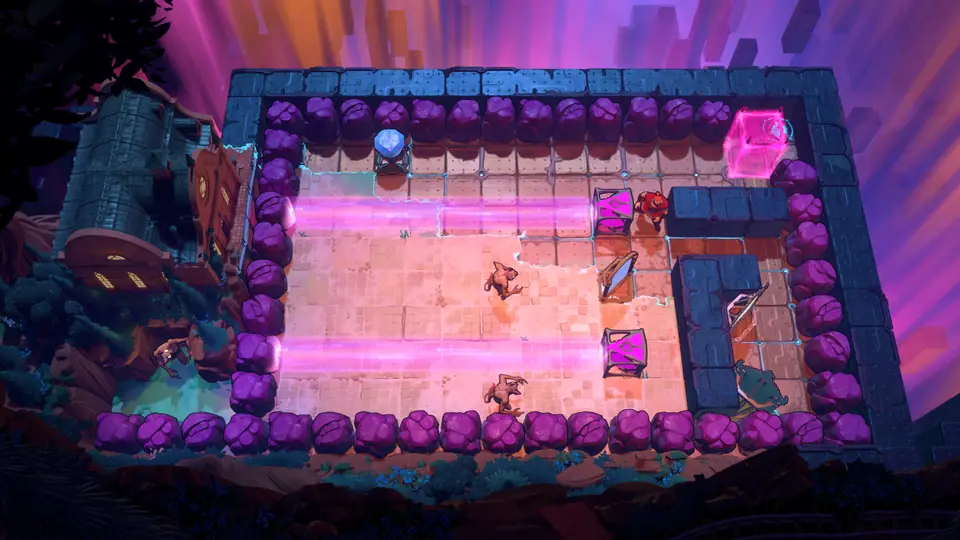
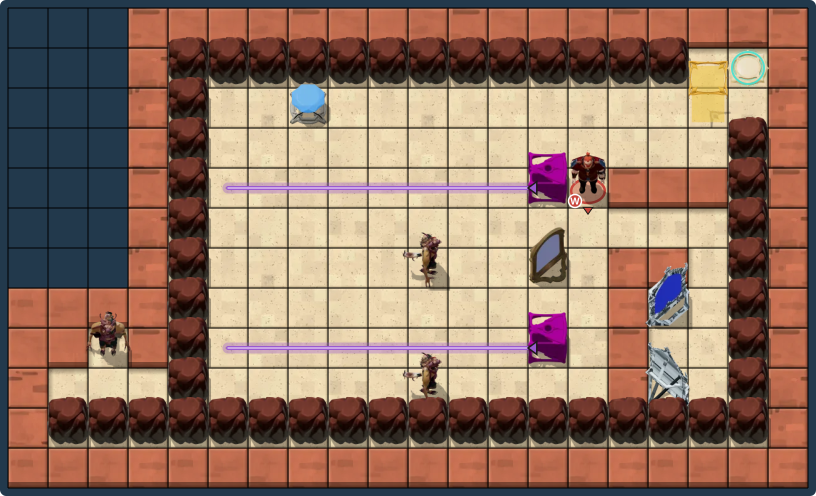
Magic mirrors can copy the Warrior. His copies move together, so they can push two beam sources at once.
Hint 2
Endpoint beams send Goblins to their far ends. Turn the beams off by moving the gem, then bring the two surviving Goblins face to face so they attack each other.
Hint 3
Make three Warriors with the paired magic mirrors, push both sources left, move the gem off its pad, and push the bottom Goblin left toward the other one. Merge the copies at the magic mirrors before leaving.
Full solution168 steps
Verified in the game · build 26006400 · Oct 24, 2026
Warrior: up 2, left 2, down 2, right 1, up 1, right 2, down 1, left 1, down 1, left 1, down 2, right 1, up 3, right 1, up 1, left 8, up 1, left 1, down 3, up 1, right 1, down 1, right 1, down 2, right 1, down 1, right 1, up 3, right 1, left 1, up 1, left 1, down 2, up 3, left 1, down 2, right 5, down 2, activate (2 times), up 1, left 1, up 1, left 3, activate, up 3, left 3, down 2, right 3, down 2, left 3, up 4, left 7, down 2, left 1, down 1, right 2, down 1, left 7, right 1, up 3, right 8, up 1, right 3, down 3, up 1, right 1, down 2, activate, left 4, down 3, right 3, down 2, activate, right 1, up 3, left 3, up 3, right 4, up 1.
A step along an Endpoint beam jumps to its end, following any bends made by mirrors.
Hint 2
Sink the two Boulders below the island: one holds a mirror, the other catches Gemsman's jump. Arrange the beam around the island and out to his long walkway.
Hint 3
Bring the source left onto the upper exit after placing the mirrors, then move Gemsman up into the beam and left twice to jump back. Move the source aside to free the Hero's exit.
Full solution110 steps
Verified in the game · build 26006400 · Oct 24, 2026
Route the island's Endpoint beam through five mirrors across the water so Gemsman can jump back to the island and reach his exit.
Hero←×3 ·↓×6
Hero→×3 ·↑×2 ·→×2 ·↓×2
Hero↑×2 ·←×4 ·↑ ·← ·↓×3
Hero→×2 ·↑×2 ·→×3 ·↑ ·←×3
Hero→ ·↑ ·→×2 ·↑×2 ·←×2 ·↓×5 ·← ·↓ ·→×2
Hero← ·↑×2 ·←×3 ·↑×2 ·→×4
Hero↓
Hero→ ·↓ ·←×2 ·↓ ·← ·↑×5 ·→ ·↑ ·←×2
Hero↓×5
Hero→×4 ·↑×4 ·←×3
Gemsman↑×3 ·←×2
Hero←
Gemsman↓×3
Hero: left 3, down 6, right 3, up 2, right 2, down 2, up 2, left 4, up 1, left 1, down 3, right 2, up 2, right 3, up 1, left 3, right 1, up 1, right 2, up 2, left 2, down 5, left 1, down 1, right 2, left 1, up 2, left 3, up 2, right 4, down 1, right 1, down 1, left 2, down 1, left 1, up 5, right 1, up 1, left 2, down 5, right 4, up 4, left 3. Gemsman: up 3, left 2. Hero: left 1. Gemsman: down 3.
Hero · Skipping stone · Beam source · Mirror · Lily pad · Gem pad · GemScreen 5 of 5
Hint 1
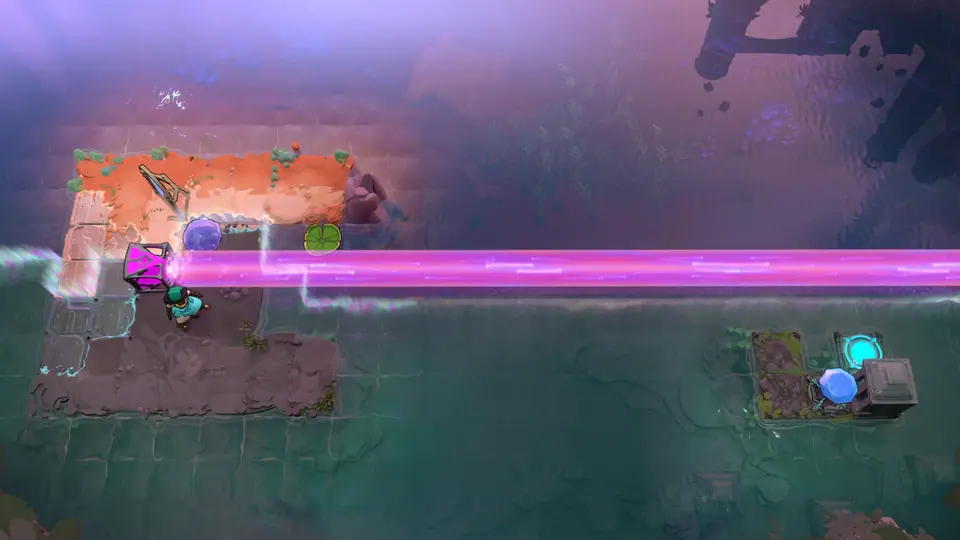
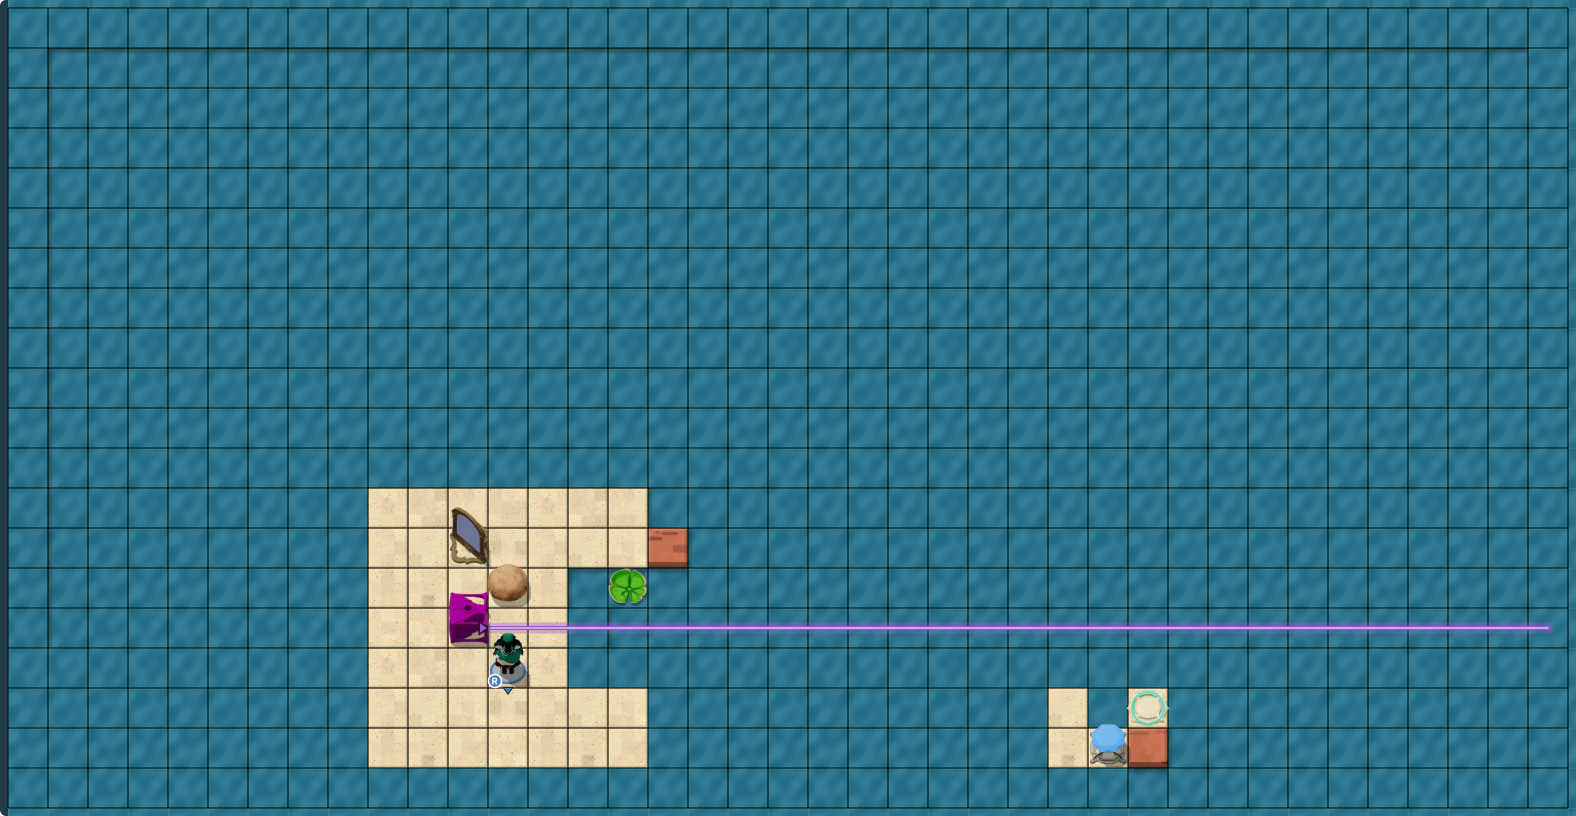
A skipping stone moving along an Endpoint beam is carried to the beam's far end and floats there; it drops when the beam stops reaching it. A plain mirror bends the beam.
Hint 2
Put the mirror on the lily pad and skip the stone past the pad to kick it drifting right: as it drifts it bends the beam down toward the water beside the exit.
Hint 3
Skip the stone after the pad, then raise the beam source into the pad's row: the stone flies to the water by the exit and sinks there as the pad drifts on. Then lower the source to the bottom row and ride its beam across.
Full solution63 steps
Verified in the game · build 26006400 · Oct 20, 2026
Ride a mirror on the lily pad to bend the Endpoint beam so it flings the stone into the gap by the exit, then ride the beam across yourself.
Before step 1: hold Ctrl for 41 frames (0.683 s). Move as soon as you can; wait only where marked.
Hero←×2 ·↑×3 ·→×4 ·↑ ·→ ·↓
Hero←×2 ·↓×2 ·← · wait about 3 s, ↑ · ← ·↑ ·→×2 ·↑ ·→ ·↓ · wait for the crystal to reach two tiles right of its starting position, ← · ↓×2
Hero wait for the lily pad to reach one tile right of its starting position and wait for the mirror to reach 5 tiles right and one tile below its starting position, ↓ · ↓×2 ·→×2 ·↑ ·← ·↓ ·← ·↑×3
Hero← · wait about 3 s, ↑ · wait about 6.5 s, → · ↓ ·← · wait about 3 s, ↓ · ←
Hero wait about 2 s, ↑ · → ·↑ ·→ ·↑ ·←
Hero↓×4 ·→
Hero↓ ·→ · wait about 3 s, ↑ · →×2
Frame-exact timing
Seconds from puzzle start · 60 fps · Before step 1: hold Ctrl for 41 frames (0.683 s). · hold Ctrl throughout
Hero: left 2, up 3, right 4, up 1, right 1, down 1, left 2, down 2, left 1, wait about 3 s then up, left 1, up 1, right 2, up 1, right 1, down 1, wait for the crystal to reach two tiles right of its starting position then left, down 2, wait for the lily pad to reach one tile right of its starting position and wait for the mirror to reach 5 tiles right and one tile below its starting position then down, down 2, right 2, up 1, left 1, down 1, left 1, up 3, left 1, wait about 3 s then up, wait about 6.5 s then right, down 1, left 1, wait about 3 s then down, left 1, wait about 2 s then up, right 1, up 1, right 1, up 1, left 1, down 4, right 1, down 1, right 1, wait about 3 s then up, right 2.

 123456