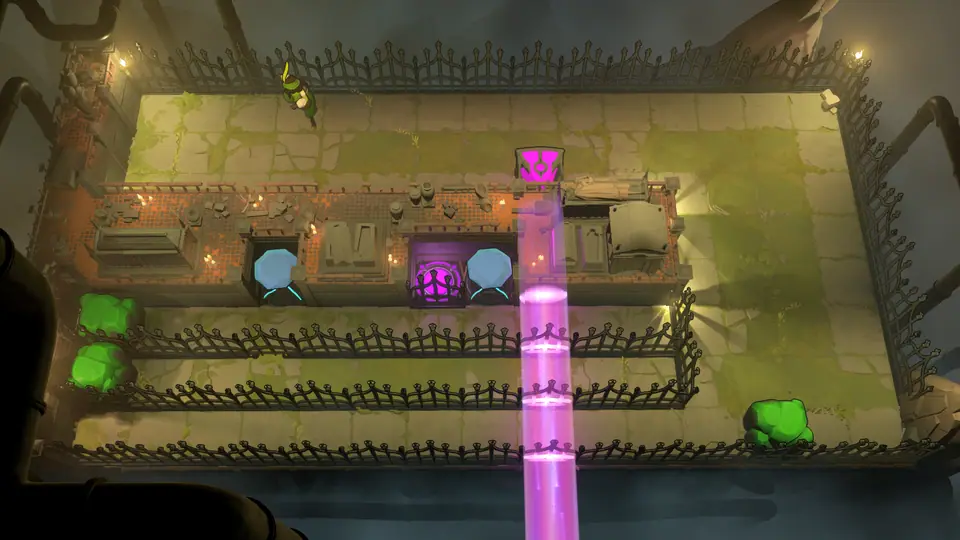
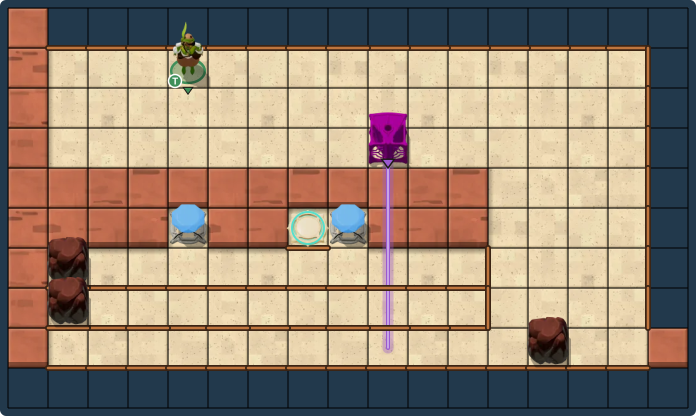
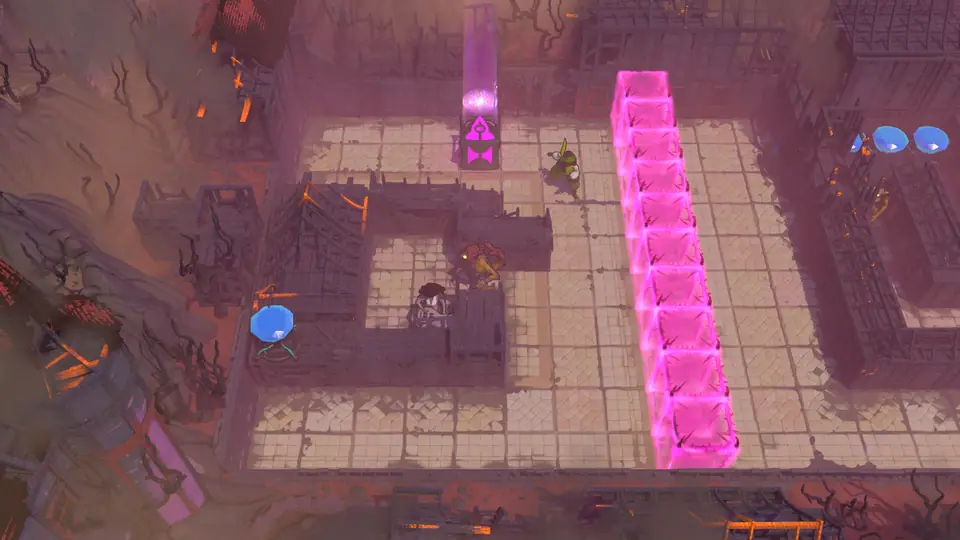
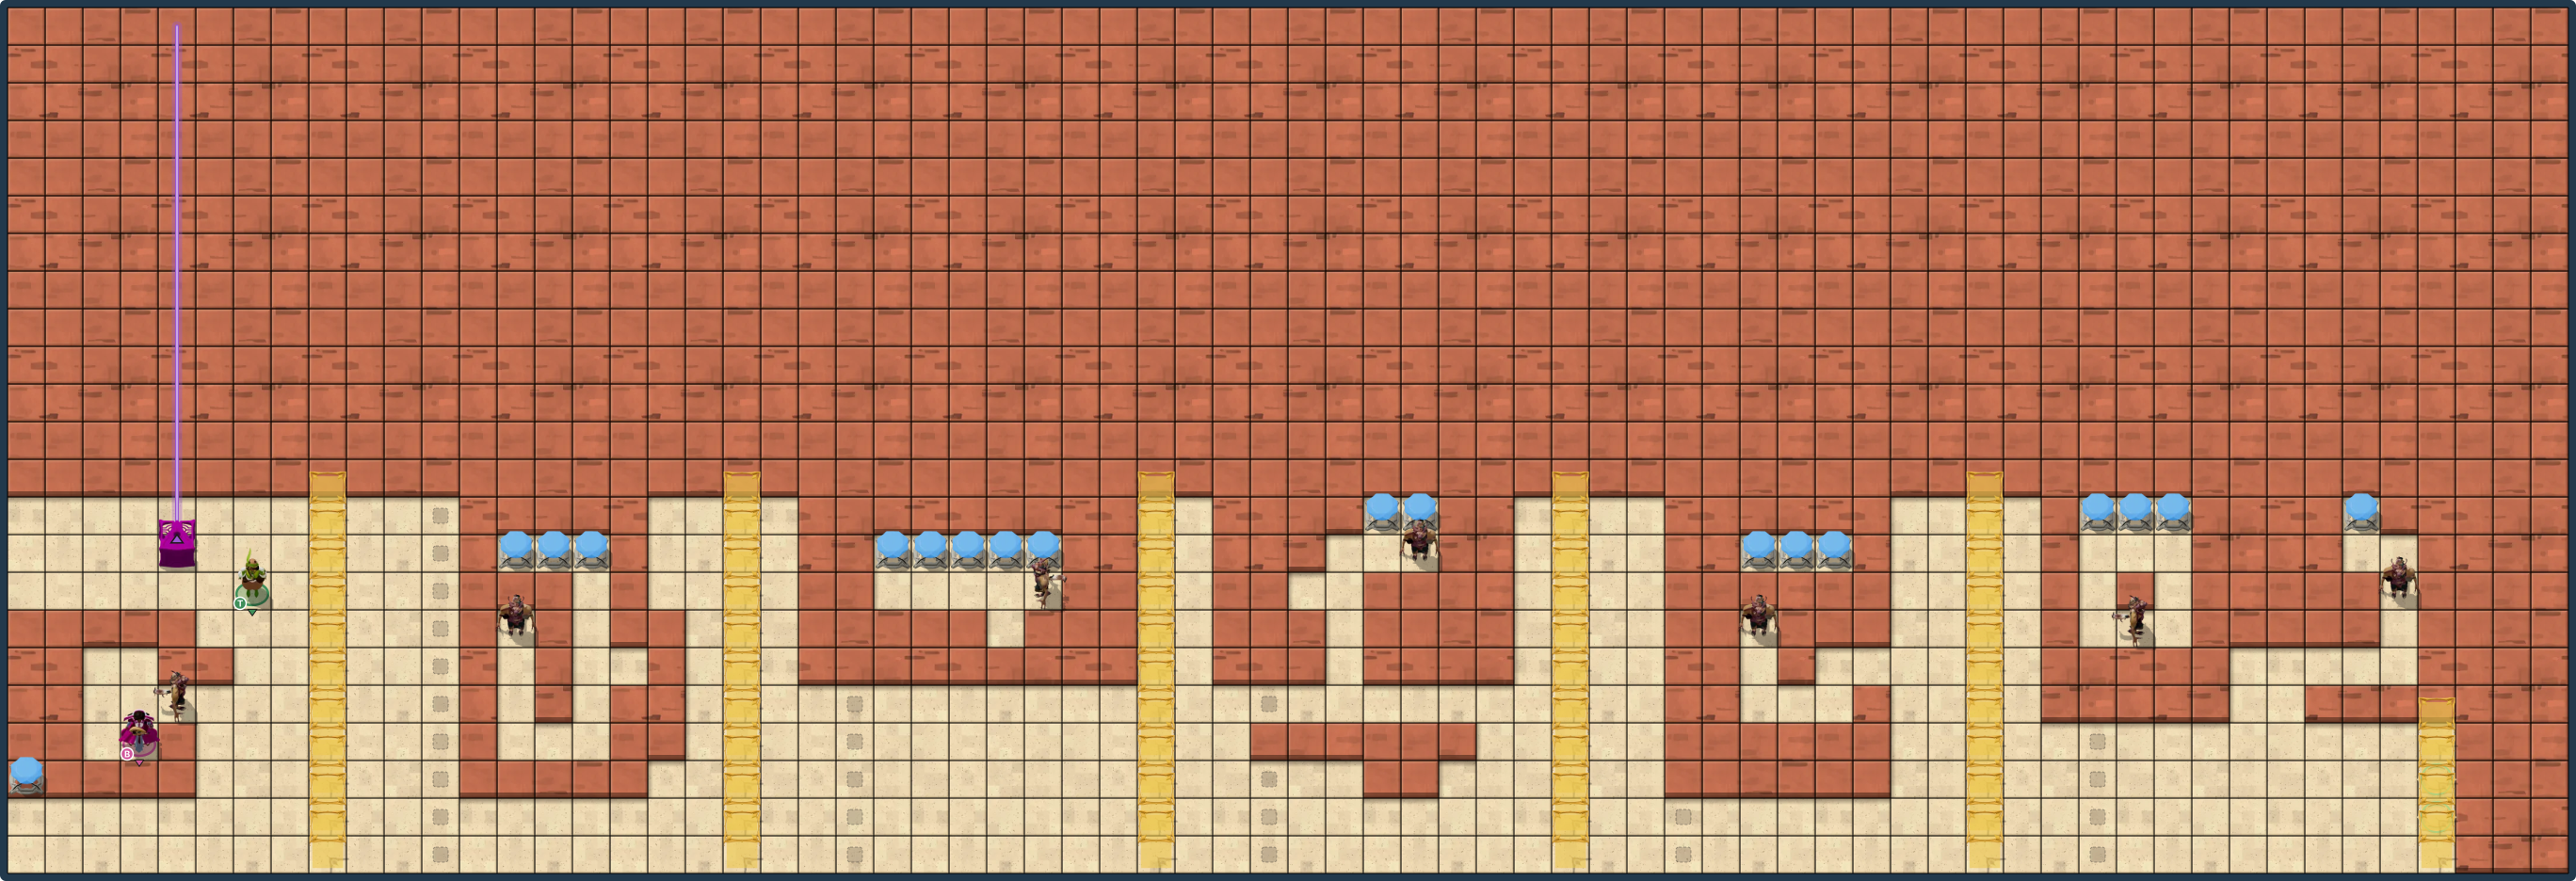
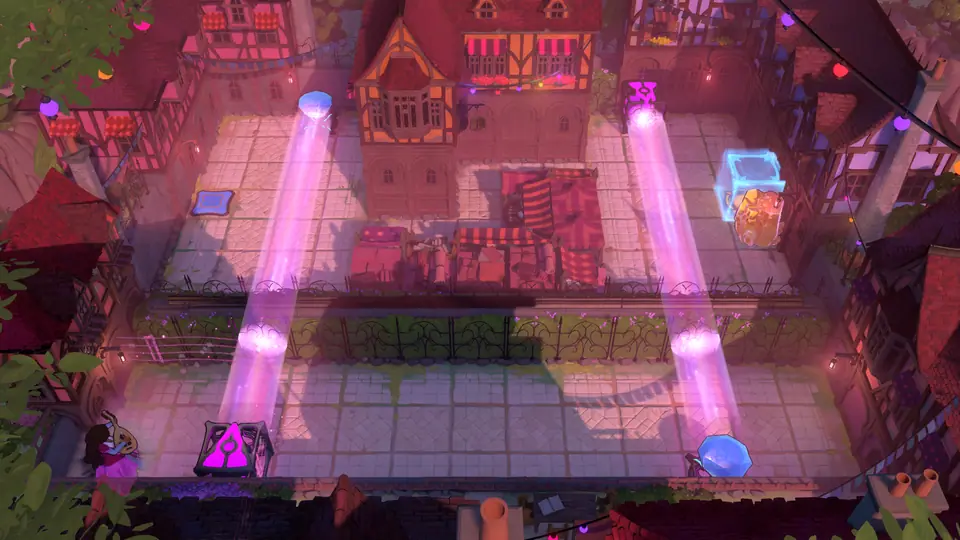
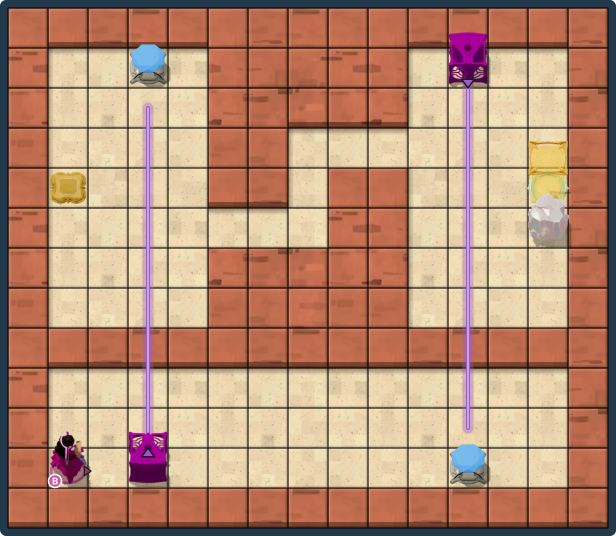
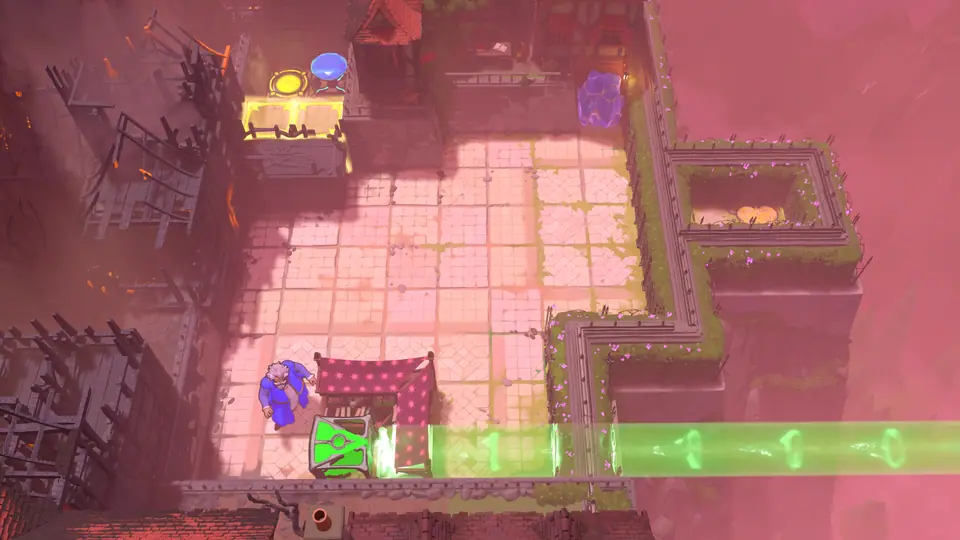
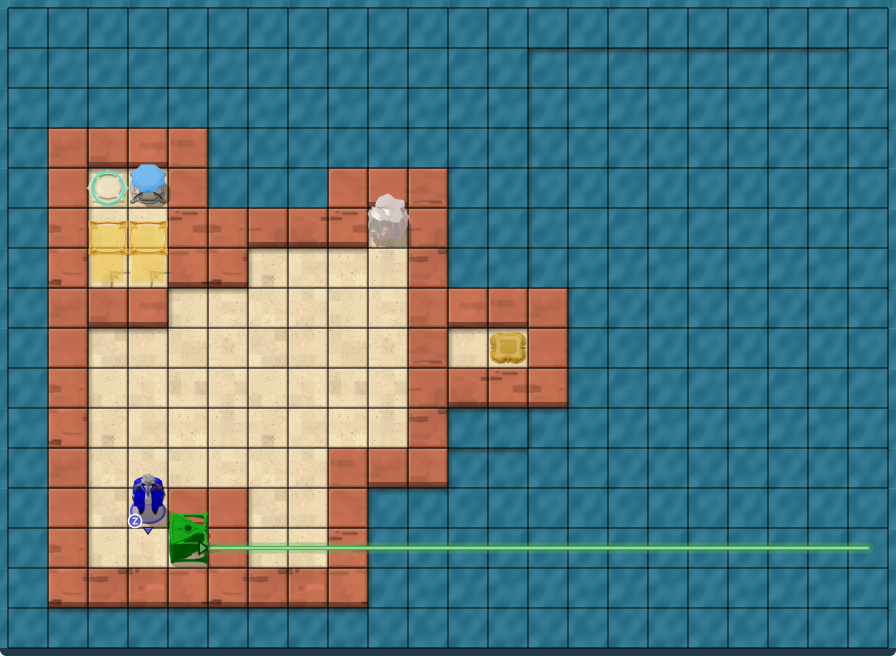
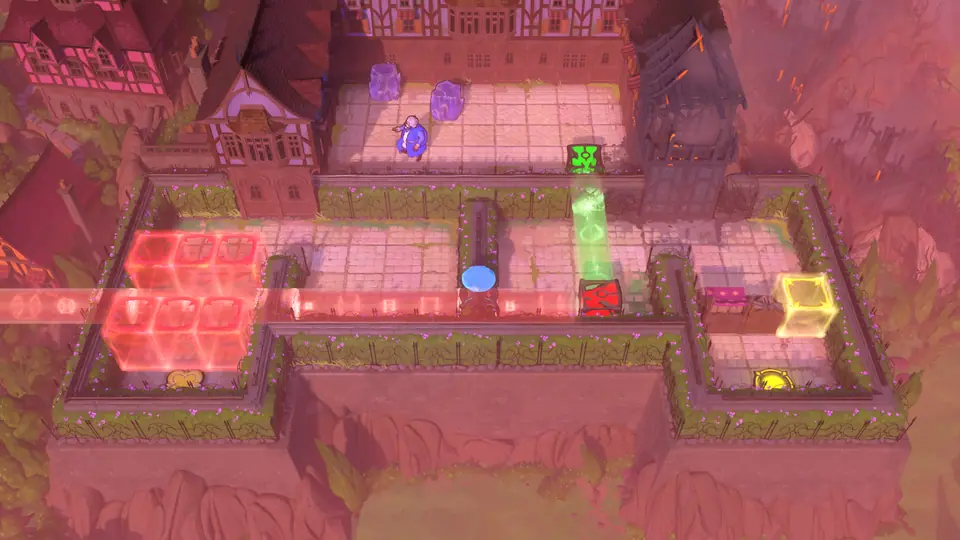
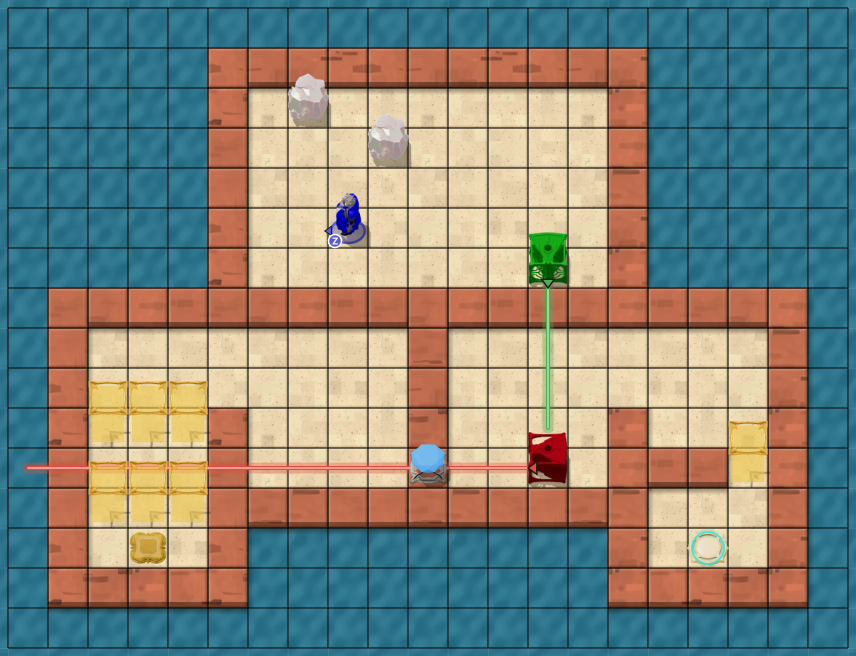
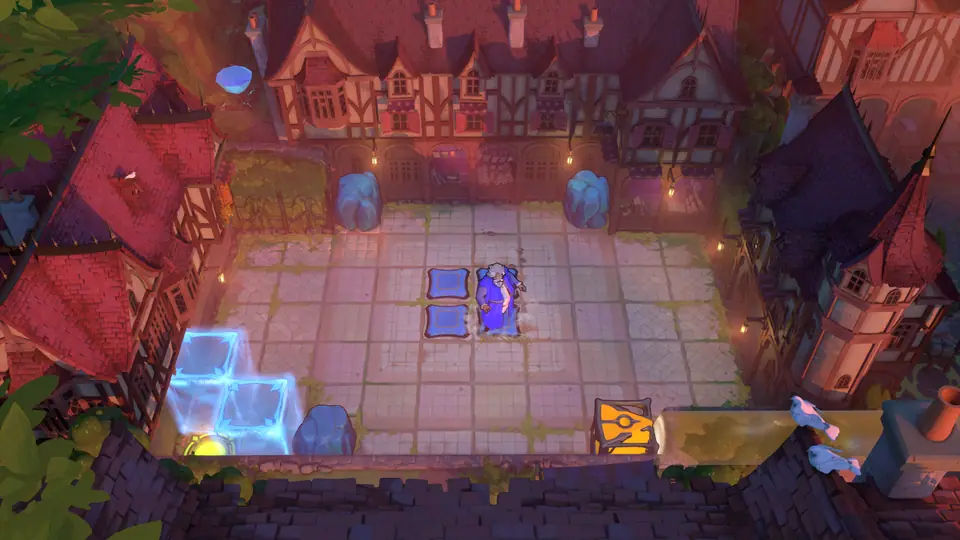
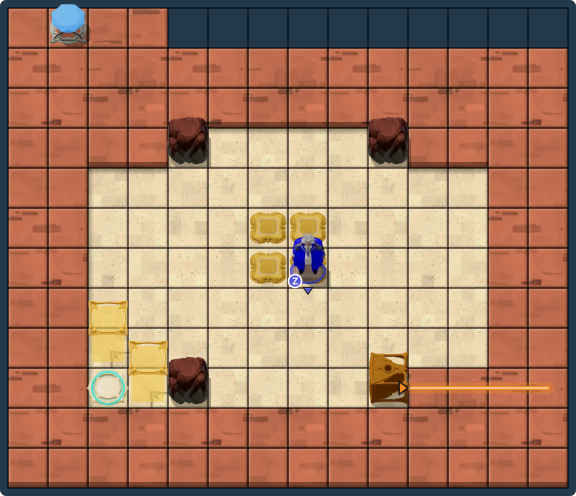
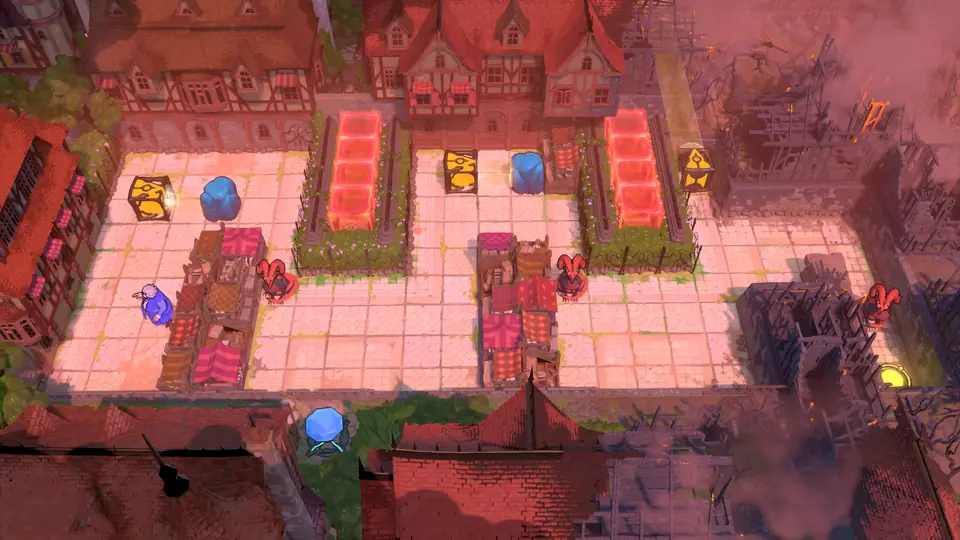
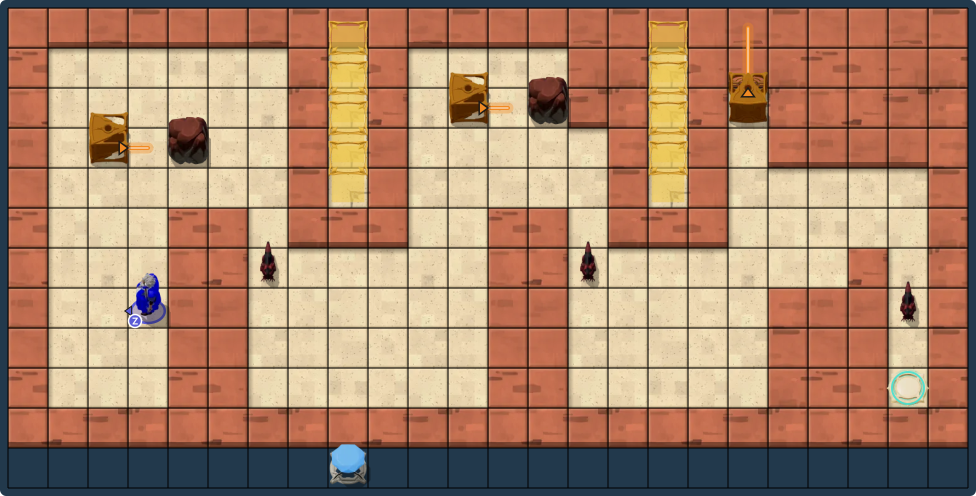
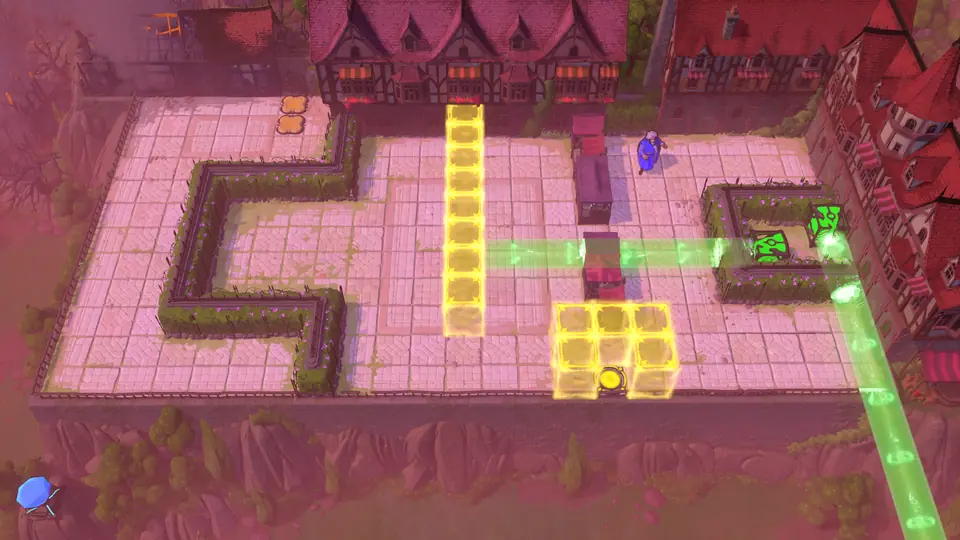
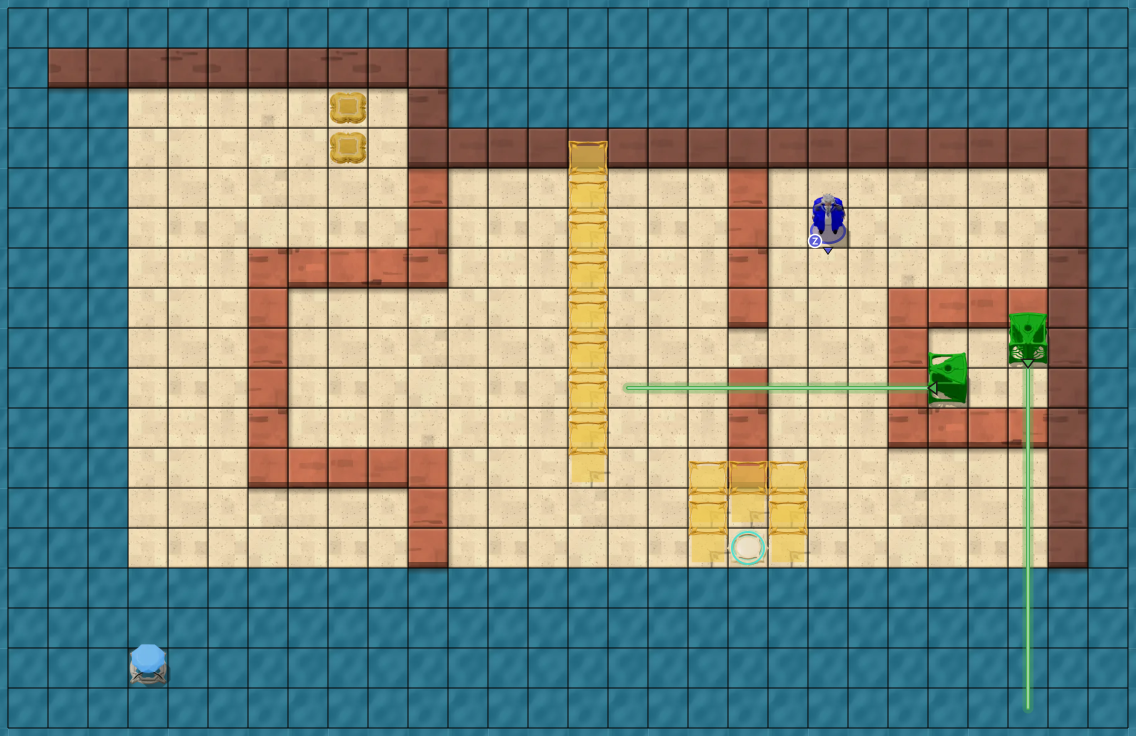
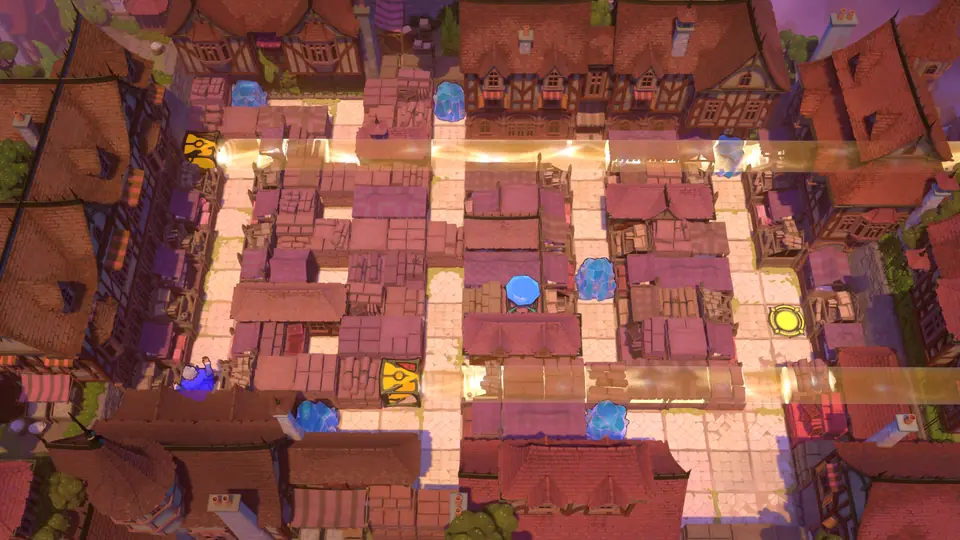
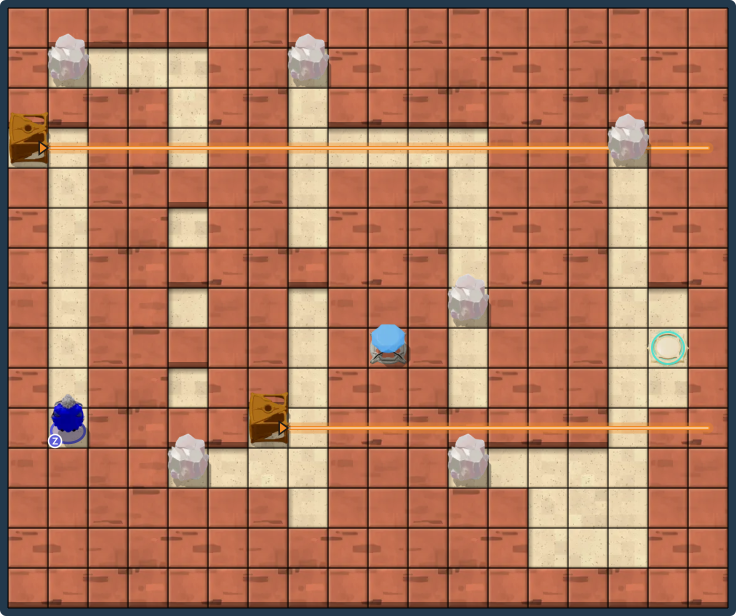
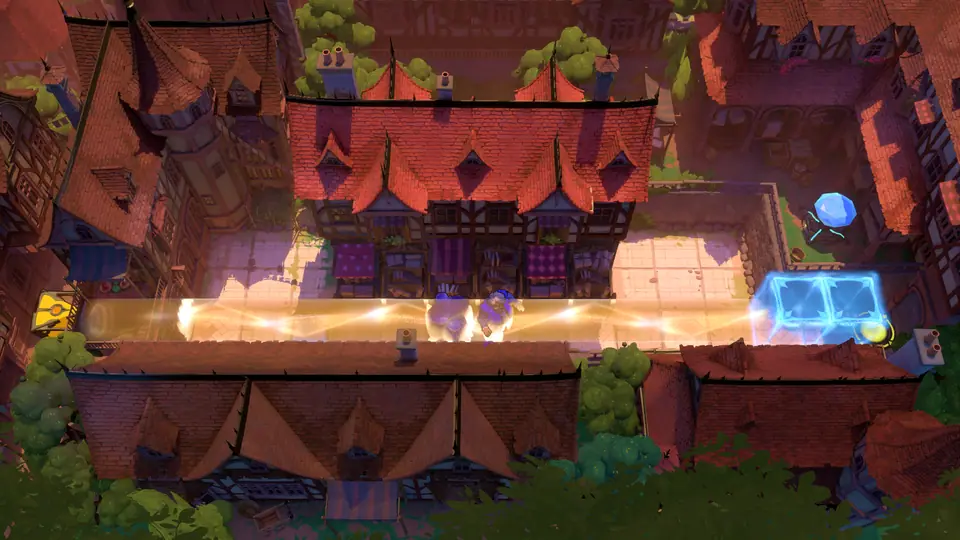
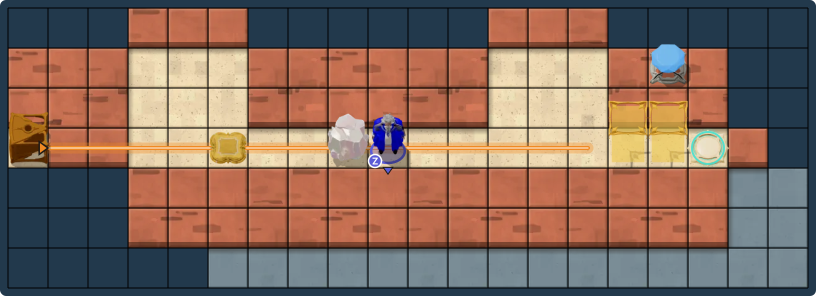
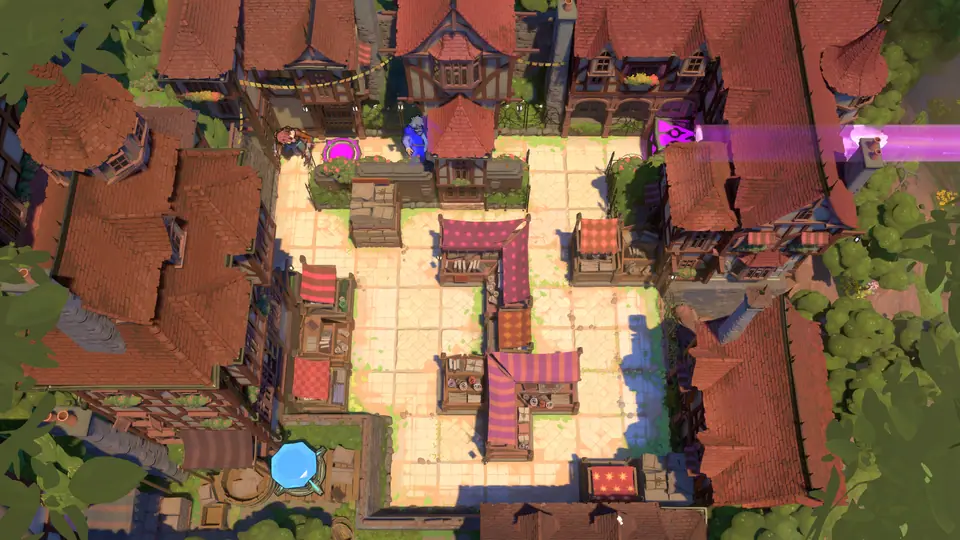
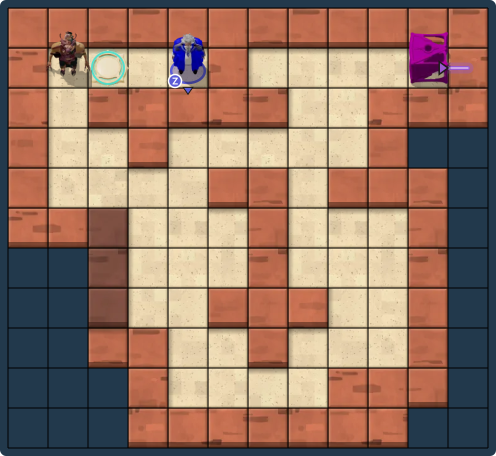
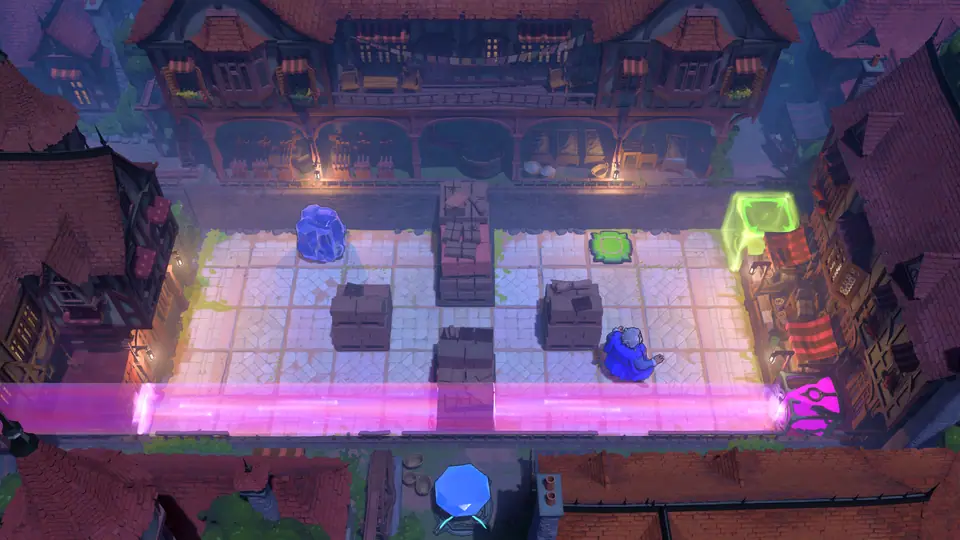
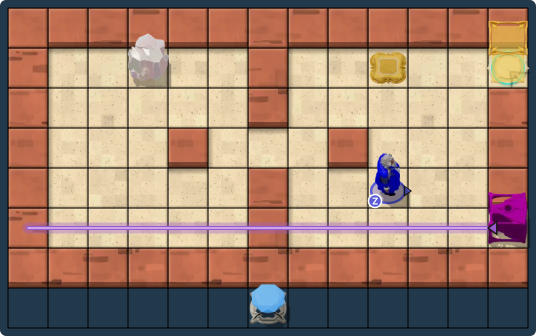
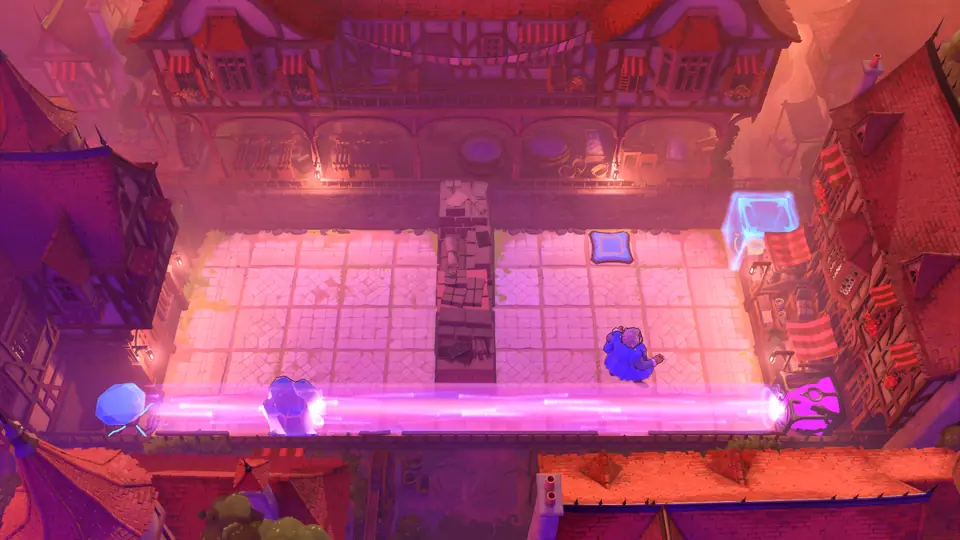
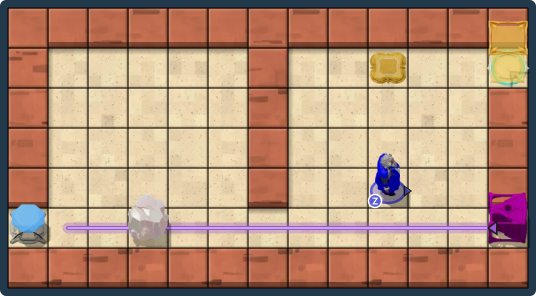
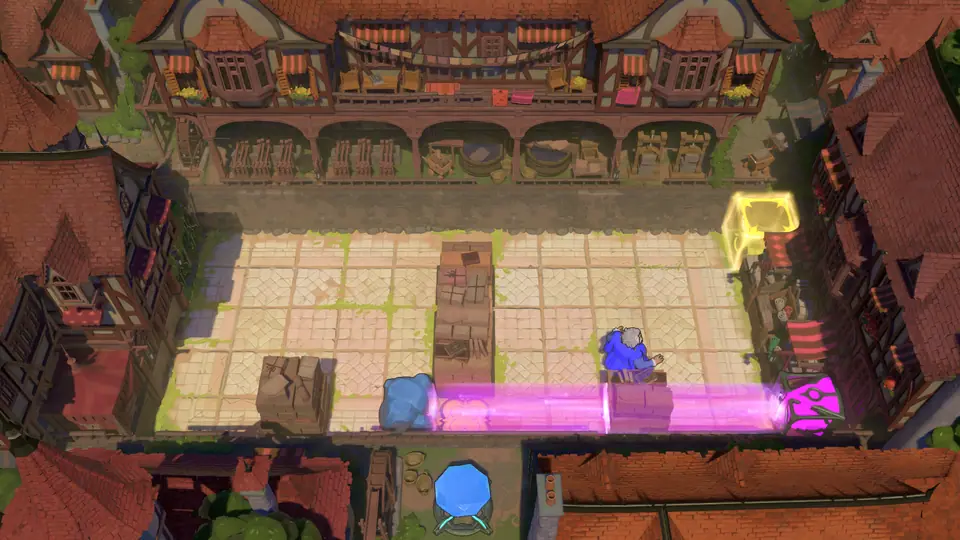
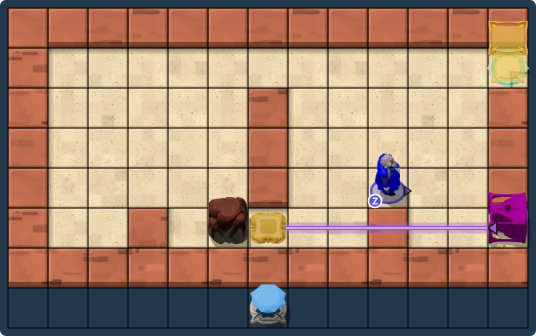
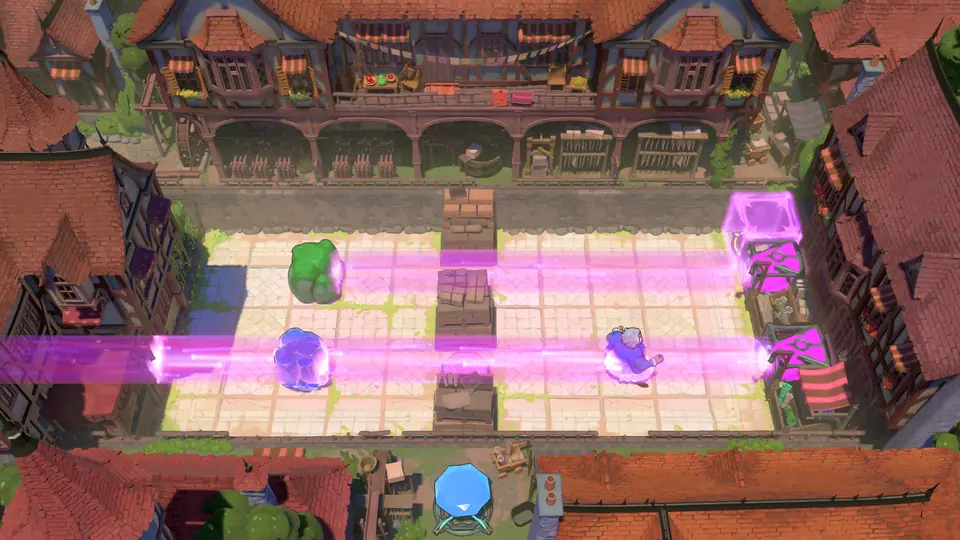
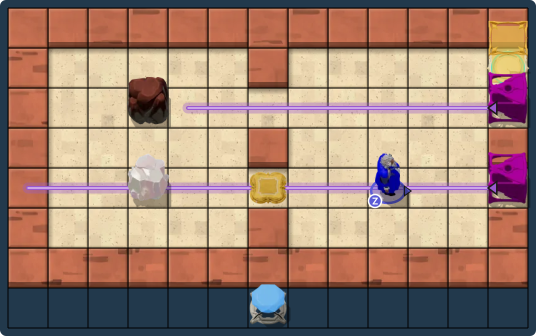
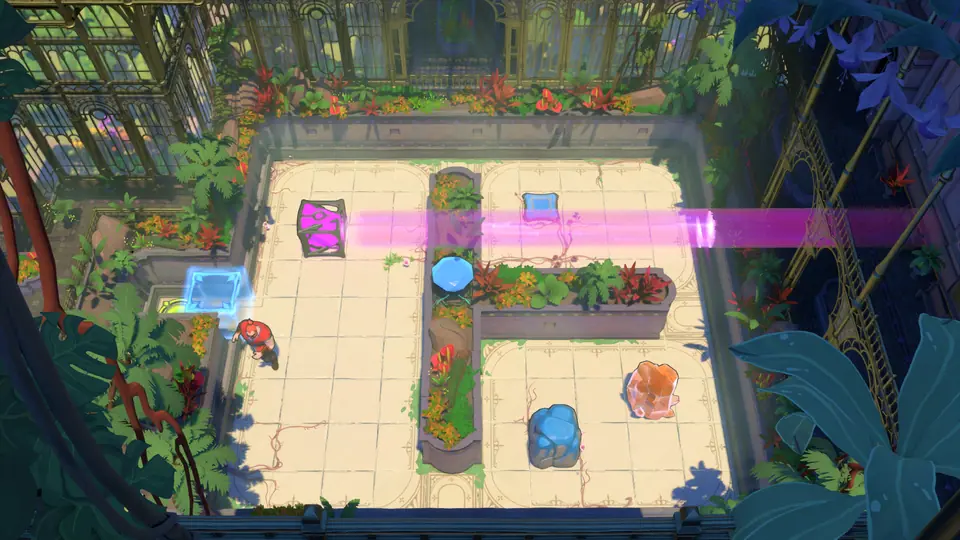
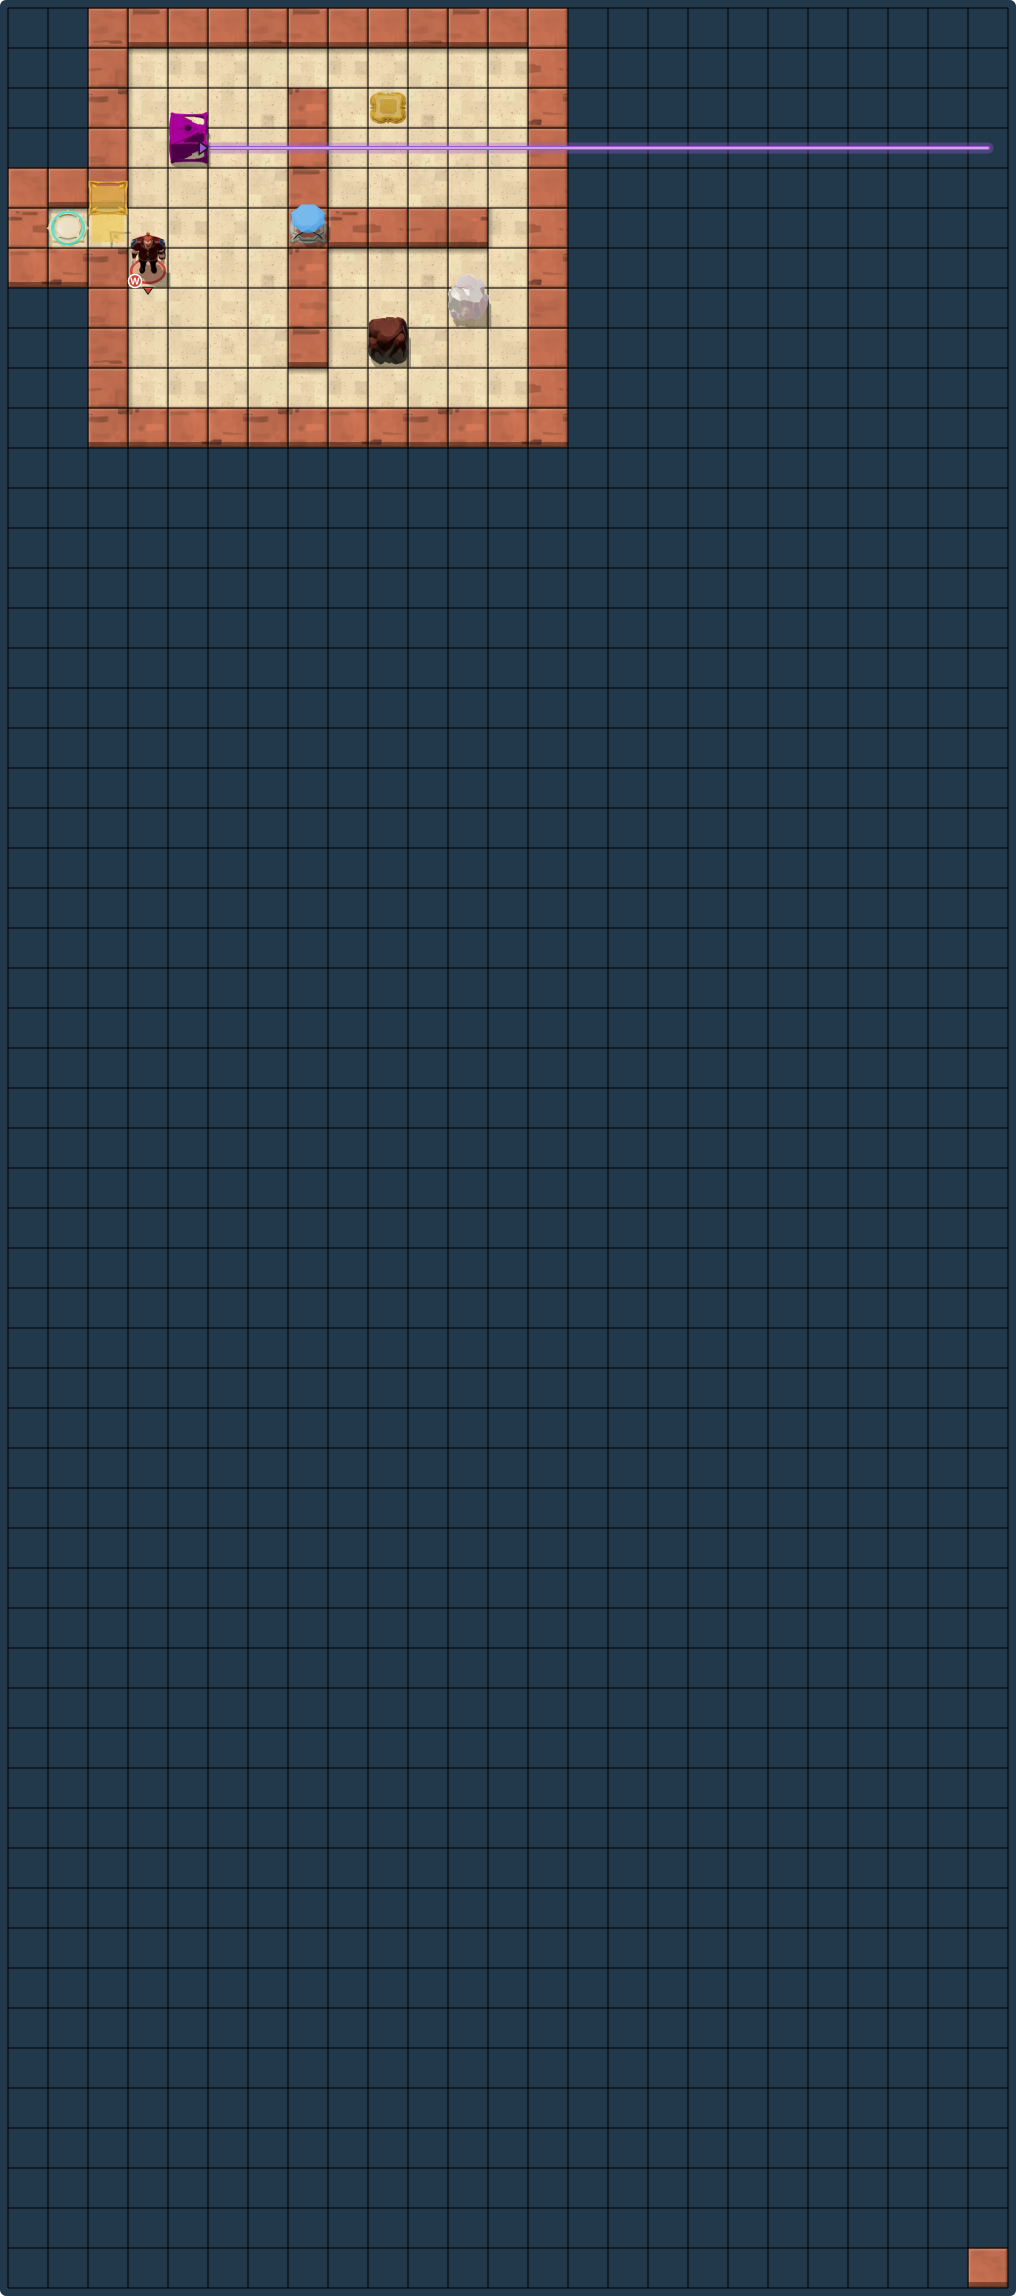
Thief · Gem ×2 · Beam source · Gem pad ×2 · Boulder ×3Screen 1 of 6
Hint 1
In a purple (Endpoint) beam a step along it jumps you to its far end, and a step against it jumps you beside its source. A boulder ends the beam just before itself.
Hint 2
The exit sits inside the wall band. Jump down a beam from the top room that ends exactly on it.
Hint 3
Use the boulders as stoppers: build them into a staircase in the lower rows, then pull the source over the exit's column, where a boulder sits just below the exit, and step down into the beam.
Full solution160 steps
Verified in the game · build 25882299 · Oct 13, 2026
Pull boulders into the purple beam's path as stoppers, then jump down the beam so it ends on the exit.
Thief: right 5, down 1, up 1, right 3, down 7, left 3, up 1, right 1, up 1, right 1, down 1, left 1, down 1, left 8, right 8, up 1, left 1, up 1, left 1, down 1, right 1, down 1, left 7, right 7, up 1, left 1, up 1, left 6, down 1, right 10, down 5, left 1, right 3, up 1, left 2, down 1, left 9, up 1, right 1, up 1, right 3, down 1, right 5, down 5, left 7, right 1, up 1, left 1, up 1, left 1, down 1, right 1, down 1, right 3, left 3, up 1, right 1, up 1, right 1, down 1, left 1, down 1, right 1, left 1, up 1, right 1, up 1, right 1, down 1, left 1, down 1.
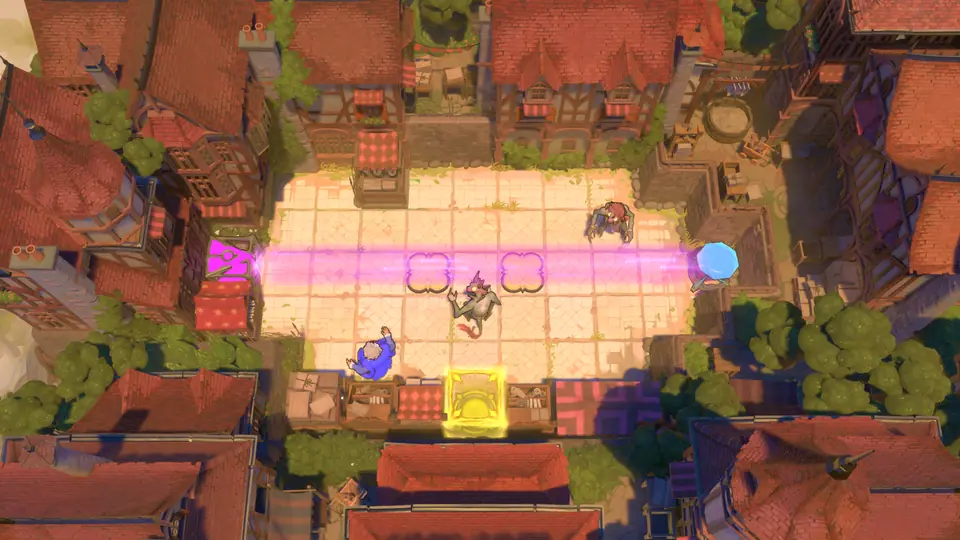
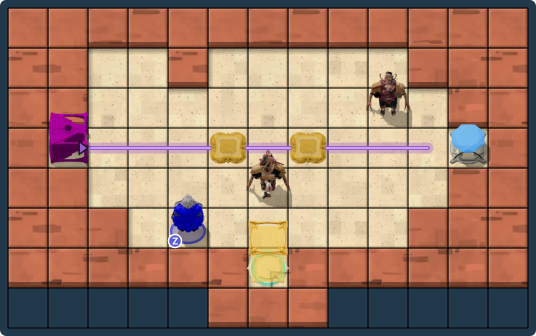
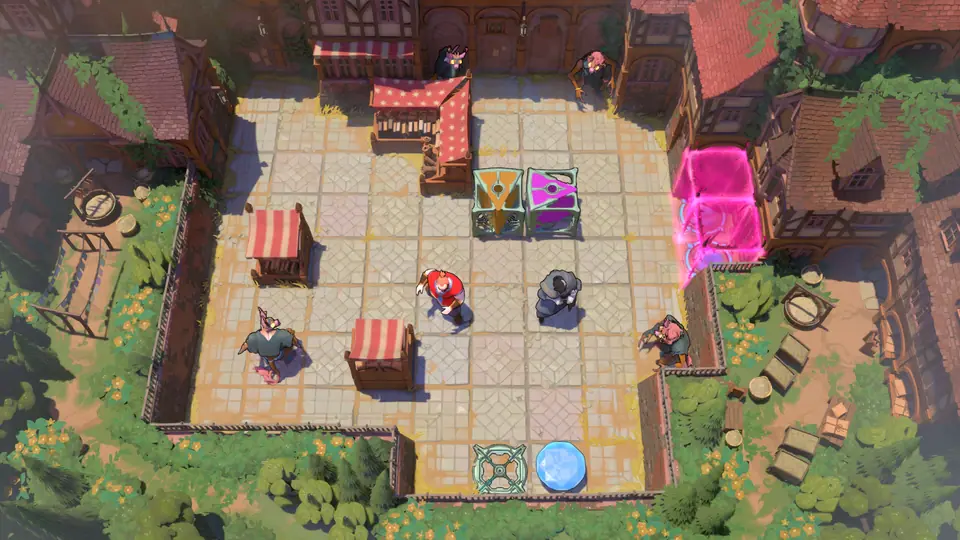
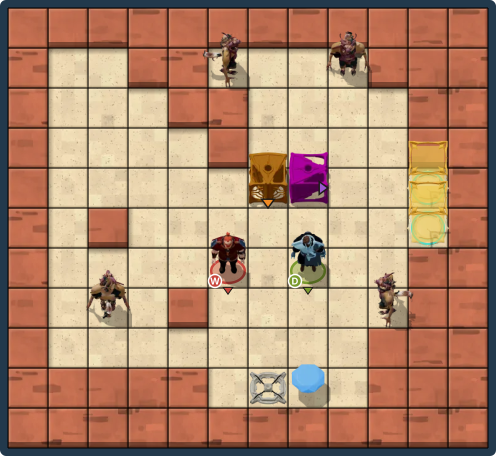
Bard · Beam source ×2 · Gem pad · Gem · Crystal ×2 · Button ×2 · GateScreen 2 of 6Opens after Heroes and Light, Advanced 3
Hint 1
Crystals within two tiles of the Bard copy her steps. In a purple (Endpoint) beam a step along it carries you to its far end.
Hint 2
With both buttons pressed the gate beside the exit closes, and the top beam then ends right next to the exit.
Hint 3
Lead a crystal onto the right button, stand on the left button yourself, then step right along the top beam: you land beside the exit.
Full solution42 steps
Verified in the game · build 25882299 · Oct 13, 2026
Put a crystal on one button and stand on the other so the gate cuts the top beam short, then ride the beam to the exit.
Bard↓×3 ·←×2 ·↓×2 ·←×2 ·↓
Bard←
Bard↑×4 ·↓×2 ·←
Bard↓ ·→ ·↓ ·→
Bard↑ ·→×2 ·↑×2 ·←×2 ·↓×3
Bard← ·↑×3 ·←×2
Bard↑ ·→
Bard↑ ·→
Bard: down 3, left 2, down 2, left 2, down 1, left 1, up 4, down 2, left 1, down 1, right 1, down 1, right 1, up 1, right 2, up 2, left 2, down 3, left 1, up 3, left 2, up 1, right 1, up 1, right 1.
Bard · Thief · Goblin ×7 · Gem pad ×18 · Gem ×18 · Gate ×54 · Beam sourceScreen 2 of 6Opens after Heroes and Light, Advanced 6
Hint 1
Goblins and heroes near the Bard copy her steps. In the purple (Endpoint) beam, a step along the beam jumps to its far end or back to its start. A beam with nothing above it runs off the board, and whoever jumps up it goes off the board too.
Hint 2
The Thief slides the source along the bottom row. A column with a gem above it ends just under the gem, which lifts the Bard or a goblin into the upper rooms; a clear column sends a goblin off the board, and each goblin lost opens the next gate wall.
Hint 3
Send the first five goblins off the board one at a time. In the last room, jump the sixth goblin up the beam next to the last goblin's corner, then draw the last goblin up beside it so both die and the exit gates open.
Full solution361 steps · shortest
Verified in the game · build 26249670 · Nov 9, 2026
The Thief slides the Endpoint source along the bottom row while the Bard leads each goblin into a beam jump, sending five off the board and bringing the last two together to open the exits.
Thief: up 1, left 1, right 2, down 1, left 1, down 7, left 1, up 1, left 2. Bard: up 1, right 8, down 3, right 6. Thief: down 1, right 2, up 1, right 11. Bard: up 1. Thief: right 1. Bard: right 1, up 7, left 1, down 1. Thief: right 1. Bard: down 1, right 1, up 1, down 6, left 1. Thief: right 9. Bard: right 8, up 1, left 2. Thief: down 1, left 3, up 1, left 2. Bard: down 1, right 4. Thief: down 1, right 2, up 1, right 4. Bard: up 1, left 1. Thief: down 1, left 2, up 1, left 3, down 1, right 2, up 1. Bard: down 1. Thief: right 2. Bard: down 1, left 1, up 1. Thief: down 2, left 2, up 1, left 4. Bard: left 1, up 1, right 11, up 3, left 1. Thief: down 1, right 2, up 1, right 12. Bard: down 1, left 2, up 2, right 3, up 3, left 1, down 1, left 2, up 2, right 3, up 2, down 1. Thief: right 1. Bard: down 1, left 3, up 2, right 4. Thief: right 1. Bard: up 1, left 1. Thief: down 1, left 2, up 1, left 2. Bard: down 4, right 4, down 3, left 3, down 1, up 1, right 14, up 4, left 2. Thief: down 1, right 2, up 1, right 13. Bard: down 1. Thief: down 1, left 2, up 1, left 1. Bard: up 1. Thief: left 1. Bard: down 1. Thief: down 1, right 2, up 1, right 1. Bard: up 1, right 2, up 1, right 1. Thief: right 3. Bard: up 1, right 2, down 4, right 2. Thief: right 6. Bard: up 1, right 1. Thief: right 1. Bard: down 1. Thief: down 1, left 2, up 1, left 1. Bard: left 1, up 1. Thief: down 1, right 3, up 1, right 2. Bard: down 1. Thief: down 1, left 2, up 1, left 2. Bard: down 1, right 3, up 1, right 2. Thief: down 1, right 2, up 1, right 7. Bard: up 2, right 3, up 1, down 1, left 1, down 1, right 2.
Other routes1
Route 2528 steps
Verified in the game · build 25998871 · Oct 20, 2026
Room by room, the Thief drags the purple beam source along the bottom while the Bard leads each goblin away, until both reach the exits.
Thief↑ ·← ·→×2 ·↓ ·← ·↓×7 ·← ·↑ ·←×3
Bard← ·↑
Thief↓ ·→×3 ·↑ ·→×10
Bard→×3 ·↓×3 ·→×6 ·↑×4 ·↓
Thief↓ ·←×2 ·↑ ·←×3
Bard↓×3 ·→×4 ·←×3 ·↓ ·→×3 ·↑ ·→×2 ·↑ ·→ ·↑×3
Thief←×5 ·→×5
Bard↓×3 ·← ·↓ ·↑ ·→
Thief↑ ·→×2
Bard←
Thief↑×7 ·←
Bard↓
Thief→ ·↓×8 ·←×2 ·↑
Thief←×3
Bard↓
Thief↓ ·→×2 ·↑ ·→
Bard↑
Bard→ ·↑×5 ·← ·↑
Thief↓ ·← ·↓ ·←×2 ·↑ ·←
Bard↓ ·→ ·↑ ·← ·↓ ·→
Thief↓ ·→×2 ·↑ ·→×2
Bard↑
Thief→×9
Bard↓×6 ·→×6
Bard↓
Thief←×2
Bard↑
Thief←
Bard↑ ·→ ·← ·↓
Thief↓ ·→×2 ·↑ ·→×2
Bard↑×2 ·↓
Thief↓ ·←×2 ·↑ ·←×2
Bard↑ ·←
Thief←
Bard↓
Thief↓ ·→×2 ·↑ ·→×4
Bard→×4 ·↑ ·←
Thief↓ ·←×2 ·↑ ·←×3
Bard↓
Thief↑ ·→×2
Thief←×3
Bard↑ ·↓
Thief↓ ·→×2 ·↑ ·→×2
Bard↓ ·←×2 ·↑
Thief↓ ·←×2 ·↑ ·←×4
Bard↑
Bard→×11 ·↑×3
Thief↓ ·→×2 ·↑ ·→×12
Bard← ·↓ ·←×2 ·↑×2 ·→×3 ·↑×2
Thief→×2
Bard↓
Thief↓ ·←×2 ·↑ ·←×2
Bard↑×2 ·← ·↓
Thief↓ ·→×2 ·↑ ·→×2
Bard←×2 ·↑×2 ·→×3 ·↑×2 ·↓×2 ·→ ·↑ ·← ·↓×2
Thief↓ ·←×2 ·↑ ·←
Bard↓ ·← ·↓ ·←×2 ·↑×2
Thief↓ ·→×3 ·←
Bard↑
Thief↓×2 ·→×2 ·↑ ·→×12
Bard→×11
Thief→
Bard↓×4 ·→×6
Bard→ ·↑×5 ·←×2 ·↓
Thief↓×4 ·←×2 ·↓ ·←×2 ·↑
Thief←
Bard↑
Thief←
Bard↓
Thief↓ ·→×2 ·↑ ·→
Bard↑ ·→×2 ·↑ ·→
Thief→×3
Bard↑
Bard→×2 ·↓×4 ·→×2
Thief→×6
Bard↑ ·→
Thief→×2
Bard→ ·↓ ·→ ·↑ ·→ ·↑×2
Thief↓×3 ·←×2 ·↓ ·←×2 ·↑ ·←×2
Bard↓×2 ·←×4 ·↑
Thief↓ ·→×3 ·↑ ·→×2
Bard↓
Thief↓ ·←×2 ·↑ ·←×2
Bard↓
Thief←
Bard↑ ·→
Thief→ ·↓ ·→×5
Bard→×4
Thief↓ ·←×2 ·↑ ·→×3
Bard↑×2 ·→×3 ·↑
Thief↓
Bard↓ ·←×3 ·↓×2 ·→×4 ·↓
Thief↑ ·→
Thief: up 1, left 1, right 2, down 1, left 1, down 7, left 1, up 1, left 3. Bard: left 1, up 1. Thief: down 1, right 3, up 1, right 10. Bard: right 3, down 3, right 6, up 4, down 1. Thief: down 1, left 2, up 1, left 3. Bard: down 3, right 4, left 3, down 1, right 3, up 1, right 2, up 1, right 1, up 3. Thief: left 5, right 5. Bard: down 3, left 1, down 1, up 1, right 1. Thief: up 1, right 2. Bard: left 1. Thief: up 7, left 1. Bard: down 1. Thief: right 1, down 8, left 2, up 1, left 3. Bard: down 1. Thief: down 1, right 2, up 1, right 1. Bard: up 1, right 1, up 5, left 1, up 1. Thief: down 1, left 1, down 1, left 2, up 1, left 1. Bard: down 1, right 1, up 1, left 1, down 1, right 1. Thief: down 1, right 2, up 1, right 2. Bard: up 1. Thief: right 9. Bard: down 6, right 6, down 1. Thief: left 2. Bard: up 1. Thief: left 1. Bard: up 1, right 1, left 1, down 1. Thief: down 1, right 2, up 1, right 2. Bard: up 2, down 1. Thief: down 1, left 2, up 1, left 2. Bard: up 1, left 1. Thief: left 1. Bard: down 1. Thief: down 1, right 2, up 1, right 4. Bard: right 4, up 1, left 1. Thief: down 1, left 2, up 1, left 3. Bard: down 1. Thief: up 1, right 2, left 3. Bard: up 1, down 1. Thief: down 1, right 2, up 1, right 2. Bard: down 1, left 2, up 1. Thief: down 1, left 2, up 1, left 4. Bard: up 1, right 11, up 3. Thief: down 1, right 2, up 1, right 12. Bard: left 1, down 1, left 2, up 2, right 3, up 2. Thief: right 2. Bard: down 1. Thief: down 1, left 2, up 1, left 2. Bard: up 2, left 1, down 1. Thief: down 1, right 2, up 1, right 2. Bard: left 2, up 2, right 3, up 2, down 2, right 1, up 1, left 1, down 2. Thief: down 1, left 2, up 1, left 1. Bard: down 1, left 1, down 1, left 2, up 2. Thief: down 1, right 3, left 1. Bard: up 1. Thief: down 2, right 2, up 1, right 12. Bard: right 11. Thief: right 1. Bard: down 4, right 7, up 5, left 2, down 1. Thief: down 4, left 2, down 1, left 2, up 1, left 1. Bard: up 1. Thief: left 1. Bard: down 1. Thief: down 1, right 2, up 1, right 1. Bard: up 1, right 2, up 1, right 1. Thief: right 3. Bard: up 1, right 2, down 4, right 2. Thief: right 6. Bard: up 1, right 1. Thief: right 2. Bard: right 1, down 1, right 1, up 1, right 1, up 2. Thief: down 3, left 2, down 1, left 2, up 1, left 2. Bard: down 2, left 4, up 1. Thief: down 1, right 3, up 1, right 2. Bard: down 1. Thief: down 1, left 2, up 1, left 2. Bard: down 1. Thief: left 1. Bard: up 1, right 1. Thief: right 1, down 1, right 5. Bard: right 4. Thief: down 1, left 2, up 1, right 3. Bard: up 2, right 3, up 1. Thief: down 1. Bard: down 1, left 3, down 2, right 4, down 1. Thief: up 1, right 1.
Crystals within two tiles of the Bard copy her steps, and a crystal standing in the orange (Double) beam moves two tiles. While the Bard herself double-steps in the beam, nothing copies her.
Hint 2
Each button needs a crystal. The first one opens the gate in the beam's row, so the beam crosses the whole board.
Hint 3
Lead the left crystal onto the left button, the middle one onto the middle button and the right one onto the right button, then double-step to the exit.
Full solution77 steps
Verified in the game · build 25882299 · Oct 13, 2026
Lead a crystal onto each button, using the orange beam to double-step across, and walk out through the last gate.
Bard→×2 ·↓×4 ·← ·↓ ·←×3 ·→
Bard→×3 ·↑×4 ·←×2 ·↑ ·↓ ·→ ·↑ ·↓ ·←
Bard→×3 ·↓×2 ·→×4 ·↓
Bard← ·↓ ·← ·↓ ·← ·→×2 ·↑×3 ·← ·↑
Bard→ ·↑ ·→×5 ·↑ ·→×2
Bard← ·↓×2 ·←×2 ·↓ ·→ ·↓ ·↑ ·←×2 ·↑
Bard→×3 ·↓×3
Bard: right 2, down 4, left 1, down 1, left 3, right 4, up 4, left 2, up 1, down 1, right 1, up 1, down 1, left 1, right 3, down 2, right 4, down 1, left 1, down 1, left 1, down 1, left 1, right 2, up 3, left 1, up 1, right 1, up 1, right 5, up 1, right 2, left 1, down 2, left 2, down 1, right 1, down 1, up 1, left 2, up 1, right 3, down 3.
Crystals within two tiles of the Bard copy her steps. In a purple (Endpoint) beam a step along it jumps to its far end, and a crystal copying you jumps too.
Hint 2
The exit gate opens from the far left button, and the only crystal starts beside the exit.
Hint 3
Bring the crystal across the bottom, up the left beam and onto the left button, then ride the beams back to the exit.
Full solution64 steps
Verified in the game · build 25882299 · Oct 13, 2026
Lead the crystal from beside the exit to the far button using the purple beams, then jump back to the opened exit.
Bard↑ ·→×10 ·↑
Bard→ ·↓×3 ·← ·↓
Bard← ·↑ ·← ·↓ ·← ·↑ ·←×5 ·↑
Bard→ ·↓×5 ·←×2 ·↑
Bard↑×2 ·← ·↑ ·→×3 ·↓×3 ·←
Bard↓ ·→×8 ·↑ ·→ ·↓×2 ·→
Bard: up 1, right 10, up 1, right 1, down 3, left 1, down 1, left 1, up 1, left 1, down 1, left 1, up 1, left 5, up 1, right 1, down 5, left 2, up 3, left 1, up 1, right 3, down 3, left 1, down 1, right 8, up 1, right 1, down 2, right 1.
Bard · Thief · Beam source · Button ×3 · Gate ×2 · Gem pad · Gem · Crystal ×3Screen 2 of 6Opens after Heroes and Light, Advanced 4
Hint 1
Nearby Crystals copy the Bard's steps and move two tiles while lit by the Double beam.
Hint 2
The Thief moves the source along the left column to select the Crystal row; the Bard's own double-step does not charm pieces.
Hint 3
Send the lower-right Crystal to the top Button, the upper-left Crystal to the right Button and the middle Crystal to the bottom Button.
Full solution382 steps · shortest
Verified in the game · build 26006400 · Oct 25, 2026
Move the Double beam between rows while the Bard dances three Crystals onto the Buttons.
Bard→ ·↑×3 ·→
Thief↓ ·→ ·↓×3
Bard→ ·↓ ·→ ·↓ ·↑ ·←
Thief↓×2
Bard→
Thief↓
Thief← ·↑×2 ·→
Bard← ·↓
Thief↑
Bard↑
Thief↑×2
Bard←
Thief← ·↓×2 ·→ ·↓×2
Thief←
Bard↑×2 ·←×2 ·↑×2 ·↓ ·→
Thief↑×2 ·→ ·↑×2
Bard↑
Thief→ ·↑×3
Thief←
Bard↓
Thief↓×2 ·→ ·↓
Bard↑
Thief→ ·↓×4 ·←
Bard↑ ·← ·↑ ·← ·↑×3 ·→
Thief↑×2 ·→ ·↑×11
Bard↑
Bard↑ ·←×2
Thief↓ ·↑×2 ·→ ·↑ ·←
Bard→ ·↑
Bard↓
Thief↓×2 ·→ ·↓
Bard←×7 ·↑
Thief→ ·↓ ·←
Bard↑
Thief↑×2 ·→ ·↑ ·←
Bard↓
Thief↓×2 ·→ ·↓×2
Bard← ·→ ·↓×2
Thief→ ·↓×11
Thief←
Bard→×12
Thief↑×2 ·→ ·↑×11
Thief←
Bard↑ ·↓
Thief↓×2 ·→ ·↓×11 ·←
Bard↓
Bard←×2 ·↓×2 ·← ·↓×3 ·→ ·↓ ·→ ·↓ ·→×3 ·↑×2
Thief↑×2 ·→ ·↑
Thief↑×5
Bard↑
Thief→ ·↑×4 ·←
Bard←×2 ·↓ ·↑ ·→ ·←
Thief↓×2 ·→ ·↓×2
Bard→ ·↓
Thief→ ·↓×8
Thief←
Bard↓ ·← ·↓ ·←×3 ·↑×2 ·← ·↑×2 ·←×5 ·↓
Thief↑×2 ·→ ·↑×5 ·←
Bard←×3 ·↓×2
Thief↓×2 ·→ ·↓×5 ·←
Bard←
Thief↑×2 ·→ ·↑×5 ·←
Bard↓×3 ·→×2 ·↓
Thief↓×2 ·→ ·↓×6
Bard↓ ·↑ ·← ·→
Thief← ·↑×2 ·→ ·↑×2
Bard← ·↑ ·←
Thief← ·↓×2 ·→ ·↓ ·←
Bard→
Thief↑×2 ·→ ·↑
Bard↓
Bard↑
Thief→ ·↑×2 ·← ·↑×11 ·→ ·↑
Bard↑ ·→×4 ·↑×3 ·→×5 ·↑×3 ·→×5 ·↑×4
Bard: right 1, up 3, right 1. Thief: down 1, right 1, down 3. Bard: right 1, down 1, right 1, down 1, up 1, left 1. Thief: down 2. Bard: right 1. Thief: down 1, left 1, up 2, right 1. Bard: left 1, down 1. Thief: up 1. Bard: up 1. Thief: up 2. Bard: left 1. Thief: left 1, down 2, right 1, down 2, left 1. Bard: up 2, left 2, up 2, down 1, right 1. Thief: up 2, right 1, up 2. Bard: up 1. Thief: right 1, up 3, left 1. Bard: down 1. Thief: down 2, right 1, down 1. Bard: up 1. Thief: right 1, down 4, left 1. Bard: up 1, left 1, up 1, left 1, up 3, right 1. Thief: up 2, right 1, up 11. Bard: up 2, left 2. Thief: down 1, up 2, right 1, up 1, left 1. Bard: right 1, up 1, down 1. Thief: down 2, right 1, down 1. Bard: left 7, up 1. Thief: right 1, down 1, left 1. Bard: up 1. Thief: up 2, right 1, up 1, left 1. Bard: down 1. Thief: down 2, right 1, down 2. Bard: left 1, right 1, down 2. Thief: right 1, down 11, left 1. Bard: right 12. Thief: up 2, right 1, up 11, left 1. Bard: up 1, down 1. Thief: down 2, right 1, down 11, left 1. Bard: down 1, left 2, down 2, left 1, down 3, right 1, down 1, right 1, down 1, right 3, up 2. Thief: up 2, right 1, up 6. Bard: up 1. Thief: right 1, up 4, left 1. Bard: left 2, down 1, up 1, right 1, left 1. Thief: down 2, right 1, down 2. Bard: right 1, down 1. Thief: right 1, down 8, left 1. Bard: down 1, left 1, down 1, left 3, up 2, left 1, up 2, left 5, down 1. Thief: up 2, right 1, up 5, left 1. Bard: left 3, down 2. Thief: down 2, right 1, down 5, left 1. Bard: left 1. Thief: up 2, right 1, up 5, left 1. Bard: down 3, right 2, down 1. Thief: down 2, right 1, down 6. Bard: down 1, up 1, left 1, right 1. Thief: left 1, up 2, right 1, up 2. Bard: left 1, up 1, left 1. Thief: left 1, down 2, right 1, down 1, left 1. Bard: right 1. Thief: up 2, right 1, up 1. Bard: down 1, up 1. Thief: right 1, up 2, left 1, up 11, right 1, up 1. Bard: up 1, right 4, up 3, right 5, up 3, right 5, up 4.
Other routes1
Route 2485 steps
Verified in the game · build 25998871 · Oct 20, 2026
The Thief slides the orange beam up and down the left column while the Bard herds the three crystals onto the three buttons, opening the gates to both exits.
Thief↓ ·→ ·↓×3 ·←
Bard↑×3 ·→×2 ·↓
Thief→ ·↓×2 ·←
Bard→
Thief↑×2 ·→ ·↑×2 ·←
Bard↓ ·↑ ·← ·↓
Thief↓×2 ·→ ·↓×2 ·←
Bard↑
Thief↑×2 ·→ ·↑×2 ·←
Bard←
Thief↓×2 ·→ ·↓×2 ·←
Bard↑×2 ·←
Thief↑×2 ·→ ·↑×3 ·←
Bard↑
Thief↓×2 ·→ ·↓×3 ·←
Bard← ·↓ ·→
Thief↑×2 ·→ ·↑×2 ·←
Bard↑
Thief→ ·↑×3 ·←
Bard↓
Thief↓×2 ·→ ·↓ ·←
Bard↑
Thief→ ·↓×4 ·←
Bard↑ ·← ·↑ ·← ·↑×3 ·→
Thief↑×2 ·→ ·↑×11 ·←
Bard↑×2 ·←×2
Thief↓×2 ·→
Thief↓×11 ·←
Bard→ ·↑
Thief↑×2 ·→ ·↑×14 ·←
Bard↓
Thief↓×2 ·→ ·↓ ·←
Bard←×7 ·↑
Thief→ ·↓ ·←
Bard↑
Thief↑×2 ·→ ·↑ ·←
Bard↓
Thief↓×2 ·→ ·↓×2 ·←
Bard← ·→ ·↓×2
Thief→ ·↓×11 ·←
Bard→×12
Thief↑×2 ·→ ·↑×11 ·←
Bard↑ ·↓
Thief↓×2 ·→ ·↓×11 ·←
Bard↓
Bard←×2 ·↓×2 ·← ·↓×3 ·→ ·↓ ·→ ·↓ ·→×3 ·↑×2
Thief↑×2 ·→ ·↑×6 ·←
Bard↑
Thief→ ·↑×4 ·←
Bard←×2 ·↓ ·↑ ·→ ·←
Thief↓×2 ·→ ·↓×2 ·←
Bard→ ·↓
Thief→ ·↓×8 ·←
Bard↓ ·← ·↓ ·←×3 ·↑×2 ·←
Bard↑×2 ·←×5 ·↓
Thief↑×2 ·→ ·↑×5 ·←
Bard←×3 ·↓×2
Thief↓×2 ·→ ·↓×5 ·←
Bard←
Thief↑×2 ·→ ·↑×5 ·←
Bard↓
Thief↓×2 ·→ ·↓×5 ·←
Bard↓×2 ·→×2 ·↓
Thief↑×2 ·→ ·↑×2 ·←
Bard↑ ·←×2
Thief↓×2 ·→ ·↓ ·←
Bard↑
Thief↑×2 ·→ ·↑×2 ·←
Bard↓
Thief↓×2 ·→ ·↓×3 ·←
Bard→×2 ·↓
Thief↑×2 ·→ ·↑ ·←
Bard↓
Thief↓×2 ·→ ·↓×4 ·←
Bard↑
Thief↑×2 ·→ ·↑ ·←
Bard← ·→
Thief→ ·↑ ·←
Bard← ·↑ ·←
Thief↓×2 ·→ ·↓ ·←
Bard→
Thief↑×2 ·→ ·↑ ·←
Bard↓
Bard↑
Thief→ ·↑×2 ·←
Bard↑
Bard→×4 ·↑×3 ·→×5 ·↑×3 ·→×5 ·↑×4
Thief↑×11 ·→ ·↑
Thief: down 1, right 1, down 3, left 1. Bard: up 3, right 2, down 1. Thief: right 1, down 2, left 1. Bard: right 1. Thief: up 2, right 1, up 2, left 1. Bard: down 1, up 1, left 1, down 1. Thief: down 2, right 1, down 2, left 1. Bard: up 1. Thief: up 2, right 1, up 2, left 1. Bard: left 1. Thief: down 2, right 1, down 2, left 1. Bard: up 2, left 1. Thief: up 2, right 1, up 3, left 1. Bard: up 1. Thief: down 2, right 1, down 3, left 1. Bard: left 1, down 1, right 1. Thief: up 2, right 1, up 2, left 1. Bard: up 1. Thief: right 1, up 3, left 1. Bard: down 1. Thief: down 2, right 1, down 1, left 1. Bard: up 1. Thief: right 1, down 4, left 1. Bard: up 1, left 1, up 1, left 1, up 3, right 1. Thief: up 2, right 1, up 11, left 1. Bard: up 2, left 2. Thief: down 2, right 1, down 11, left 1. Bard: right 1, up 1. Thief: up 2, right 1, up 14, left 1. Bard: down 1. Thief: down 2, right 1, down 1, left 1. Bard: left 7, up 1. Thief: right 1, down 1, left 1. Bard: up 1. Thief: up 2, right 1, up 1, left 1. Bard: down 1. Thief: down 2, right 1, down 2, left 1. Bard: left 1, right 1, down 2. Thief: right 1, down 11, left 1. Bard: right 12. Thief: up 2, right 1, up 11, left 1. Bard: up 1, down 1. Thief: down 2, right 1, down 11, left 1. Bard: down 1, left 2, down 2, left 1, down 3, right 1, down 1, right 1, down 1, right 3, up 2. Thief: up 2, right 1, up 6, left 1. Bard: up 1. Thief: right 1, up 4, left 1. Bard: left 2, down 1, up 1, right 1, left 1. Thief: down 2, right 1, down 2, left 1. Bard: right 1, down 1. Thief: right 1, down 8, left 1. Bard: down 1, left 1, down 1, left 3, up 2, left 1, up 2, left 5, down 1. Thief: up 2, right 1, up 5, left 1. Bard: left 3, down 2. Thief: down 2, right 1, down 5, left 1. Bard: left 1. Thief: up 2, right 1, up 5, left 1. Bard: down 1. Thief: down 2, right 1, down 5, left 1. Bard: down 2, right 2, down 1. Thief: up 2, right 1, up 2, left 1. Bard: up 1, left 2. Thief: down 2, right 1, down 1, left 1. Bard: up 1. Thief: up 2, right 1, up 2, left 1. Bard: down 1. Thief: down 2, right 1, down 3, left 1. Bard: right 2, down 1. Thief: up 2, right 1, up 1, left 1. Bard: down 1. Thief: down 2, right 1, down 4, left 1. Bard: up 1. Thief: up 2, right 1, up 1, left 1. Bard: left 1, right 1. Thief: right 1, up 1, left 1. Bard: left 1, up 1, left 1. Thief: down 2, right 1, down 1, left 1. Bard: right 1. Thief: up 2, right 1, up 1, left 1. Bard: down 1, up 1. Thief: right 1, up 2, left 1. Bard: up 1, right 4, up 3, right 5, up 3, right 5, up 4. Thief: up 11, right 1, up 1.
Wizard · Gem pad · Gem · Crystal · Beam source · Button · Gate ×2Screen 3 of 6
Hint 1
The Wizard swaps places with the first thing in line ahead of him, near or far. In the green (Through) beam you can walk into walls.
Hint 2
The gates by the exit open from the button, and the crystal has to end on it while you are elsewhere.
Hint 3
Stand on the button, then swap with the crystal in line with it: the crystal takes your place on the button. Then swap with the gem beyond the gates.
Full solution59 steps
Verified in the game · build 25882299 · Oct 13, 2026
Swap the green beam source and the crystal around the board until the crystal holds the button, then swap your way to the exit.
Wizard↓ ·→×3 ·← ·↑×2 ·→×3 ·↓
Wizard→ ·↑×2 ·→×2 ·↑ ·↓ ·←×2 ·↓×5 ·→
Wizard↑×3 ·←×3 ·↓ ·← ·↑×3 ·←×3 ·→
Wizard→ ·↓ ·← ·↑×2 ·←×3 ·↑ ·→
Wizard→×5 ·←
Wizard↑ ·←
Wizard: down 1, right 3, left 1, up 2, right 3, down 1, right 1, up 2, right 2, up 1, down 1, left 2, down 5, right 1, up 3, left 3, down 1, left 1, up 3, left 3, right 2, down 1, left 1, up 2, left 3, up 1, right 6, left 1, up 1, left 1.
The Wizard swaps places with the first thing in line ahead of him, so he moves the beam source by swapping with it, even across gaps and walls. In the green (Through) beam you can walk into walls.
Hint 2
Each swap puts the source where you stood. Work it up and west along the top, down the left side, then east along the bottom, picking each spot so the next swap is in line.
Hint 3
End with the source at the bottom right, one row above the exit, so its beam runs east through the walls above the exit. Walk along it and step down onto the exit.
Full solution96 steps
Verified in the game · build 25882299 · Oct 13, 2026
Swap with the green beam source again and again to lay its beam across the walls you need to pass, ending at the exit.
Wizard↓×3 ·→×3 ·←
Wizard→×6 ·↑×2 ·→×2 ·↑ ·↓
Wizard→ ·↑×2 ·←×5 ·↓×2 ·←×2 ·↑×3 ·→
Wizard↓ ·←×4 ·↓×2 ·←×2 ·↑
Wizard← ·↓×2 ·→ ·↓ ·→×2 ·↑ ·←
Wizard↓ ·→×2 ·↓×2 ·↑
Wizard→×2 ·↑ ·→×2 ·↓×3 ·→×3 ·↓ ·←
Wizard↑ ·→×2 ·↑×3 ·→×2 ·↓×3 ·→×3 ·↓×2 ·↑
Wizard→ ·↓×2 ·→×2 ·↓
Wizard: down 3, right 3, left 1, right 6, up 2, right 2, up 1, down 1, right 1, up 2, left 5, down 2, left 2, up 3, right 1, down 1, left 4, down 2, left 2, up 1, left 1, down 2, right 1, down 1, right 2, up 1, left 1, down 1, right 2, down 2, up 1, right 2, up 1, right 2, down 3, right 3, down 1, left 1, up 1, right 2, up 3, right 2, down 3, right 3, down 2, up 1, right 1, down 2, right 2, down 1.
The Wizard swaps places with the first thing in line ahead of him. Green (Through) light lets you walk into walls; red (Open) light lets you bump a closed gate open.
Hint 2
Step the green source along the top a column at a time to lay a path down into the lower rooms, and move the red source to the row of the gate you need.
Hint 3
Bring the left crystal down beside the gates and onto the button, then swap with the red source and walk out to the exit.
Full solution266 steps
Verified in the game · build 26006400 · Oct 20, 2026
Wizard: right 5, down 1, right 1, up 1, left 1, up 1, right 1, down 1, left 1, up 2, right 1, down 1, left 1, up 2, right 1, down 1, left 1, down 3, right 5, down 4, left 1, down 1, left 1, up 2, right 1, down 1, right 1, up 1, left 1, up 1, right 1, down 1, left 2, up 1, right 1, down 1, left 2, up 1, right 1, down 1, left 2, up 1, right 1, down 1, left 2, up 1, right 1, down 1, left 2, up 1, right 1, down 1, left 2, up 1, right 1, down 4, left 1, down 3, left 4, down 1, right 4, up 1, right 1, up 1, left 1, down 1, right 2, up 1, left 1, down 1, right 2, up 1, left 1, down 1, right 2, up 1, left 1, down 1, right 2, up 1, left 1, down 1, right 2, up 1, left 1, down 1, right 2, up 1, left 1, down 1, right 1, down 1, left 1, up 1, right 1, down 2, left 1, up 1, right 1, up 1, left 1, up 1, right 1, down 1, left 2, up 1, right 1, down 1, left 2, up 1, right 1, down 1, left 2, up 1, right 1, down 1, left 2, up 1, right 1, down 1, left 2, up 1, right 1, down 1, left 2, up 1, right 1, down 1, left 1, down 1, left 4, down 3, right 1, up 3, right 2, down 1, right 1, up 1, right 1, up 1, left 1, down 4, right 1, down 3, left 2, down 1, right 1, up 1, left 1, down 1, right 1, up 2, left 2, down 1, right 1, up 1, left 2, down 1, right 1, up 1, left 2, down 1, right 1, down 3, left 1, up 1, right 1, down 3, left 1, up 1, right 1, down 2, left 1, up 1, right 1, up 3, right 2, down 2, right 4, up 2, right 2, down 1, right 2, down 3, left 1.
The Wizard swaps places with the first thing in line ahead of him. In the orange (Double) beam each step covers two tiles.
Hint 2
All four buttons must be held to open the gates. The three boulders and the beam source can each hold one.
Hint 3
Swap the boulders and the beam source into the square of buttons one by one, using the beam's double steps to get into position.
Full solution50 steps
Verified in the game · build 25882299 · Oct 13, 2026
Fill the square of four buttons with the three boulders and the beam source by swapping, then walk through the gates to the exit.
Wizard←×3 ·↓ ·→
Wizard←×2 ·↑×2 ·← ·↓
Wizard→×2 ·↑×3 ·← ·→ ·←×2
Wizard↑ ·→ ·↓ ·← ·↓ ·←×2 ·↓ ·←
Wizard← ·↑×2 ·→ ·↓ ·↑ ·→ ·↓×2 ·→ ·← ·→×2 ·←×2
Wizard←×2 ·↓×4
Wizard: left 3, down 1, right 1, left 2, up 2, left 1, down 1, right 2, up 3, left 1, right 1, left 2, up 1, right 1, down 1, left 1, down 1, left 2, down 1, left 2, up 2, right 1, down 1, up 1, right 1, down 2, right 1, left 1, right 2, left 4, down 4.
Wizard: up 3, left 1, up 2, down 1, right 4, up 1, left 1, up 1, right 1, down 1, right 4, up 2, right 1, up 1, right 1, down 1, left 2, up 1, right 1, down 1, right 2, left 1, down 1, right 3, up 1, down 1, up 1, left 3, up 1, right 1, down 1, right 1, down 1, right 5, up 1, left 1, up 1, down 1, right 1, down 1, right 2, left 1, up 1, right 4, down 1, up 1, down 3.
Wizard · Gate ×13 · Gem · Gem pad · Beam source ×2 · Button ×2Screen 3 of 6Opens after Heroes and Light, Advanced 9
Hint 1
The Wizard swaps places with the first thing in line ahead of him, so swapping with a beam source moves it. In green (Through) light you can walk into walls.
Hint 2
One source shines left, the other down. Leapfrog them west across the board so their beams always cover the wall you must cross next.
Hint 3
Both buttons are in the top left corner and a source can hold one. Finish with the downward source on the lower button and the leftward one on the upper: the gates open and the downward beam lights your way down.
Full solution272 steps · shortest
Verified in the game · build 26006400 · Oct 24, 2026
Leapfrog the two green beam sources across the board by swapping, walking through walls in their beams, then open the gates and walk to the exit.
Wizard: down 1, right 1, down 5, right 4, up 1, left 1, down 1, left 3, down 2, right 1, down 1, left 4, up 3, down 1, left 1, up 4, right 1, up 2, down 1, left 1, up 3, right 3, left 1, down 3, right 1, left 1, down 2, left 2, up 5, right 3, up 1, left 6, down 1, right 1, down 1, left 2, down 1, up 1, right 2, down 3, left 4, up 1, right 1, down 1, left 2, down 1, up 1, left 1, down 2, right 1, down 1, left 1, down 1, up 1, left 1, down 2, left 2, right 1, down 1, left 4, up 2, right 1, up 3, down 1, left 1, up 4, left 4, right 1, down 4, right 3, up 3, right 1, left 2, up 1, left 2, down 3, left 1, down 1, up 1, left 1, down 3, left 2, right 1, down 1, left 4, up 1, left 1, right 1, up 1, left 1, up 4, left 1, down 1, right 1, up 6, left 1, up 2, down 1, right 1, up 3, left 4, down 1, right 1, up 1, right 2, up 2, right 1, up 1, left 1, down 1, left 2, right 1, left 1, down 2, left 3, up 1, down 1, right 1, up 1, left 1, down 1, right 1, up 2, left 1, down 1, right 1, up 1, left 1, down 6, left 3, up 7, right 2, up 1, right 1, up 1, right 1, up 1, left 1, down 8, right 3, down 3, right 7.
Other routes1
Route 2284 steps
Verified in the game · build 25882299 · Oct 14, 2026
Leapfrog the two green beam sources across the board by swapping, walking through walls in their beams, then open the gates and walk to the exit.
Wizard: down 6, right 5, up 1, down 1, left 3, down 2, right 1, down 1, left 5, up 2, right 1, up 2, down 1, left 1, up 5, right 1, down 1, left 1, up 2, right 5, left 1, down 3, right 1, down 2, left 4, up 5, right 1, up 1, left 6, down 3, right 2, up 1, left 2, down 2, left 3, right 1, down 1, left 5, down 3, up 1, left 1, down 4, left 4, right 1, down 1, left 4, up 5, left 1, down 1, right 1, up 5, left 2, down 1, left 2, right 1, down 4, right 5, up 3, right 1, left 2, up 1, left 2, down 3, left 1, down 1, up 1, left 1, down 3, left 2, right 1, down 1, left 4, up 1, left 1, right 1, up 1, left 1, up 4, left 1, down 1, right 1, up 6, left 1, up 2, down 1, right 1, up 3, left 4, down 1, right 1, up 1, right 2, up 2, right 1, up 1, left 1, down 1, left 2, right 1, left 1, down 2, left 3, up 2, right 1, down 1, left 1, up 2, down 6, left 3, up 8, right 2, up 2, right 1, down 1, right 1, down 1, left 2, up 2, right 1, down 2, left 1, up 1, left 1, down 1, right 2, down 1, left 1, up 1, right 1, down 7, right 3, down 3, right 7.
The Wizard swaps places with the first thing in line ahead of him, however far. A crystal across a gap gets you across.
Hint 2
In an orange (Double) beam each step covers two tiles. Combine crystal swaps with double steps to cross the board.
Hint 3
Swap with crystals to hop between areas, using the two orange rows for long steps, and finish with double steps up beside the exit.
Full solution44 steps
Verified in the game · build 25882299 · Oct 13, 2026
Swap places with crystals across the gaps and double-step along the orange beams to reach the exit.
Wizard↑×8
Wizard→×3 ·↓×3 ·→×2 ·↑
Wizard→ ·↓ ·↑ ·↓×2 ·→×2
Wizard↓×2 ·↑ ·↓ ·→ ·↓
Wizard↑ ·→×2 ·↑ ·↓ ·↑ ·↓
Wizard←×2 ·↑ ·→ ·↑ ·→ ·↑
Wizard: up 8, right 3, down 3, right 2, up 1, right 1, down 1, up 1, down 2, right 2, down 2, up 1, down 1, right 1, down 1, up 1, right 2, up 1, down 1, up 1, down 1, left 2, up 1, right 1, up 1, right 1, up 1.
Wizard · Gate ×2 · Beam source · Gem pad · Gem · Crystal · ButtonScreen 3 of 6
Hint 1
The Wizard swaps places with the first thing in line ahead of him. In the orange (Double) beam each step covers two tiles.
Hint 2
The button in the beam row holds the gates open only while pressed, and you have to leave it. The crystal must hold it.
Hint 3
Swap the crystal to beside the button, work it onto the button with swaps, then double-step right through the gates to the exit.
Full solution43 steps
Verified in the game · build 25998871 · Oct 17, 2026
Get the crystal onto the button with swaps so the gates stay open, then double-step along the orange beam to the exit.
Wizard←×2 ·↑
Wizard← ·↓×2 ·→×3 ·↑ ·→ ·↓×2 ·←×4 ·↑
Wizard↓ ·← ·↓ ·↑ ·→ ·↓ ·← ·↑ ·→ ·↓×2 ·↑
Wizard← ·↓×2 ·→×4 ·↑ ·→ ·↓×2 ·→×2
Wizard: left 2, up 1, left 1, down 2, right 3, up 1, right 1, down 2, left 4, up 1, down 1, left 1, down 1, up 1, right 1, down 1, left 1, up 1, right 1, down 2, up 1, left 1, down 2, right 4, up 1, right 1, down 2, right 2.
Wizard: left 1, down 2, right 1, down 1, right 2, up 1, right 3, up 2, right 1, left 1, down 1, left 1, down 2, up 1, right 1, down 2, left 1, down 2, right 1, down 3, left 1, down 1, left 2, up 1, left 1, up 5, right 1, down 2, right 1, down 3, left 1, down 1, left 2, up 1, left 1, up 1, right 3, down 2, right 1, down 3, left 1, down 1, left 1, up 3, down 1, right 3, up 1, right 1, up 2, left 1, up 1, left 1, up 1, down 1, left 1, up 2, left 2, right 1, left 1, up 1, left 1, up 2, down 1, right 3, up 1, right 3, up 2, left 1.
Wizard · Gem pad · Gem · Crystal · Beam source · Button · GateScreen 4 of 6
Hint 1
The Wizard swaps places with the first thing in line ahead of him. In a purple (Endpoint) beam a step along it jumps you to its far end; a step against it, beside its source.
Hint 2
The exit gate opens only while its button is held, and the crystal has to hold it.
Hint 3
Stand on the button, then swap with the crystal in line below you: it takes the button and you walk to the exit.
Full solution51 steps
Verified in the game · build 26006400 · Oct 20, 2026
Ferry the crystal to the button with swaps and beam jumps, then swap it onto the button and walk through the gate.
Wizard←×2 ·↑ ·←×2 ·↑×2 ·← ·↓ ·→×2 ·↓ ·↑
Wizard←×2 ·↓×4 ·→
Wizard↑ ·←×4 ·↑ ·← ·↓×2 ·→
Wizard↑ ·←×4 ·↑×2 ·↓ ·→×2 ·↑×2 ·←
Wizard↑ ·→×2 ·↓
Wizard→ ·↑ ·→×2
Wizard: left 2, up 1, left 2, up 2, left 1, down 1, right 2, down 1, up 1, left 2, down 4, right 1, up 1, left 4, up 1, left 1, down 2, right 1, up 1, left 4, up 2, down 1, right 2, up 2, left 1, up 1, right 2, down 1, right 1, up 1, right 2.
Wizard · Gem pad · Gem · Crystal · Beam source · Button · GateScreen 4 of 6Opens after Heroes and Light, Advanced 16
Hint 1
The Wizard swaps places with the first thing in line ahead of him. In a purple (Endpoint) beam a step along it jumps you to its far end; a step against it, beside its source.
Hint 2
The exit gate opens only while its button is held, and the crystal has to hold it.
Hint 3
Bring the crystal into the beam's row, jump to the right end and swap it along the row, then stand on the button and swap it up onto it.
Full solution34 steps
Verified in the game · build 25882299 · Oct 13, 2026
Move the crystal with swaps and purple beam jumps until it can be swapped onto the button, then walk through the gate.
Wizard↓ ·←
Wizard↑ ·→×2 ·↓ ·← ·↑ ·→ ·↓ ·← ·↑
Wizard→ ·↓ ·→ ·↑ ·←×2 ·↓ ·← ·→
Wizard↑×4 ·←×2 ·↓
Wizard→ ·↑×4 ·→
Wizard: down 1, left 1, up 1, right 2, down 1, left 1, up 1, right 1, down 1, left 1, up 1, right 1, down 1, right 1, up 1, left 2, down 1, left 1, right 1, up 4, left 2, down 1, right 1, up 4, right 1.
Wizard · Gem pad · Gem · Beam source · Boulder · Button · GateScreen 4 of 6Opens after Heroes and Light, Advanced 17
Hint 1
The Wizard swaps places with the first thing in line ahead of him. In a purple (Endpoint) beam a step along it jumps you to its far end; a step against it, beside its source.
Hint 2
The exit gate opens only while the button in the beam row is held, and the boulder has to hold it.
Hint 3
Bring the boulder into the beam row, stand on the button, then swap the boulder onto it from the beam and jump to the source.
Full solution41 steps
Verified in the game · build 25882299 · Oct 13, 2026
Swap the boulder round into the purple beam's row and onto the button, then jump along the beam and walk to the exit.
Wizard↑×3 ·←×4 ·↓ ·→
Wizard↑×3 ·←×3 ·↑ ·← ·↓×4 ·→
Wizard↑ ·←×3 ·↓ ·↑
Wizard← ·↓×4 ·← ·→×2
Wizard↑×4 ·→
Wizard: up 3, left 4, down 1, right 1, up 3, left 3, up 1, left 1, down 4, right 1, up 1, left 3, down 1, up 1, left 1, down 4, left 1, right 2, up 4, right 1.
Wizard · Gem pad · Gem · Beam source ×2 · Crystal · Boulder · Button · GateScreen 4 of 6Opens after Heroes and Light, Advanced 18
Hint 1
The Wizard swaps places with the first thing in line ahead of him. In a purple (Endpoint) beam a step along it jumps you to its far end; a step against it, beside its source.
Hint 2
The exit gate opens only while the button in one beam's row is held. A boulder in that row cuts the beam short, so a jump can land you on the button.
Hint 3
Park the boulder just left of the button, jump onto the button along its beam, then swap with the crystal at the beam's right end so it takes the button.
Full solution49 steps
Verified in the game · build 25882299 · Oct 13, 2026
Use the boulder to cut a purple beam short, jump onto the button and swap the crystal onto it, then walk through the gate.
Wizard↑×2 ·←
Wizard↑ ·←×2 ·↓ ·→ ·↓ ·→
Wizard↑×2 ·← ·↓×2 ·→ ·↑ ·←
Wizard↑ ·← ·↓×2 ·→ ·↑×2 ·→×2 ·← ·↓×2 ·→×3 ·↓ ·↑
Wizard← ·↓ ·→ ·↑ ·← ·↓×3 ·← ·→
Wizard↑×3 ·→
Wizard: up 2, left 1, up 1, left 2, down 1, right 1, down 1, right 1, up 2, left 1, down 2, right 1, up 1, left 1, up 1, left 1, down 2, right 1, up 2, right 2, left 1, down 2, right 3, down 1, up 1, left 1, down 1, right 1, up 1, left 1, down 3, left 1, right 1, up 3, right 1.
Wizard: up 1, right 4, left 2, up 2, left 1, right 1, down 1, left 7, up 2, down 1, right 1, up 1, left 1, up 1, right 1, down 1, right 1, down 1, right 1, left 1, down 1, right 5, up 1, right 1, down 1, left 2, down 1, left 4, up 1, left 1, up 1, right 2, down 2, right 1, left 2, right 1, down 1, left 2, up 3, left 1, up 1, left 1, down 1, right 1, up 1, left 1, up 1, right 1, down 1, right 2, down 1, left 1, down 1, right 2, down 1, right 2, down 1.
Other routes1
Route 299 steps
Verified in the game · build 25882299 · Oct 13, 2026
Swap the two goblins onto the two buttons, keeping clear of them, and walk out through the opened gate.
Wizard: up 1, right 4, left 2, up 2, left 1, right 1, down 1, left 7, up 2, down 1, right 1, up 1, left 1, up 1, right 1, down 1, right 1, down 1, right 1, left 1, down 1, right 5, up 1, right 1, down 1, left 2, down 1, left 4, up 1, left 1, up 1, right 2, down 2, right 1, left 2, right 1, down 1, left 2, up 3, left 1, up 1, left 1, down 1, right 1, up 1, left 1, up 1, right 1, down 1, right 2, up 1, right 3, down 1, right 1, down 1, right 1, left 1, down 1, right 3, up 1, right 1, down 1, left 2, down 1, left 2, down 1.
Warrior · Beam source · Gate · Button · Gem · Gem pad · Boulder · CrystalScreen 5 of 6
Hint 1
A crystal pushed along a purple (Endpoint) beam jumps to its far end; pushed against it, the crystal jumps beside the source. A boulder stops the beam.
Hint 2
The exit gate opens from the button near the top. Use the beam to carry the crystal up to its row.
Hint 3
Bring the crystal up to the button's row, push the beam source into that row so the crystal jumps along to the right, then push it left onto the button.
Full solution152 steps
Verified in the game · build 25998871 · Oct 20, 2026
Carry the crystal across the board with purple beam jumps and push it onto the button that opens the exit gate.
Warrior↓×3 ·→×9 ·↑×2 ·←
Warrior↓×2 ·←×3 ·↑ ·→×2 ·↓ ·→ ·↑
Warrior↓ ·←×8 ·↑×7 ·→ ·↓×4
Warrior← ·↓×3 ·→×9 ·↑×2 ·←
Warrior↓×2 ·←×7 ·↑×2
Warrior↓×2 ·→×5 ·↑×2 ·→×2 ·↓ ·→ ·↑×5
Warrior↓×6 ·←×7 ·↑×6
Warrior←×2 ·↓×4 ·→ ·↑×4 ·← ·↑ ·→
Warrior↑ ·→ ·↓ ·↑ ·→×7 ·↓ ·←×2
Warrior↑ ·←×2 ·↓×2 ·← ·↓ ·←×3 ·↓ ·←×2
Warrior: down 3, right 9, up 2, left 1, down 2, left 3, up 1, right 2, down 1, right 1, up 1, down 1, left 8, up 7, right 1, down 4, left 1, down 3, right 9, up 2, left 1, down 2, left 7, up 2, down 2, right 5, up 2, right 2, down 1, right 1, up 5, down 6, left 7, up 6, left 2, down 4, right 1, up 4, left 1, up 1, right 1, up 1, right 1, down 1, up 1, right 7, down 1, left 2, up 1, left 2, down 2, left 1, down 1, left 3, down 1, left 2.
When the Druid's step is blocked she transforms what is in front of her, and a goblin becomes a crystal. A beam jump blocked by a goblin counts: that goblin is transformed.
Hint 2
The gates open once every goblin is gone. Aim the purple and orange beams at each goblin's row or column in turn.
Hint 3
The Warrior moves the beam sources with the gem out of its pad and puts the gem back to light them; the Druid then jumps into each goblin from a distance.
Full solution172 steps
Verified in the game · build 26006400 · Oct 25, 2026
The Warrior aims the beams at each goblin in turn and the Druid jumps into them, turning them into crystals, until the gates to the exits open.
Druid↓ ·←
Warrior↑ ·→×3 ·↑×2 ·←×2 ·↓ ·← ·↓ ·→
Warrior↑×2 ·→×2 ·↓ ·←×6 ·↑ ·← ·↓×3
Warrior↑×2 ·→×2 ·↓×2 ·→×4 ·↓×2 ·→ ·↓ ·←
Druid←
Warrior← ·→ ·↑ ·←×5 ·↑ ·↓ ·→×7 ·↓ ·←
Druid→×2
Warrior← ·→ ·↑×4 ·→ ·↓ ·→ ·↑×3 ·←
Druid→ ·↑×4
Warrior↓×5 ·→ ·↓ ·←
Druid↑
Warrior↑ ·←×2 ·↓ ·→ ·↑×4 ·→×3 ·↑×3 ·←×2 ·↓ ·← ·↑
Warrior↓×2 ·←×3 ·↓×2 ·← ·↓ ·← ·↑×5
Druid↓ ·←×6 ·↑×3
Warrior↓ ·→×2 ·↓×3 ·→×5 ·↓×3 ·←
Druid→
Druid↓×3 ·→×7
Warrior↑×4 ·→×3
Druid: down 1, left 1. Warrior: up 1, right 3, up 2, left 2, down 1, left 1, down 1, right 1, up 2, right 2, down 1, left 6, up 1, left 1, down 3, up 2, right 2, down 2, right 4, down 2, right 1, down 1, left 1. Druid: left 1. Warrior: left 1, right 1, up 1, left 5, up 1, down 1, right 7, down 1, left 1. Druid: right 2. Warrior: left 1, right 1, up 4, right 1, down 1, right 1, up 3, left 1. Druid: right 1, up 4. Warrior: down 5, right 1, down 1, left 1. Druid: up 1. Warrior: up 1, left 2, down 1, right 1, up 4, right 3, up 3, left 2, down 1, left 1, up 1, down 2, left 3, down 2, left 1, down 1, left 1, up 5. Druid: down 1, left 6, up 3. Warrior: down 1, right 2, down 3, right 5, down 3, left 1. Druid: right 1, down 3, right 7. Warrior: up 4, right 3.


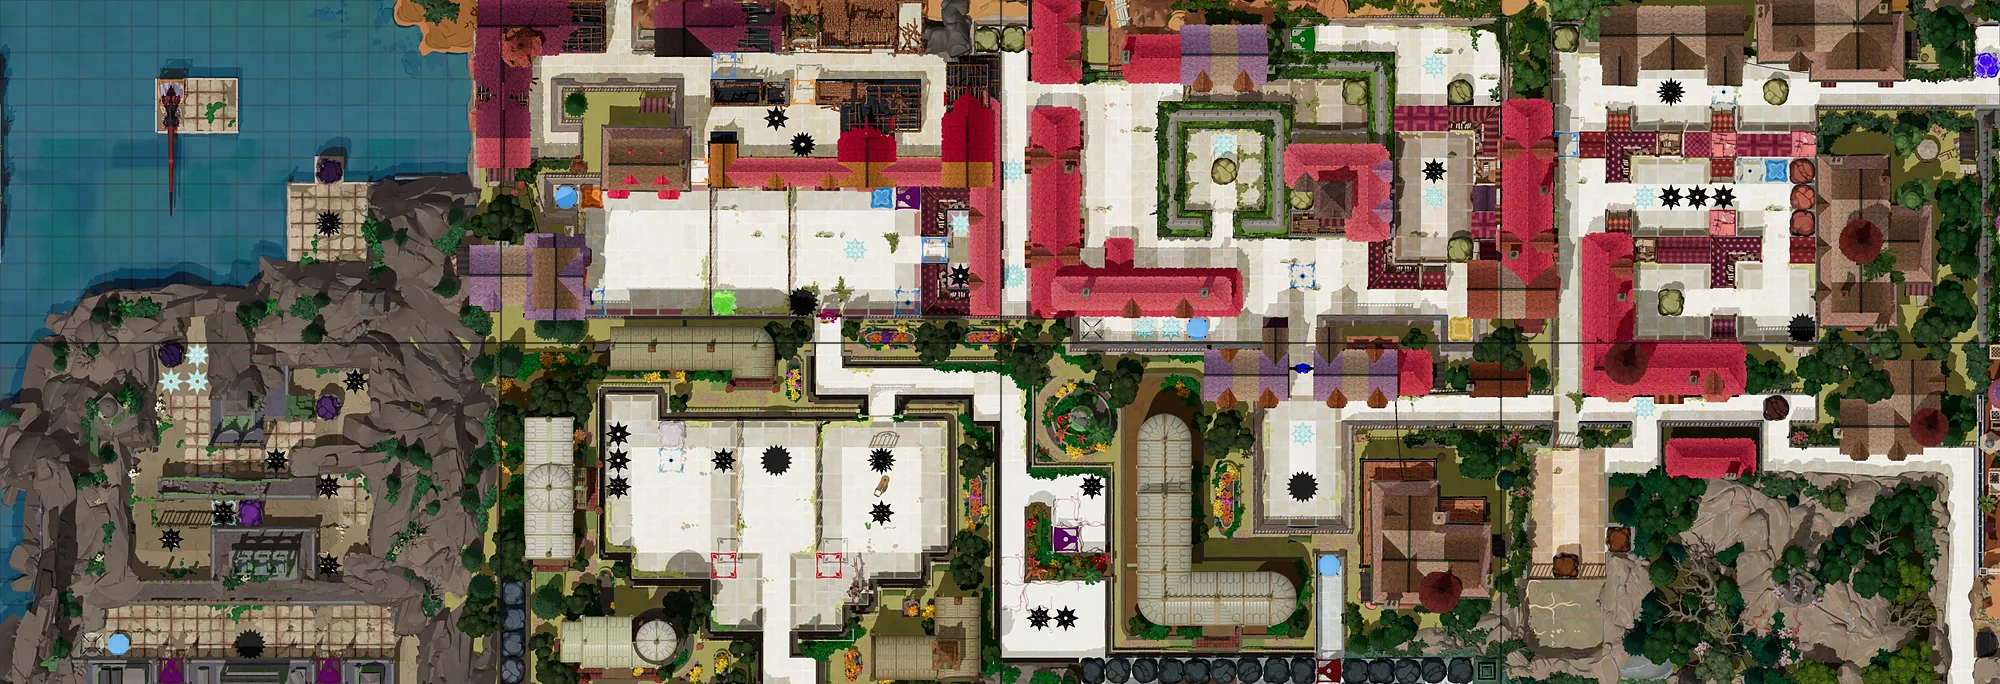 12345678910111213141516171819202122