
Heroes and Mirrors puzzle 5 solution
OptionalHardIn Heroes and MirrorsHeroes and Mirror Isles crossover area, northeast of the CrossroadsSurface layerPuzzle 5 of 30
Getting here
- Layer
- Surface
- Next to
- Heroes and Water (north), Mirrorable Mirrors (south)
Hint 1
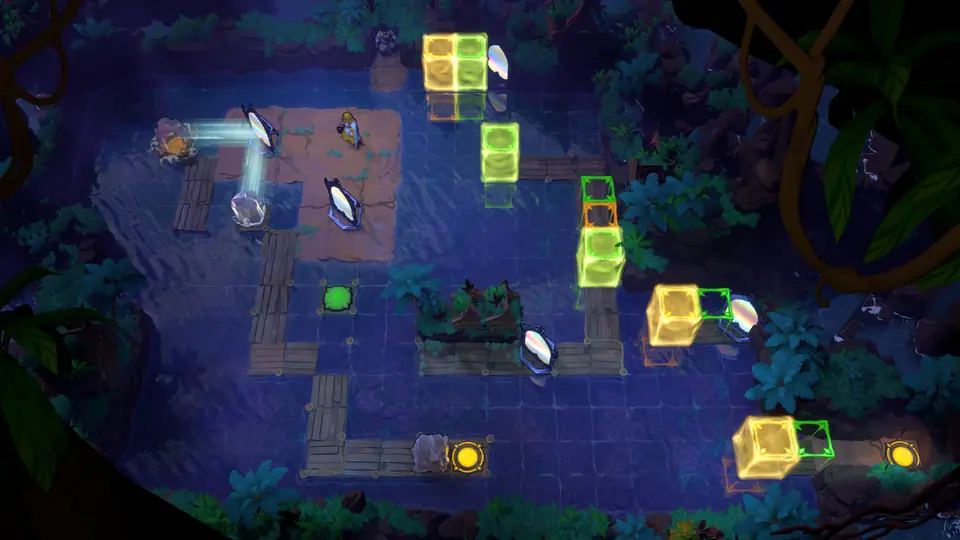
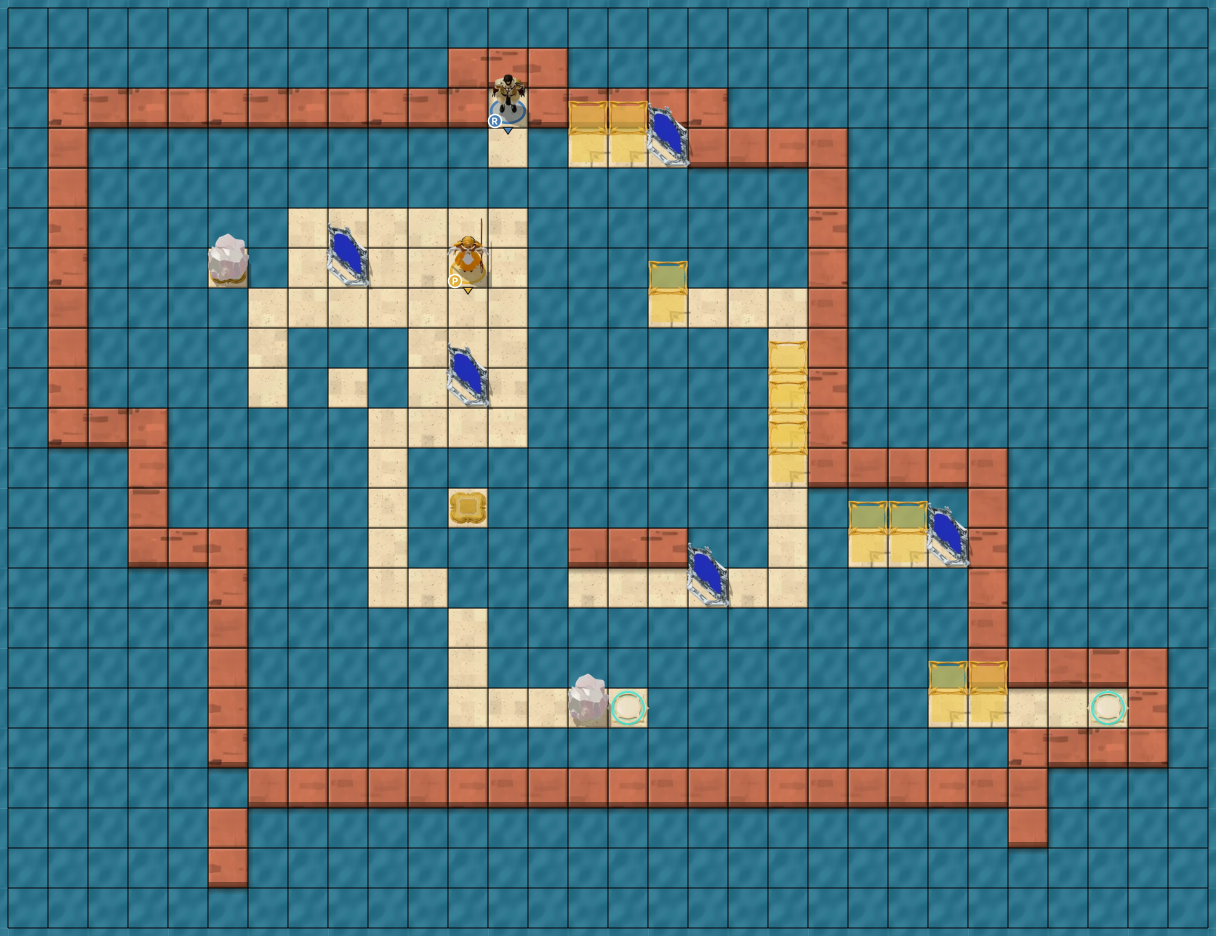
Magic mirrors move the Crystal between the two Buttons and split it when both mirrors see it.
Hint 2
The same mirrors teleport the heroes. Each Crystal arrival or departure switches its Button's gates.
Hint 3
Push the bottom mirror left to sink the lower Crystal, split the Priest on that bridge, then reunite the copies before walking to the left exit.
Full solution112 steps · shortest
Verified in the game · build 26006400 · Oct 25, 2026
Route from AllThingsHow
Shuttle the Crystal between Buttons to switch the gates, sink a Crystal bridge and teleport both heroes to their exits.
- HeroInput 1 activate
- PriestInputs 2-7 ↑ · ←×4 · ↓
- HeroInput 8 activate
- PriestInputs 9-12 →×2 · ↓×2
- HeroInputs 13-14 ↓ · activate
- HeroInputs 15-18 →×3 · activate
- PriestInput 19 ↑
- HeroInputs 20-21 activate×2
- PriestInputs 22-28 ↑×3 · ←×3 · ↓
- HeroInputs 29-32 activate · ↓×3
- PriestInputs 33-34 ← · ↑
- HeroInput 35 activate
- HeroInputs 36-39 ↓×4
- PriestInput 40 →
- HeroInput 41 activate
- PriestInputs 42-44 → · ↓×2
- HeroInputs 45-49 ←×4 · activate
- HeroInputs 50-54 →×4 · ↑
- PriestInputs 55-63 ←×2 · ↓×4 · →×2 · activate
- PriestInputs 64-77 ←×3 · ↑×3 · ←×2 · ↑×4 · → · ↑
- HeroInput 78 activate
- HeroInputs 79-82 →×4
- PriestInputs 83-89 →×2 · ←×2 · ↑ · → · activate
- PriestInputs 90-105 ←×2 · ↓×3 · ← · ↓ · →×2 · ↓×3 · →×3 · activate
- PriestInputs 106-112 ↓×3 · →×4
Hero: activate. Priest: up 1, left 4, down 1. Hero: activate. Priest: right 2, down 2. Hero: down 1, activate, right 3, activate. Priest: up 1. Hero: activate (2 times). Priest: up 3, left 3, down 1. Hero: activate, down 3. Priest: left 1, up 1. Hero: activate, down 4. Priest: right 1. Hero: activate. Priest: right 1, down 2. Hero: left 4, activate, right 4, up 1. Priest: left 2, down 4, right 2, activate, left 3, up 3, left 2, up 4, right 1, up 1. Hero: activate, right 4. Priest: right 2, left 2, up 1, right 1, activate, left 2, down 3, left 1, down 1, right 2, down 3, right 3, activate, down 3, right 4.
Other routes1
Route 2123 steps
Verified in the game · build 25882299 · Oct 14, 2026
Route from AllThingsHow
Shuttle the crystal between the buttons to switch the gates, sink the bottom crystal as a bridge, and teleport both heroes through to their exits.
- HeroInput 1 activate
- PriestInputs 2-7 ↑ · ←×4 · ↓
- HeroInput 8 activate
- PriestInputs 9-12 →×2 · ↓×2
- HeroInputs 13-14 ↓ · activate
- HeroInputs 15-17 →×3
- PriestInput 18 →
- HeroInput 19 activate
- PriestInputs 20-24 ↑×2 · ←×2 · ↓
- HeroInput 25 activate
- PriestInput 26 →
- HeroInputs 27-28 activate×2
- PriestInputs 29-39 ↑×5 · ←×5 · ↓
- HeroInput 40 activate
- HeroInputs 41-43 ↓×3
- PriestInputs 44-45 ← · ↑
- HeroInputs 46-50 activate · ↓×4
- PriestInput 51 →
- HeroInput 52 activate
- PriestInputs 53-55 → · ↓×2
- HeroInputs 56-60 ←×4 · activate
- PriestInputs 61-69 ←×2 · ↓×4 · →×2 · activate
- HeroInputs 70-74 →×4 · ↑
- PriestInputs 75-88 ←×3 · ↑×3 · ←×2 · ↑×4 · → · ↑
- HeroInput 89 activate
- HeroInputs 90-93 →×4
- PriestInputs 94-116 →×2 · ←×2 · ↑ · → · activate · ←×2 · ↓×3 · ← · ↓ · →×2 · ↓×3 · →×3 · activate
- PriestInputs 117-123 ↓×3 · →×4
Hero: activate. Priest: up 1, left 4, down 1. Hero: activate. Priest: right 2, down 2. Hero: down 1, activate, right 3. Priest: right 1. Hero: activate. Priest: up 2, left 2, down 1. Hero: activate. Priest: right 1. Hero: activate (2 times). Priest: up 5, left 5, down 1. Hero: activate, down 3. Priest: left 1, up 1. Hero: activate, down 4. Priest: right 1. Hero: activate. Priest: right 1, down 2. Hero: left 4, activate. Priest: left 2, down 4, right 2, activate. Hero: right 4, up 1. Priest: left 3, up 3, left 2, up 4, right 1, up 1. Hero: activate, right 4. Priest: right 2, left 2, up 1, right 1, activate, left 2, down 3, left 1, down 1, right 2, down 3, right 3, activate, down 3, right 4.
Record, paste moves, or share a description or video.