Order of the Sinking StarPuzzle map & solutions

Torc

6 puzzles on the surface layer, all with solutions. Heroes: Hero, Beamcaster.

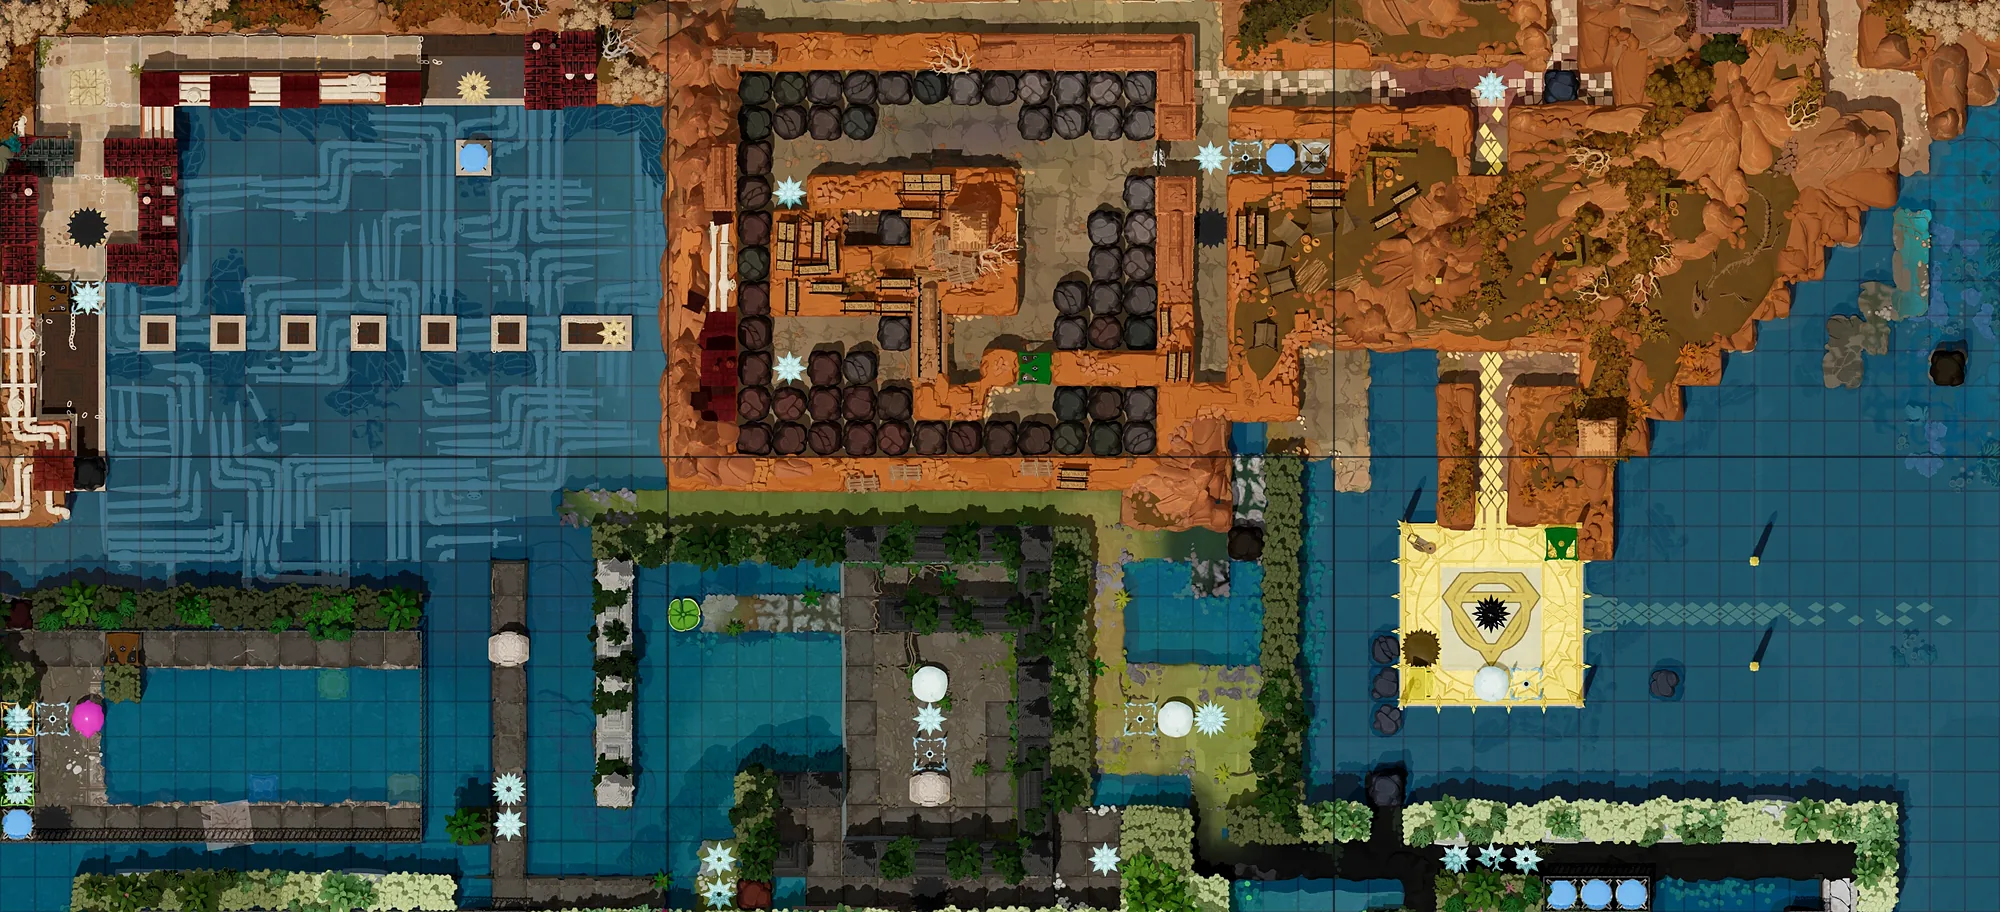
Map of Torc with every puzzle entrance numbered123456

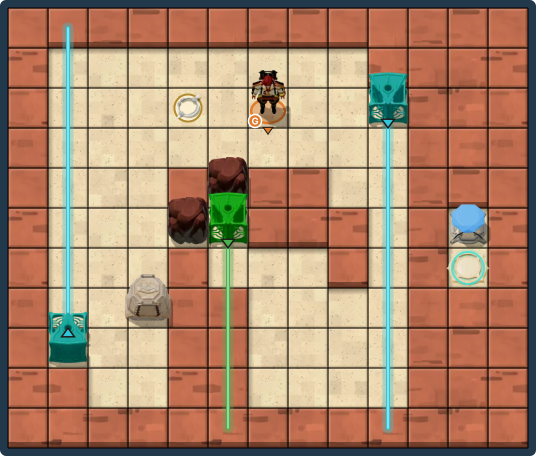
1 Torc 1

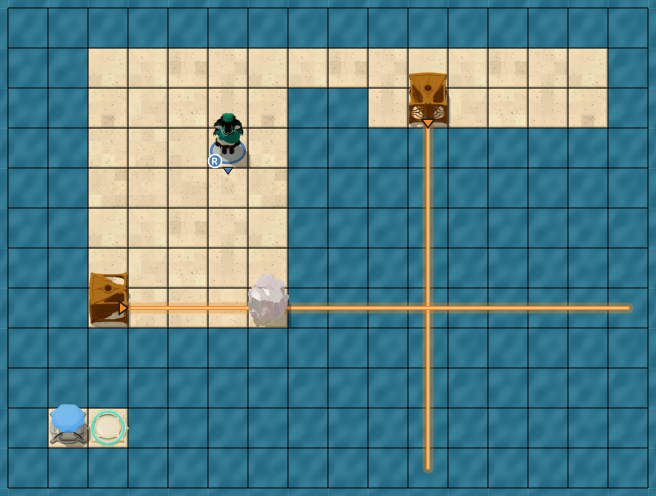
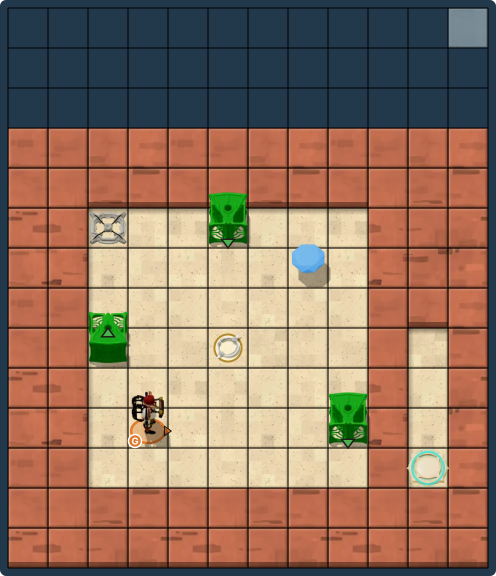
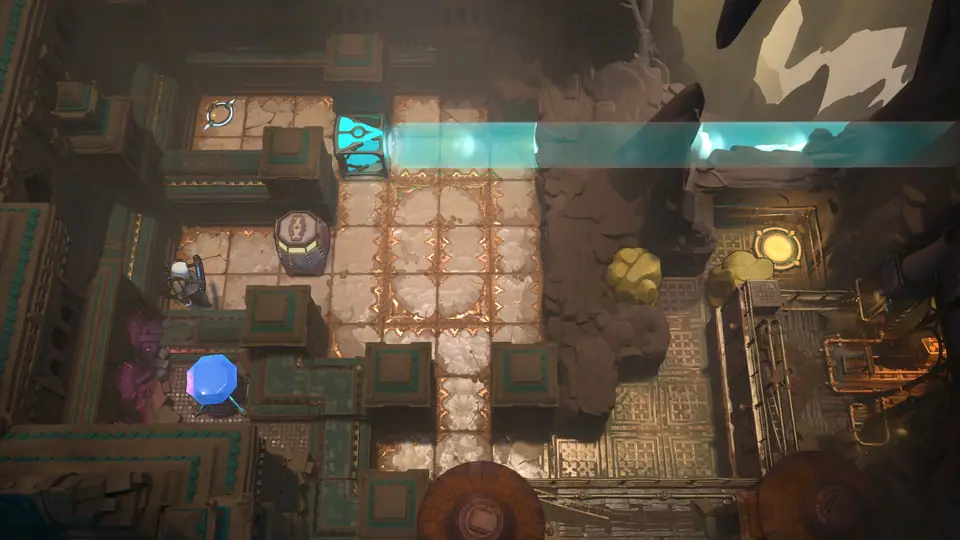
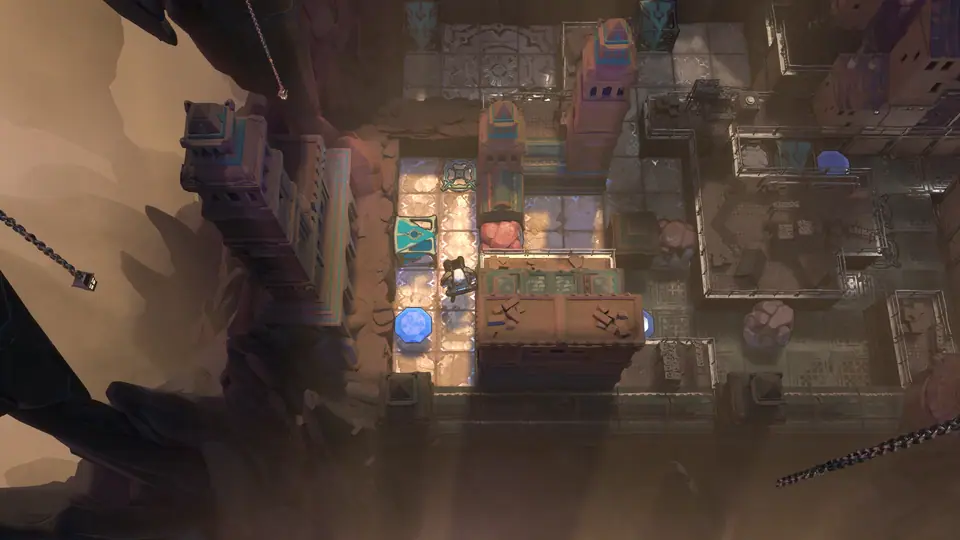
Torc puzzle 1 in game

Hero · Gem slot · Gem · Beam source ×2 · Crystal

Opens after Stones Illuminated 3

  1. Hint 1

    Pieces that end up somewhere new: both beamcasters and the crystal. 1 other piece stays where it starts.

  2. Hint 2

    Start: push the top right beamcaster right 2 tiles, push the middle crystal left 2 tiles and push the middle crystal down.

Full solution · 54 steps
  1. Hero ↓×3 · ← · ↓ · →×3 · ↑×2 · ← · ↓ · →×2 · ↑ · ←×5 · ↓×6 · →×4 · ←×4 · ↑ · ↓ · ←×4 · ↓ · → · ↑ · →×2 · ↓ · ←×2 · ↑ · ← · ↓×4

2 Torc 2

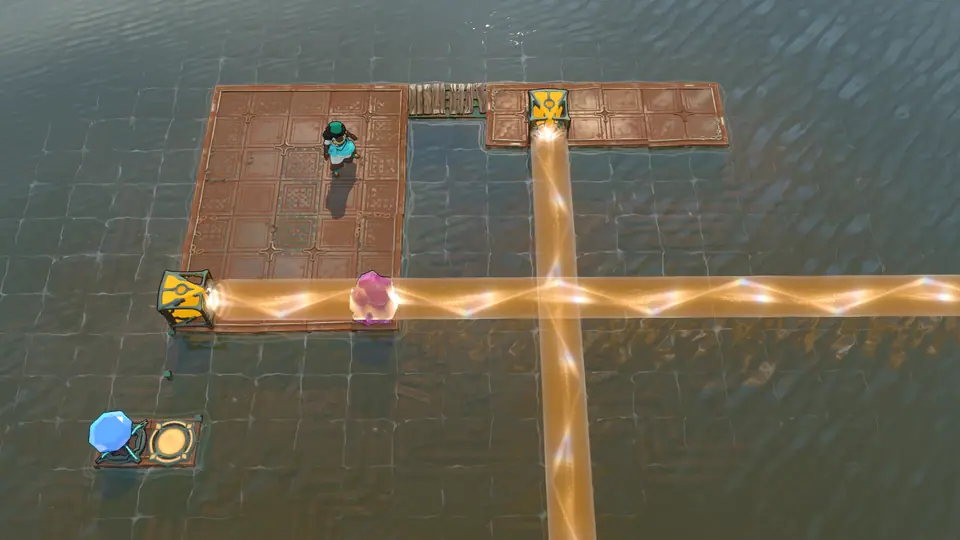
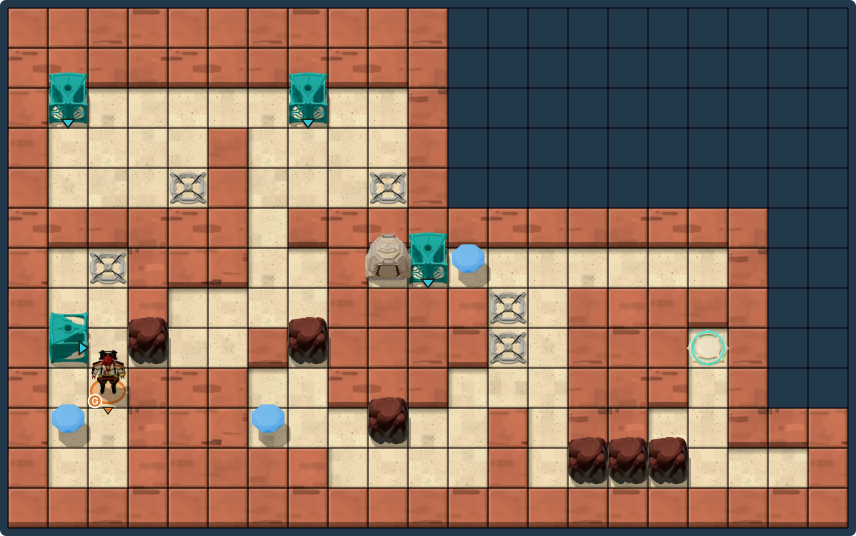
Torc puzzle 2 in game

Beamcaster · Gem · Gem slot · Beam source ×3

  1. Hint 1

    Pieces that end up somewhere new: the gem. 4 other pieces stay where they start.

Full solution · 30 steps
  1. Gemsman →×4 · ↑×4 · take/drop gem · ←×3 · ↑ · ←×2 · take/drop gem · →×2 · ↓ · →×3 · ↓×5 · →×3

3 Torc 3

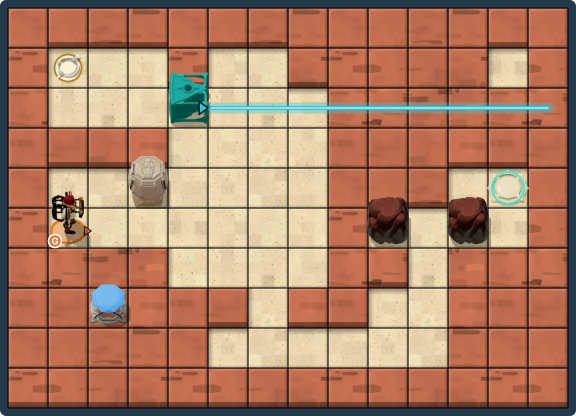
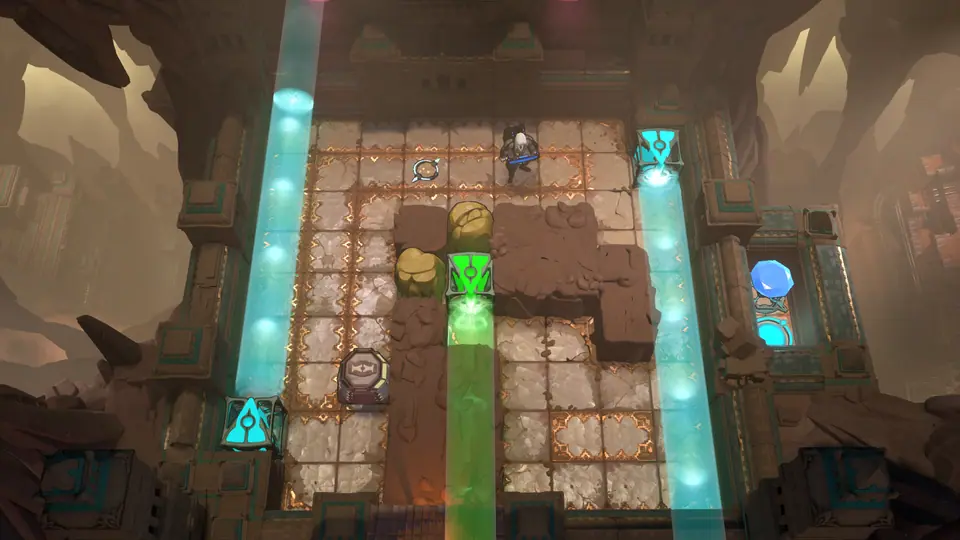
Torc puzzle 3 in game

Beamcaster · Beam source · Cart · Gem · Gem slot · Boulder ×2

  1. Hint 1

    Pieces that end up somewhere new: the beamcaster, the cart and one of the 2 blocks. 3 other pieces stay where they start.

  2. Hint 2

    Start: push the top left beamcaster left 2 tiles, push the top left beamcaster right 3 tiles and push the top left beamcaster down 3 tiles.

  3. Hint 3

    Finish: push the left cart right, push the top left beamcaster right 6 tiles and push the right right block right, then head for the exit.

Full solution · 167 steps
  1. Gemsman →×3 · ↑×2 · → · ↑ · ←×2 · ↑ · ←×2 · →×2 · ↓ · → · ← · activate · ↑ · ←×2 · ↓ · →×3 · ← · ↑ · ↓ · activate · → · ↓ · → · ↓ · ↑ · activate · → · ↑×2 · ← · ↓×3 · ← · → · activate · → · ↓ · ←×3 · →×2 · ↓ · ↑ · activate · wait×2 · activate · ← · ↑ · ←×2 · wait · → · ←×3 · wait · → · ←×2 · → · activate · →×3 · ↓ · → · ← · activate · ↑ · ←×2 · ↓ · →×2 · activate · ↑ · →×3 · ↓×2 · ← · ↑ · wait · ↑ · activate · wait · ↑ · ← · wait×5 · → · ← · activate · ← · ↓ · → · wait×14 · → · ↓ · → · ↓×2 · ← · wait×3 · →×4 · ←×3 · ↑ · wait×13 · activate · →×3 · ↑ · → · ↑×2 · → · ↑ · →

4 Torc 4

Torc puzzle 4 in game

Beamcaster · Beam source ×3 · Cart · Gem slot · Gem · Boulder ×2

  1. Hint 1

    No pieces need to move: finding the route is the puzzle.

Full solution · 30 steps
  1. Gemsman ←×2 · →×3 · ↓ · →×2 · ↓×4 · ←×3 · ↑ · ←×2 · → · activate · → · ↓ · →×3 · ↑×2 · →×2 · ↓

5 Torc 5

Torc puzzle 5 in game

Beamcaster · Gem ×3 · Boulder ×6 · Beam source ×4 · Gem slot ×5 · Cart

  1. Hint 1

    Pieces that end up somewhere new: all 3 gems, all 6 blocks, the cart and 2 of the 4 beamcasters. 2 other pieces stay where they start.

  2. Hint 2

    Start: push the bottom left block right 2 tiles, push the left bottom block down 2 tiles and push the bottom left beamcaster down 2 tiles.

  3. Hint 3

    Finish: move the 2nd bottom-right block from the left right, push the 1st bottom-right block from the left right and move the 2nd bottom-right block from the left right, then head for the exit.

Full solution · 255 steps
  1. Gemsman ↓ · ← · take/drop gem · → · ↑×4 · take/drop gem · ↓×2 · →×2 · ←×2 · ↑×2 · take/drop gem · ↓×2 · →×2 · ↑ · →×3 · ↑ · ← · ↑×2 · →×3 · take/drop gem · ←×3 · ↓×2 · → · ↓×3 · ← · ↓ · take/drop gem · ↑ · → · ↑×3 · ← · ↑×4 · ←×2 · ↓×2 · take/drop gem · ↑×2 · →×2 · ↓×5 · ←×2 · ↓ · ←×2 · ↑ · ← · ↓×2 · → · ↑ · →×2 · ↑ · →×2 · ↑×5 · ←×2 · ↓×2 · take/drop gem · ↑×2 · →×2 · ↓×5 · ←×2 · ↓ · ←×2 · ↑×2 · take/drop gem · ↓×2 · →×2 · ↑ · →×3 · ↓×2 · ← · ↓ · →×2 · ↓ · →×3 · ↑×2 · → · ↑×3 · ← · → · ↓×3 · ← · ↓×2 · ←×3 · ↑ · ←×2 · ↑ · → · ↑×3 · ← · ↑×2 · →×3 · take/drop gem · ←×3 · ↑×2 · ←×2 · ↓×2 · take/drop gem · ↑×2 · →×2 · ↓×5 · ←×2 · ↓ · ←×2 · ↓ · ← · ↓ · → · ↑×2 · →×2 · ↑ · →×2 · ↑×5 · ←×2 · ↓×2 · take/drop gem · ↑×2 · →×2 · ↓×4 · → · ↓×4 · → · ↓ · →×3 · ↑×2 · → · ↑ · take/drop gem · ↑×2 · ← · take/drop gem · → · ↓ · take/drop gem · → · ↓×4 · wait×3 · → · wait · → · wait · → · ↑ · → · ↑×2

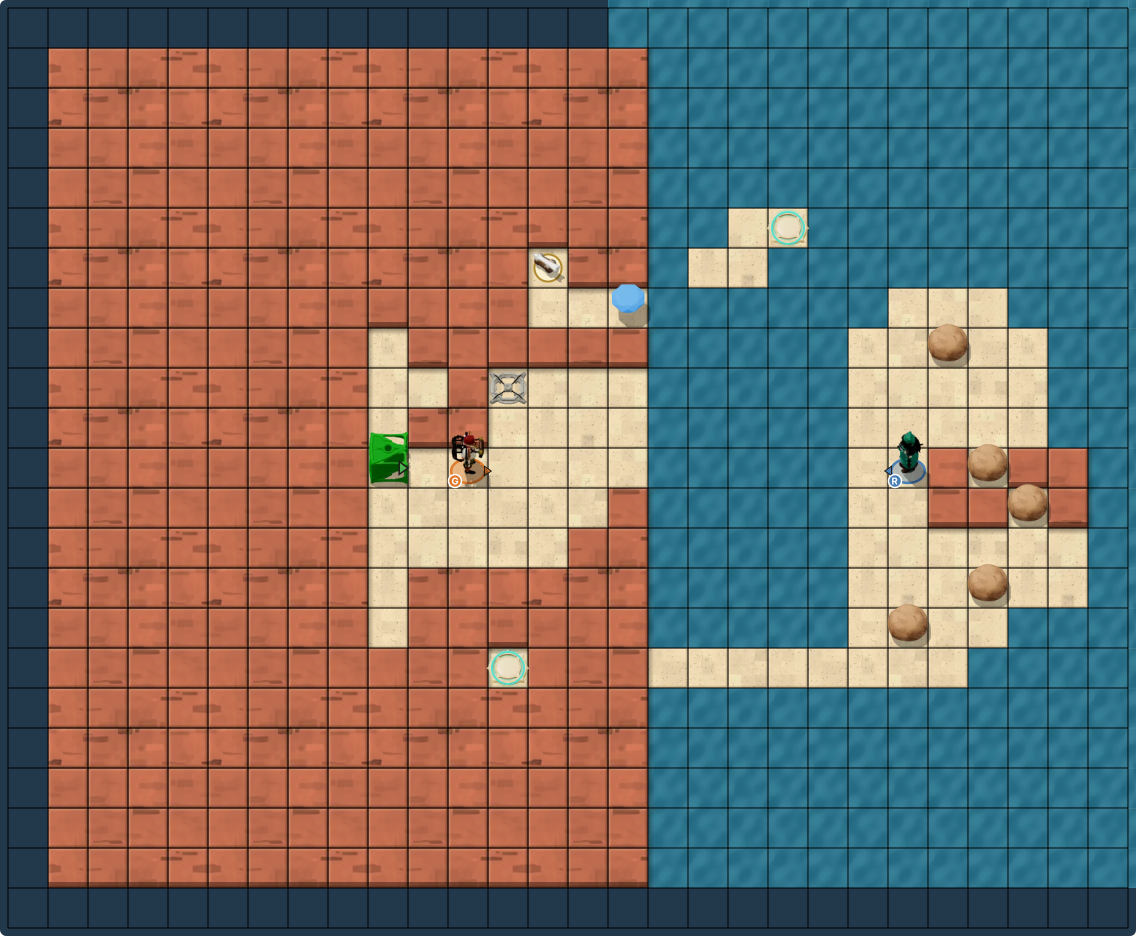
6 Torc 6

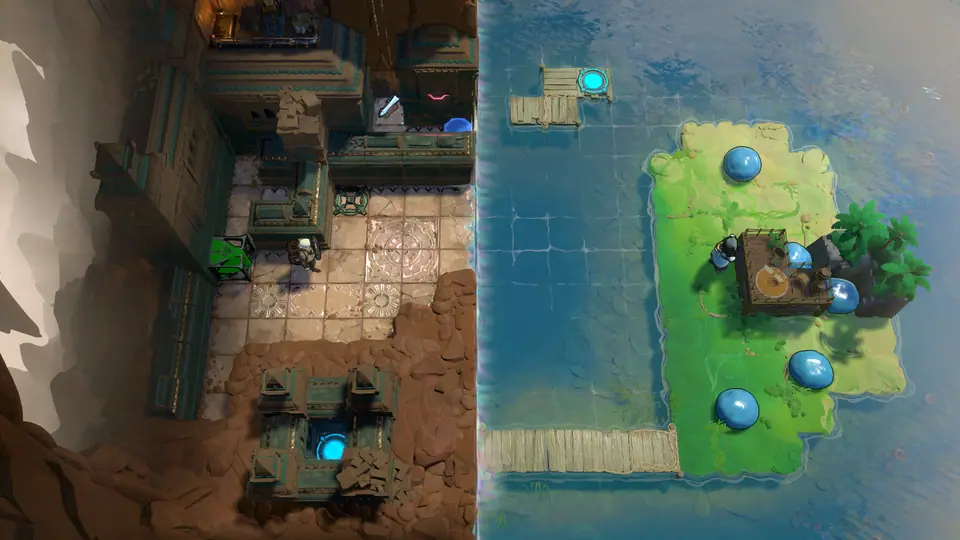
Torc puzzle 6 in game

Beamcaster · Hero · Skipping stone ×5 · Beam source · Gem slot · Gem

  1. Hint 1

    Heroes in order of first use: Gemsman → Hero. Pieces that end up somewhere new: all 5 blocks, the beamcaster and the gem. 1 other piece stays where it starts.

  2. Hint 2

    Start: push the 1st right block from the left left, push the 1st right block from the left up and push the bottom right block up 7 tiles.

  3. Hint 3

    Finish: push the 2nd right block from the left left, push the 4th right block from the left left 4 tiles and push the 4th right block from the left down, then head for the exit.

  4. Hint 4

    Timing matters here: follow the wait times shown beside each step.

Full solution · 242 steps

Follow the wait times beside each step.

  1. Gemsman →, wait 1 s×3 · ↑, wait 1 s×2
  2. Hero ↑, wait 1 s · →, wait 1 s×2 · ↑, wait 1 s×2 · ←, wait 1 s · ↓, wait 1 s · ←, wait 1 s · ↑, wait 1 s · →, wait 1 s · ↑, wait 1 s · ←, wait 1 s
  3. Gemsman →, wait 1 s
  4. Hero ↓, wait 1 s×7 · →, wait 1 s · ↓, wait 1 s×2 · ←, wait 1 s · ↑, wait 1 s×7 · →, wait 1 s · ↑, wait 1 s · ←, wait 1 s×2 · →, wait 1 s · ↓, wait 1 s×5 · →, wait 1 s×3 · ↓, wait 1 s · ←, wait 1 s×2 · ↓, wait 1 s · ←, wait 1 s · ↑, wait 1 s×5 · →, wait 1 s · ↑, wait 1 s · ←, wait 1 s×2
  5. Gemsman →, wait 1 s · ↑, wait 1 s×2 · ←, wait 1 s · take/drop gem, wait 1 s · ←, wait 1 s×2 · ↑, wait 1 s · ↓, wait 1 s · →, wait 1 s×3 · ↓, wait 1 s×2 · ←, wait 1 s×4 · take/drop gem, wait 1 s · ↓, wait 1 s×2 · ←, wait 1 s×2 · ↓, wait 1 s · ←, wait 1 s · ↑, wait 1 s · activate, wait 1 s · →, wait 1 s · ↑, wait 1 s · →, wait 1 s×2 · ↑, wait 1 s · ←, wait 1 s×2 · ↑, wait 1 s · ←, wait 1 s · ↓, wait 1 s · activate, wait 1 s · ↓, wait 1 s · activate, wait 1 s
  6. Hero ↓, wait 1 s×3 · →, wait 1 s×3 · ↑, wait 1 s
  7. Gemsman ↓, wait 1 s · →, wait 1 s · ↓, wait 1 s×2 · ←, wait 1 s · ↑, wait 1 s · activate, wait 1 s

  8. Hero →, wait 1 s · ↓, wait 1 s×2 · ←, wait 1 s×3 · ↑, wait 1 s×2 · ←, wait 1 s
  9. Gemsman →, wait 1 s · ↑, wait 1 s×2 · →, wait 1 s×2 · ↑, wait 1 s×2 · →, wait 1 s×4 · ↑, wait 1 s×2 · ←, wait 1 s×2 · →, wait 1 s · activate, wait 1 s
  10. Hero →, wait 1 s×4 · ↑, wait 1 s · ←, wait 1 s · ↓, wait 1 s · ←, wait 1 s · ↑, wait 1 s×3 · →, wait 1 s · ↑, wait 1 s · ←, wait 1 s×2
  11. Gemsman activate, wait 1 s · →, wait 1 s×2 · ↑, wait 1 s · →, wait 1 s · ↑, wait 1 s · →, wait 1 s
  12. Hero ↓, wait 1 s×6 · →, wait 1 s×4 · ↓, wait 1 s · ←, wait 1 s×4 · ↑, wait 1 s · ←, wait 1 s · ↓, wait 1 s · →, wait 1 s · ↓, wait 1 s · ←, wait 1 s
  13. Gemsman ←, wait 1 s · ↓, wait 1 s · ←, wait 1 s · ↓, wait 1 s · ←, wait 1 s · ↓, wait 1 s×2 · ←, wait 1 s · ↓, wait 1 s · ←, wait 1 s×3 · ↓, wait 1 s · ←, wait 1 s×2 · ↑, wait 1 s×2 · ←, wait 1 s · ↓, wait 1 s · activate, wait 1 s · ↓, wait 1 s · activate, wait 1 s · ↓, wait 1 s · activate, wait 1 s · ↓, wait 1 s · activate, wait 1 s
  14. Hero ↓, wait 1 s · ←, wait 1 s×5 · ↑, wait 1 s · ←, wait 1 s×4 · ↓, wait 1 s
  15. Gemsman →, wait 1 s×4 · ↑, wait 1 s×3 · →, wait 1 s×2 · ↑, wait 1 s · →, wait 1 s · ↑, wait 1 s×2 · →, wait 1 s · ↑, wait 1 s · →, wait 1 s · ↑, wait 1 s · →, wait 0.16 s

Search Order of the Sinking Star

    HeroesMirror IslesSkipping StonesBeamcastersPuzzle mapRulesAchievements

    Record