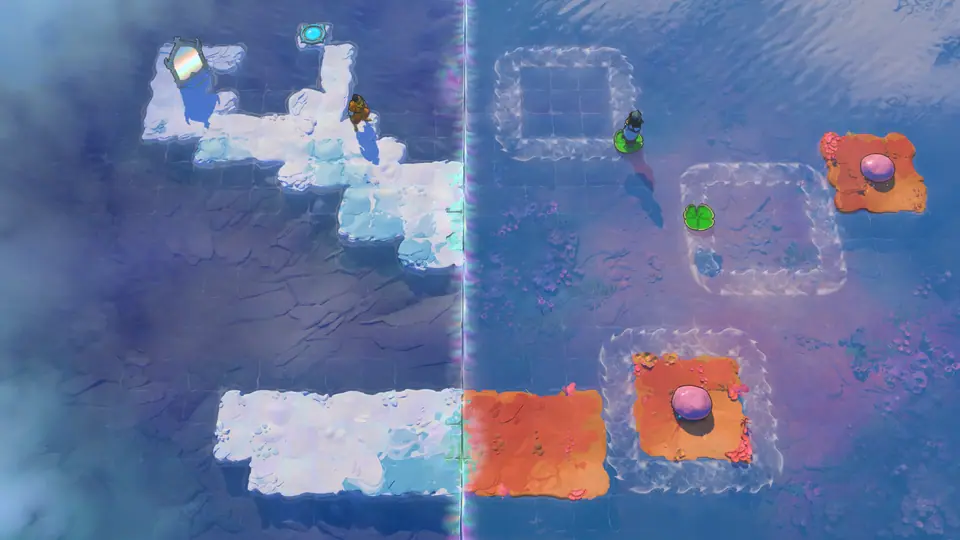
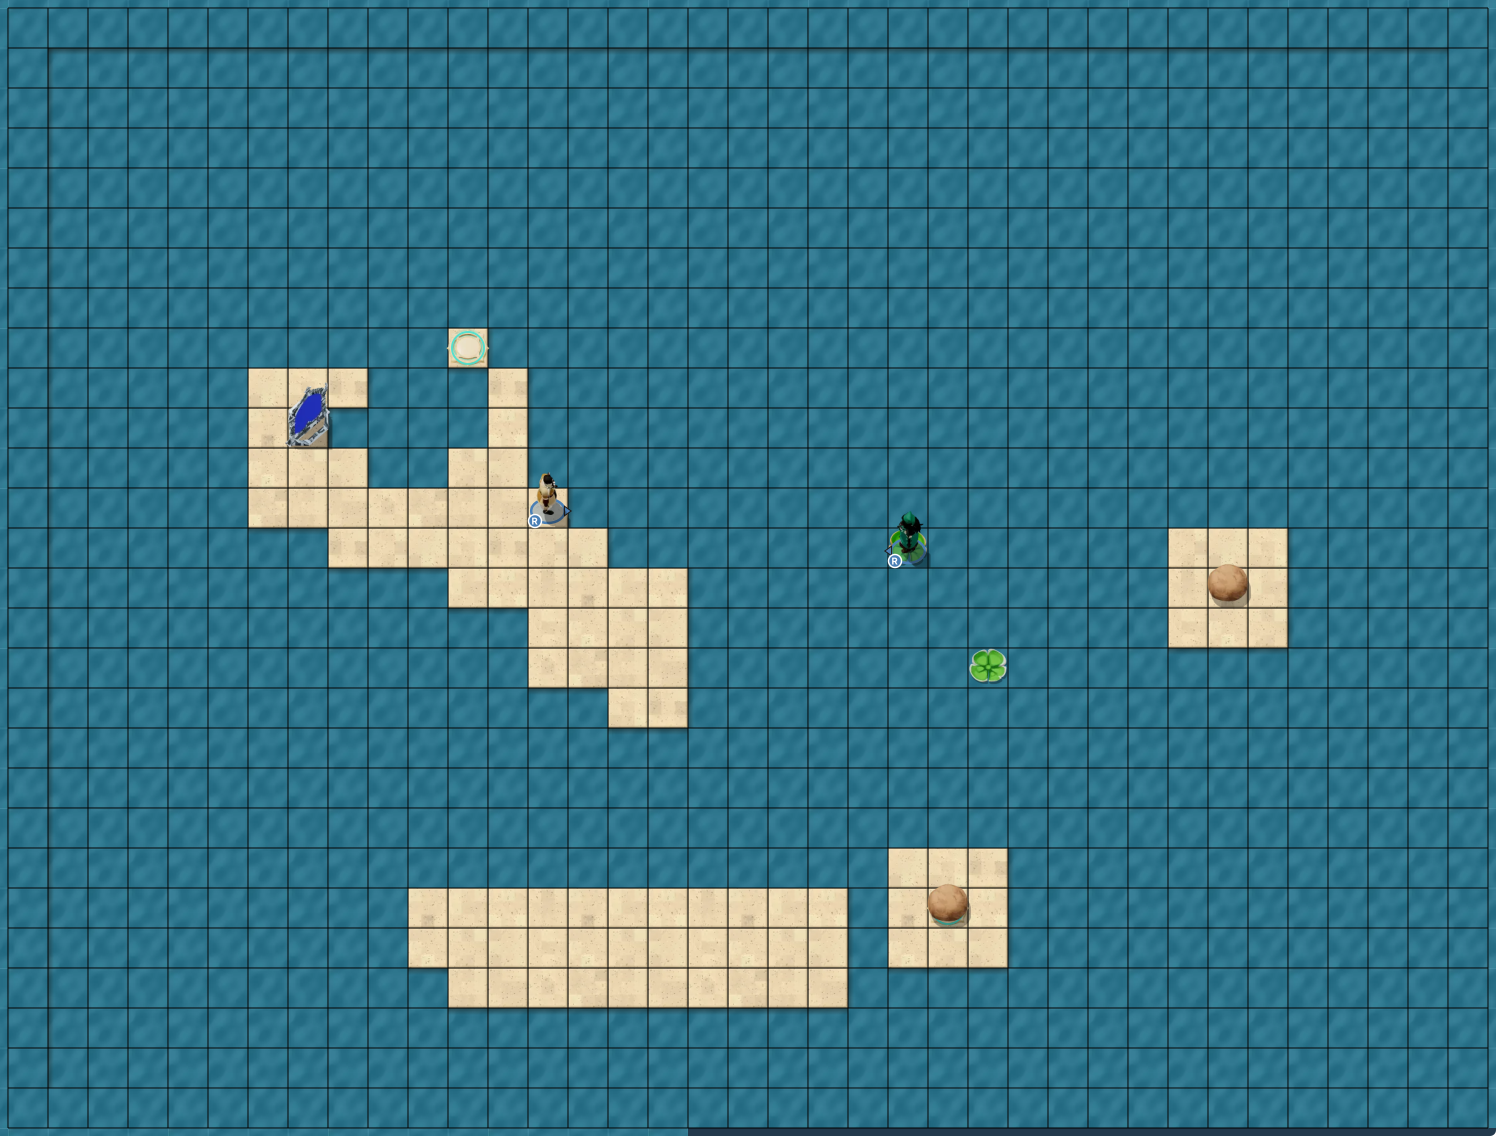
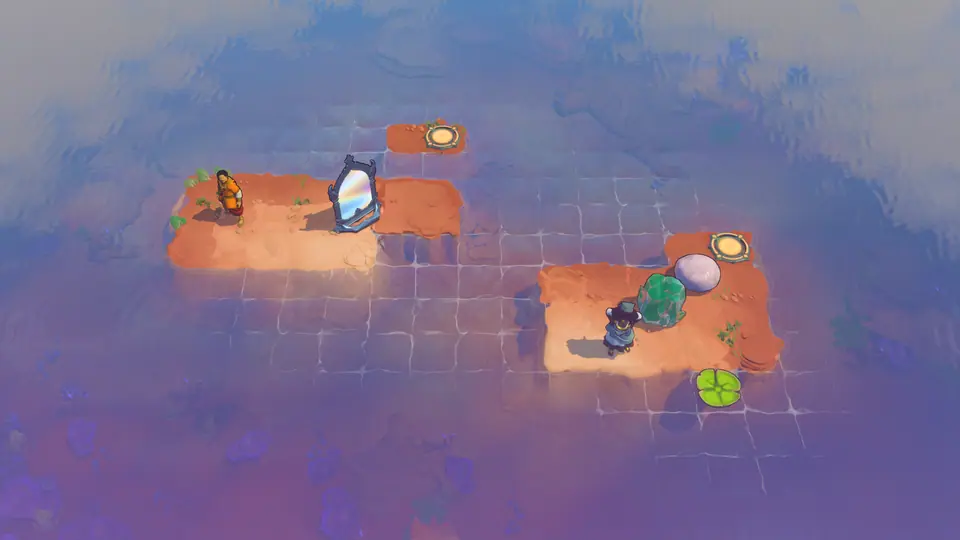
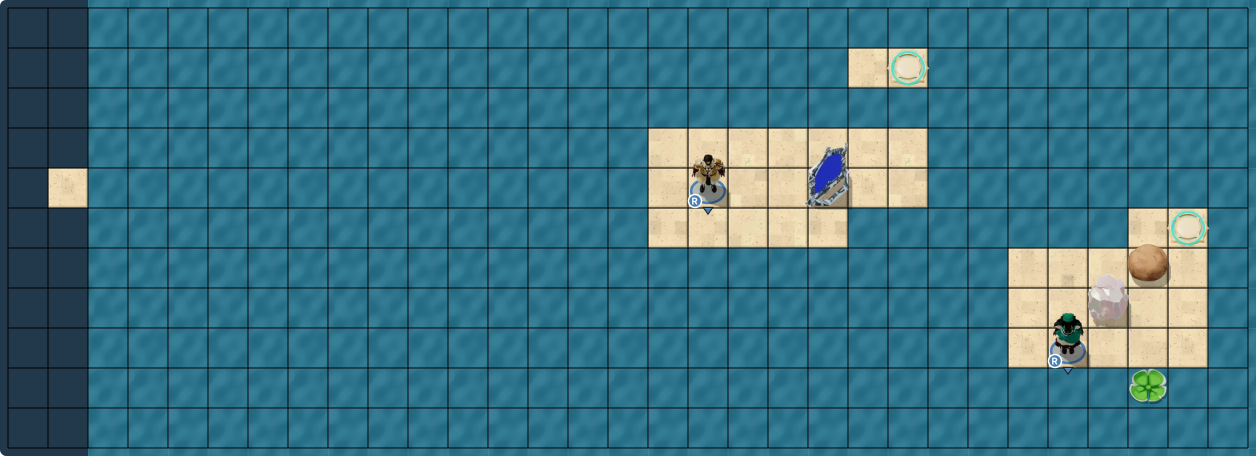
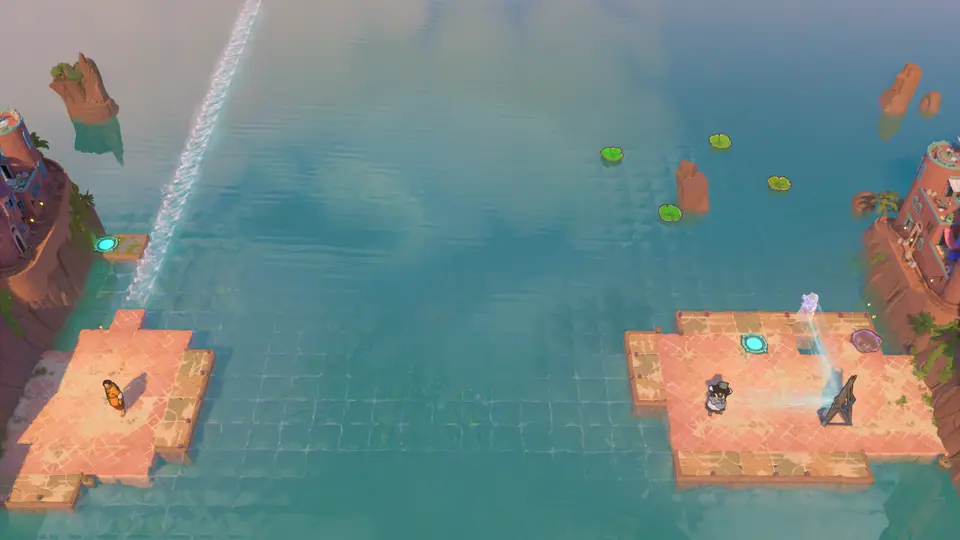
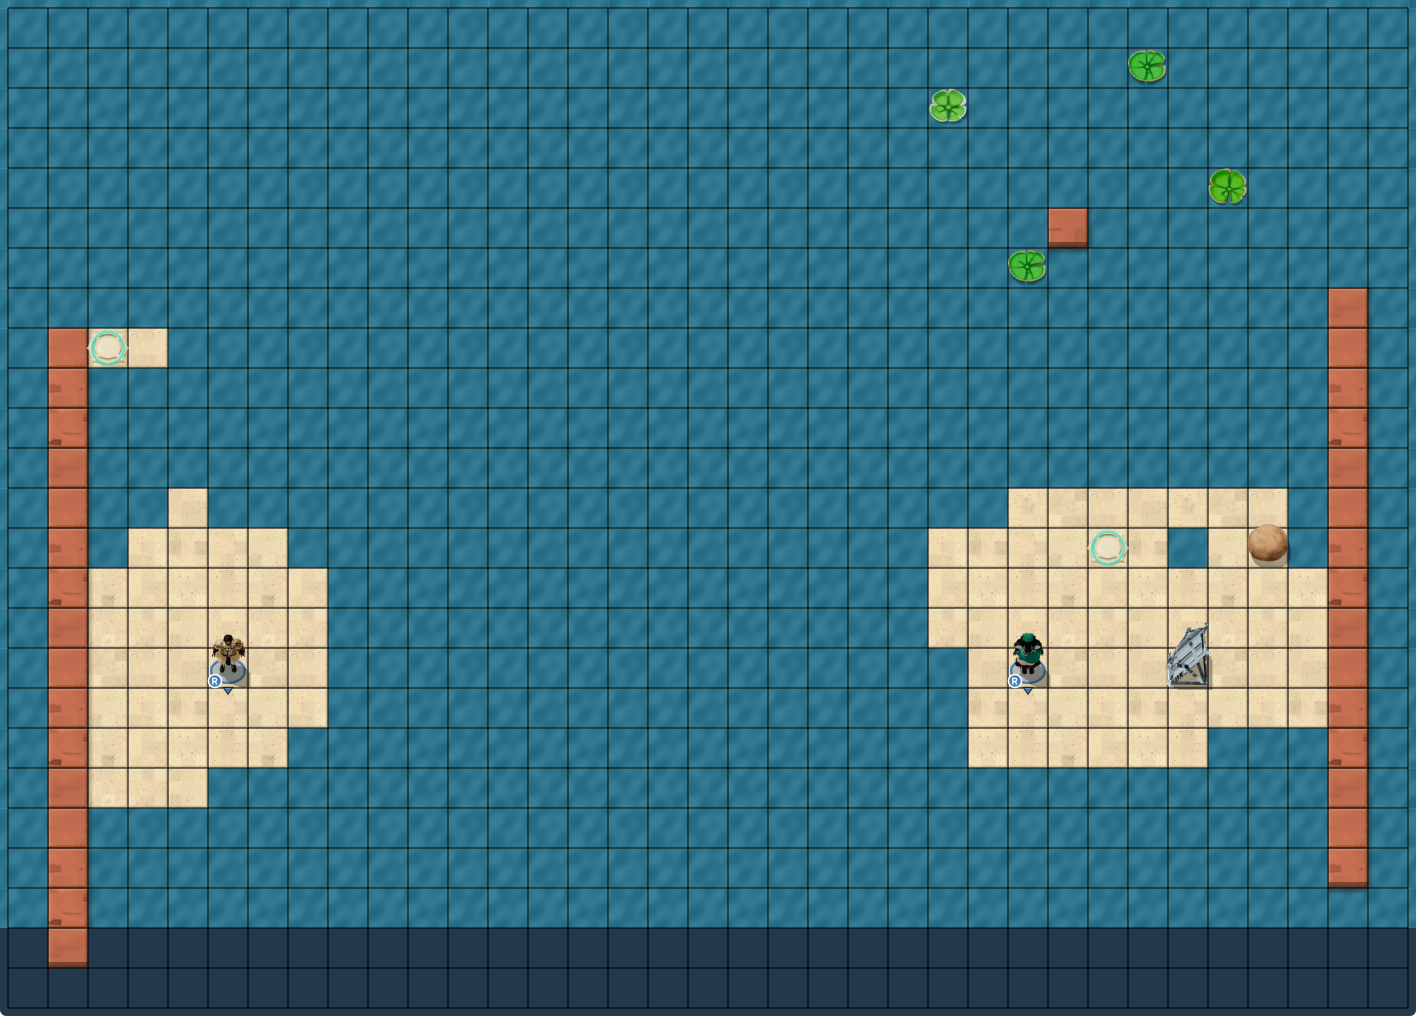
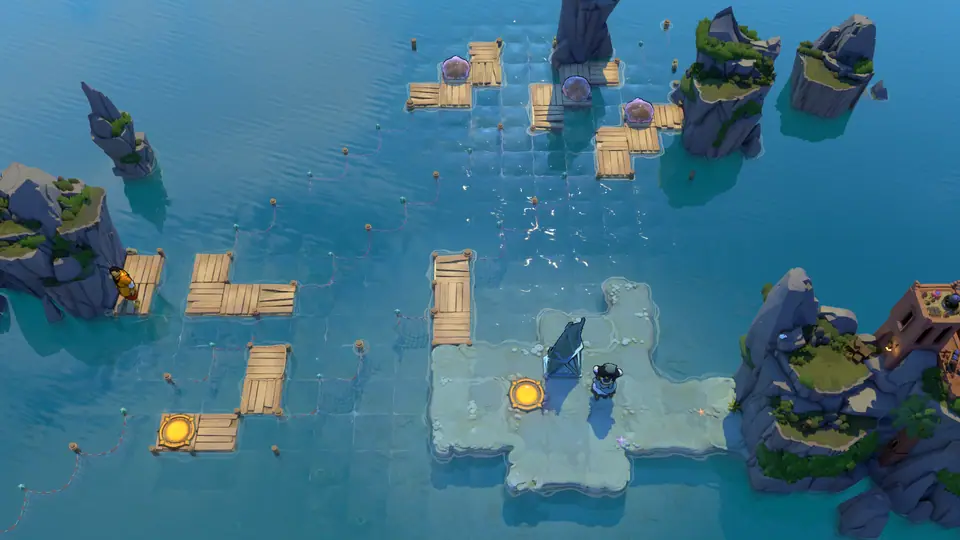
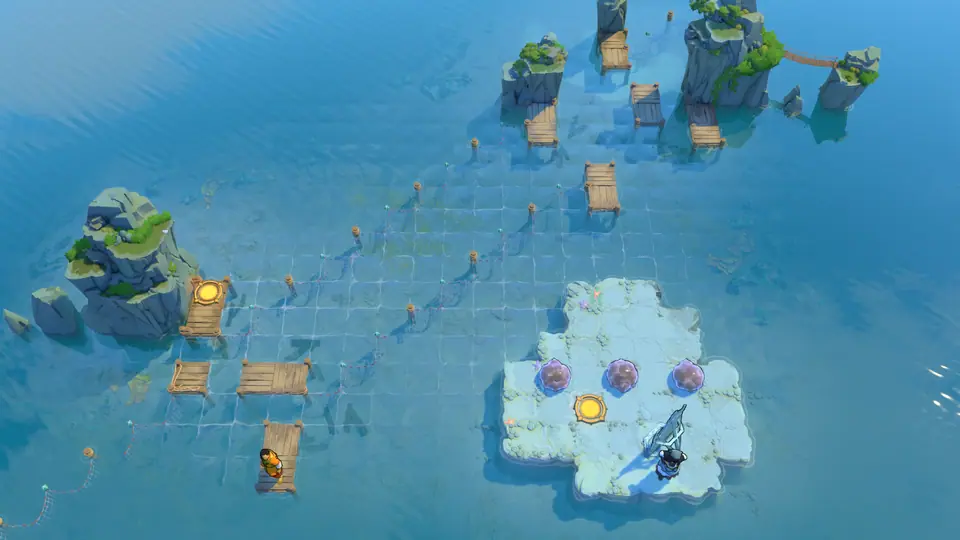
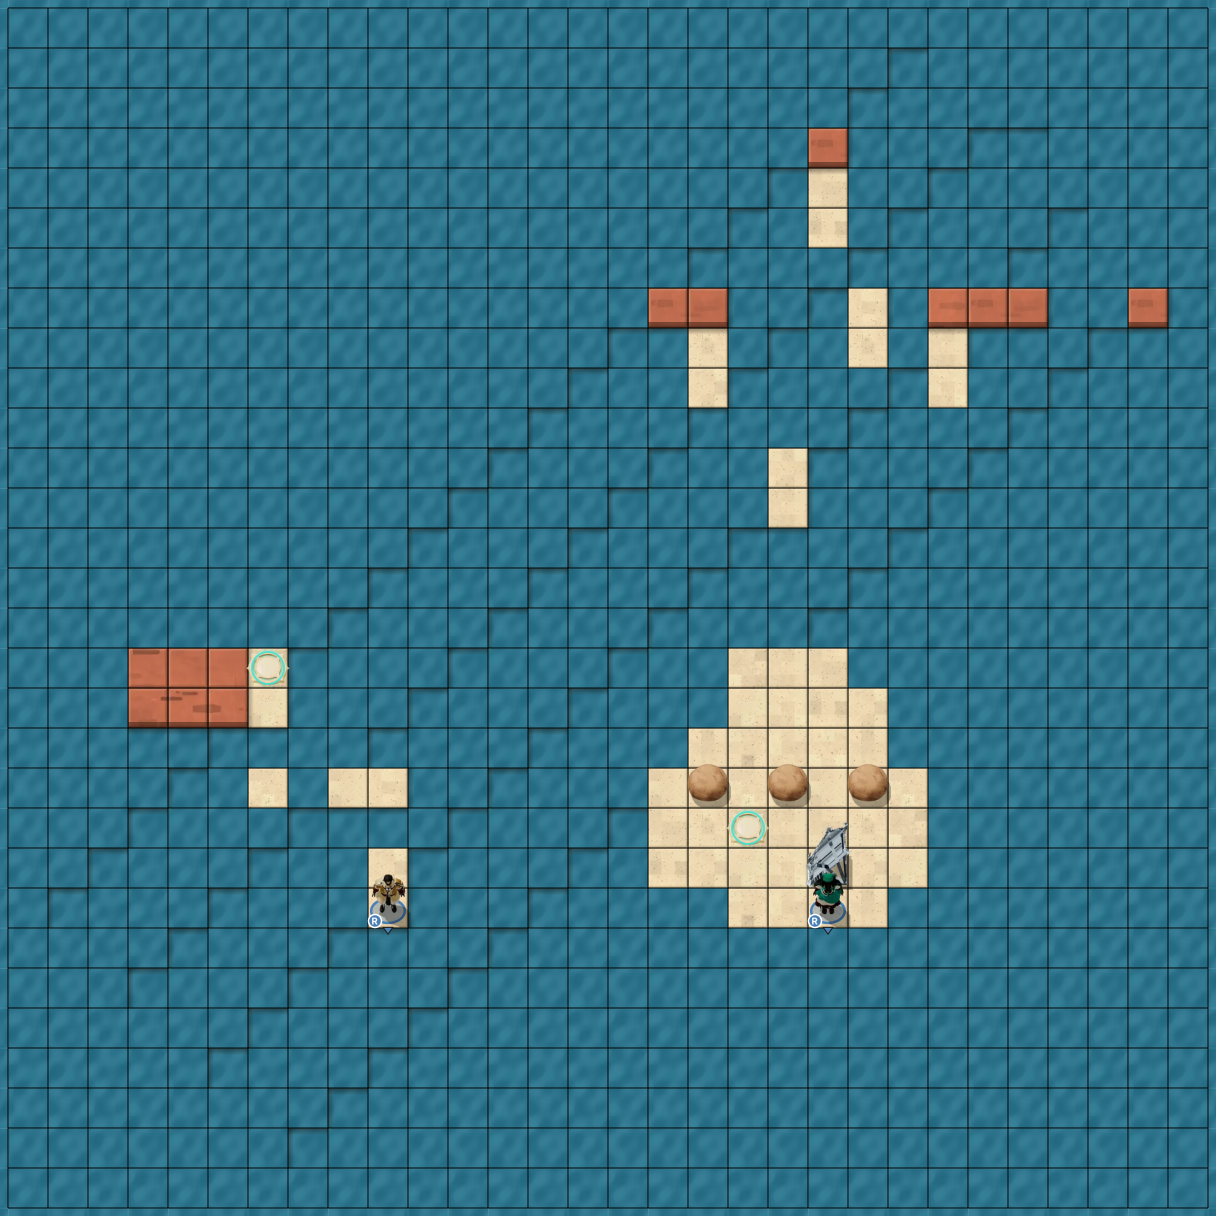
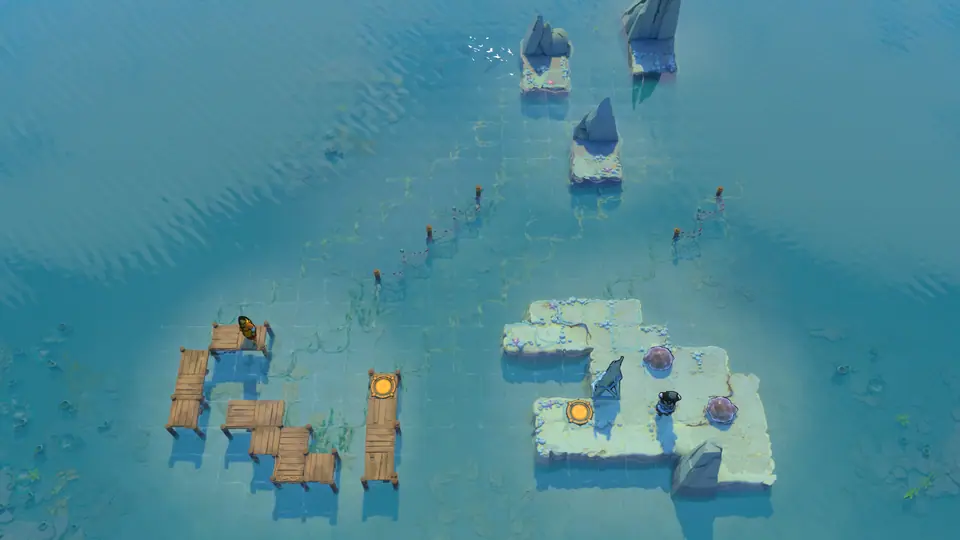
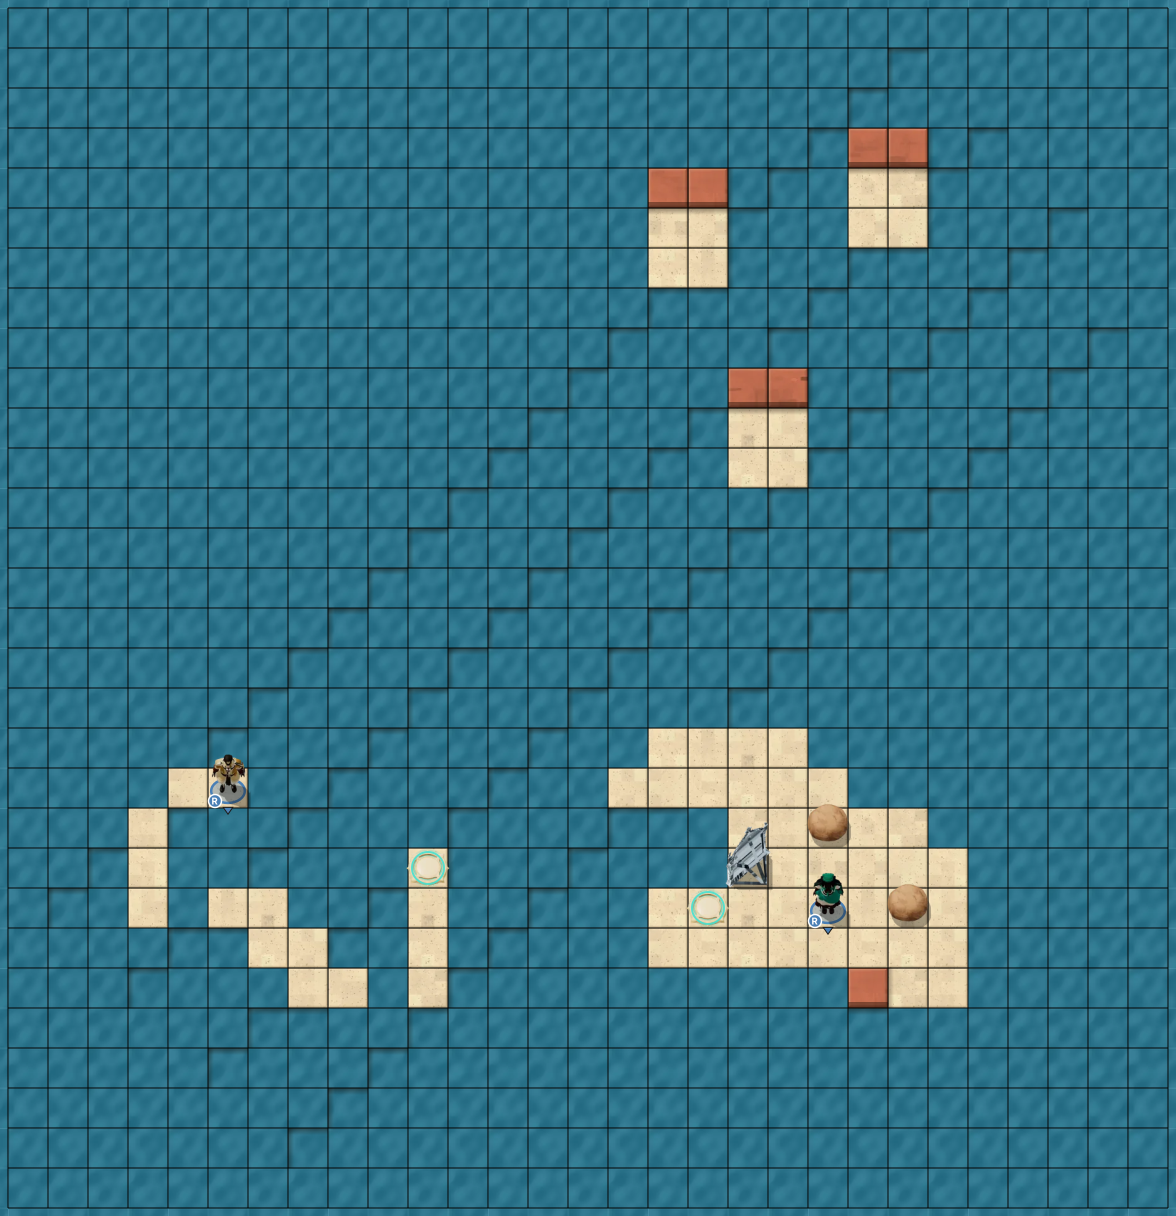
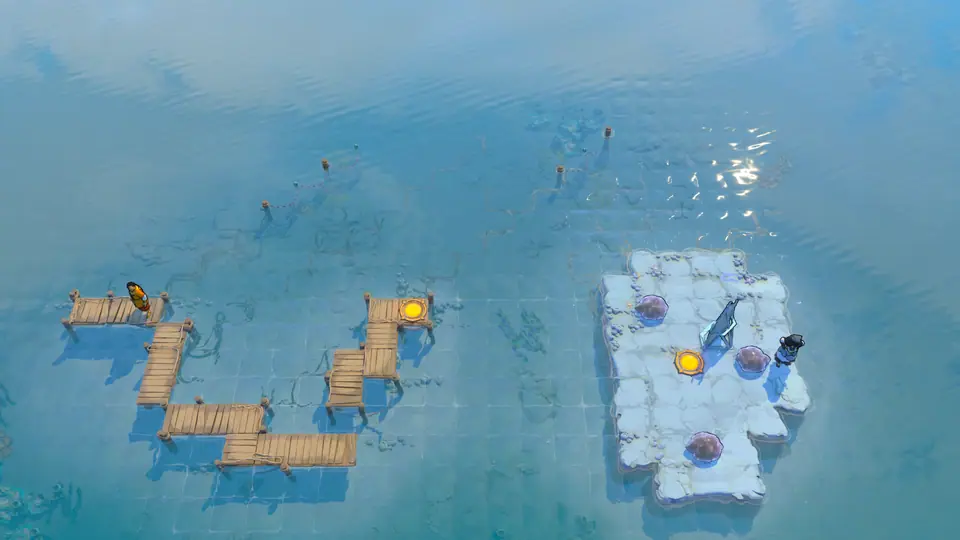
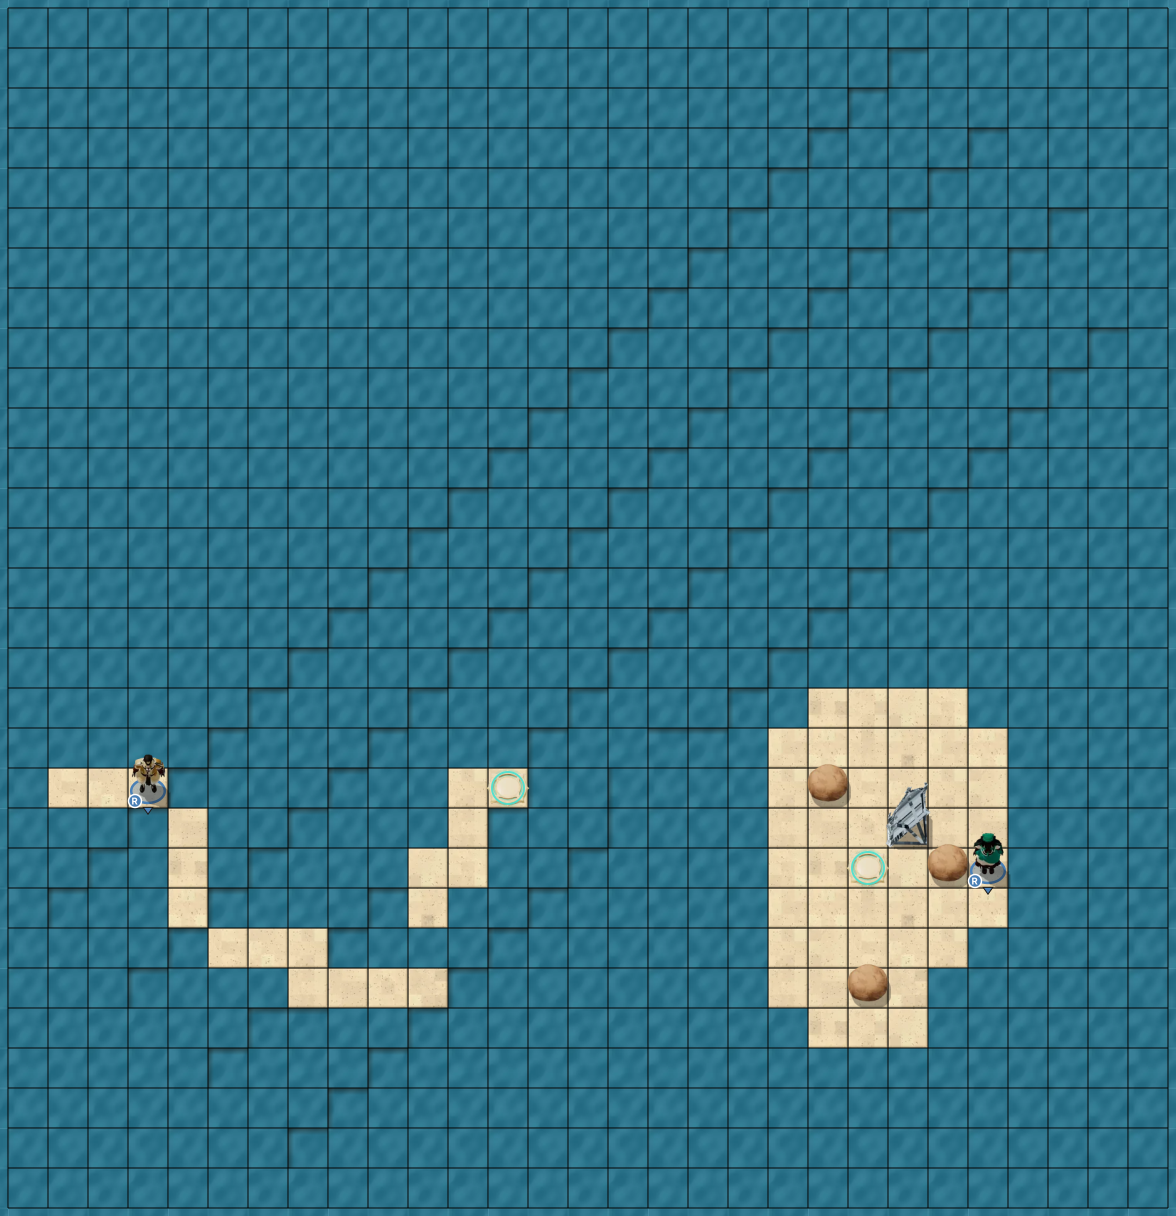
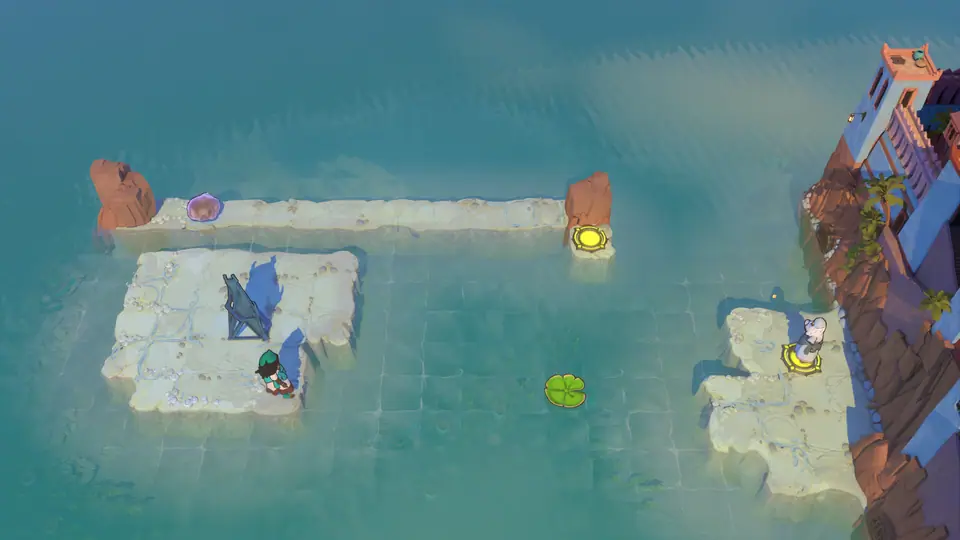
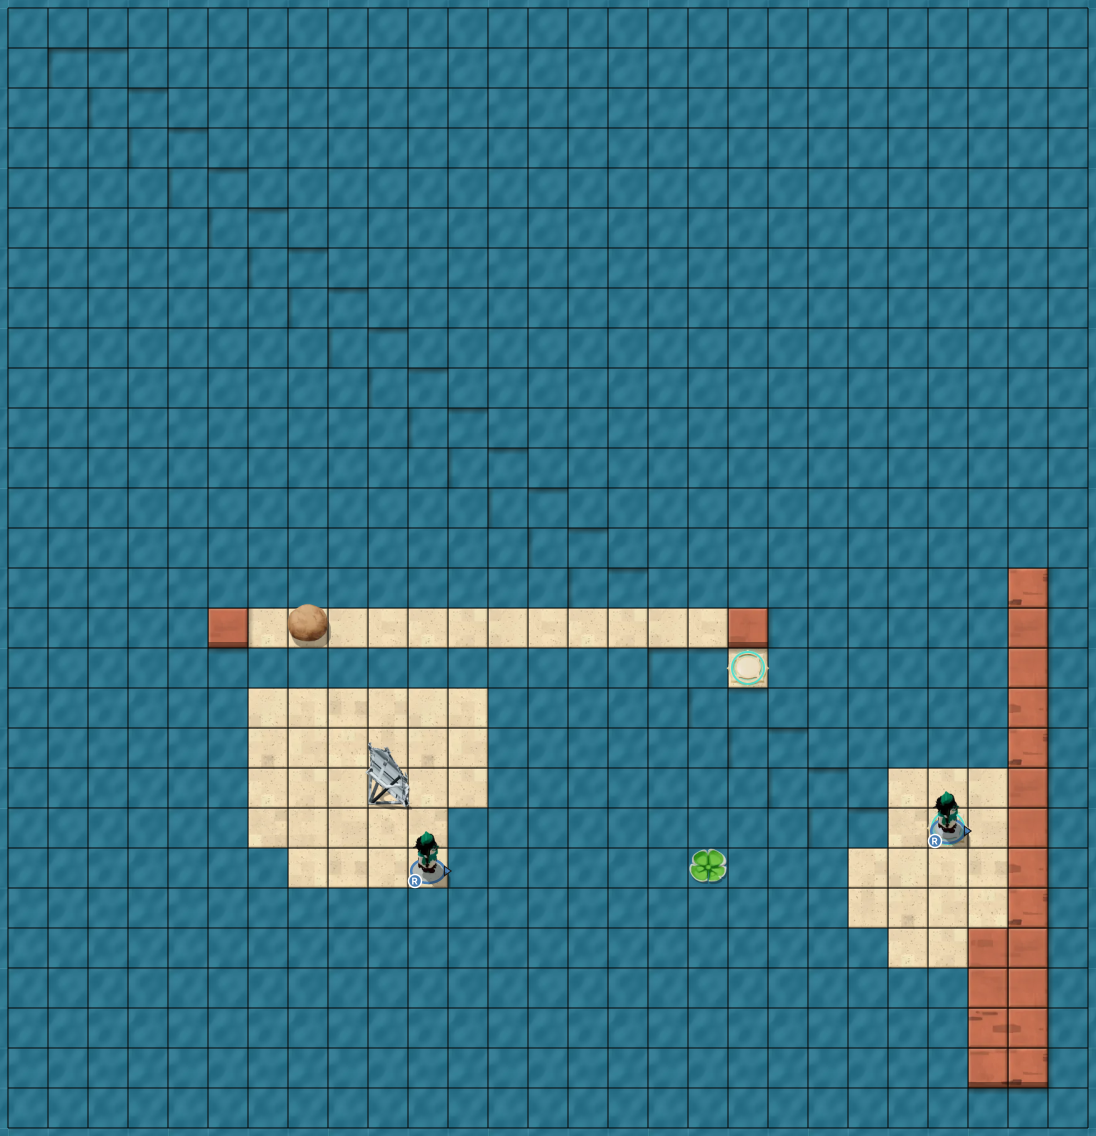
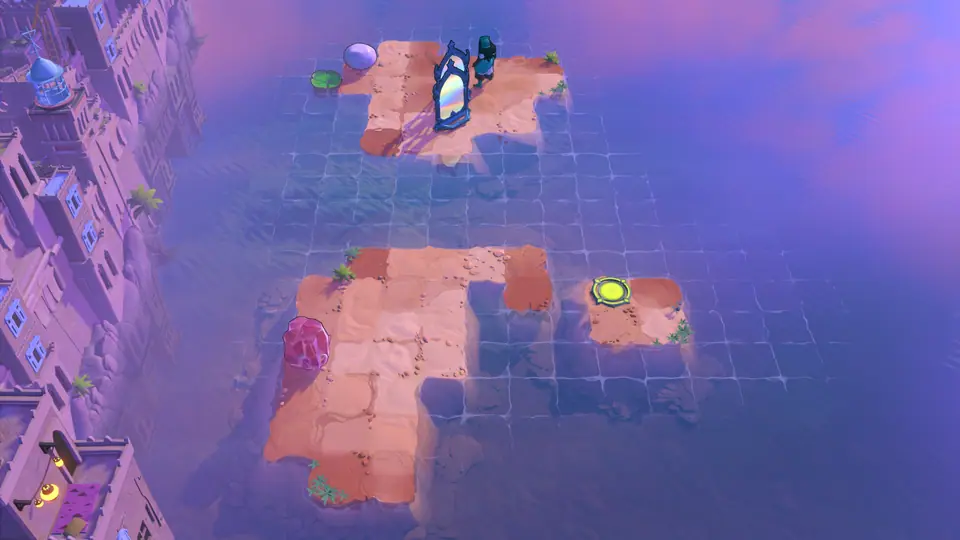
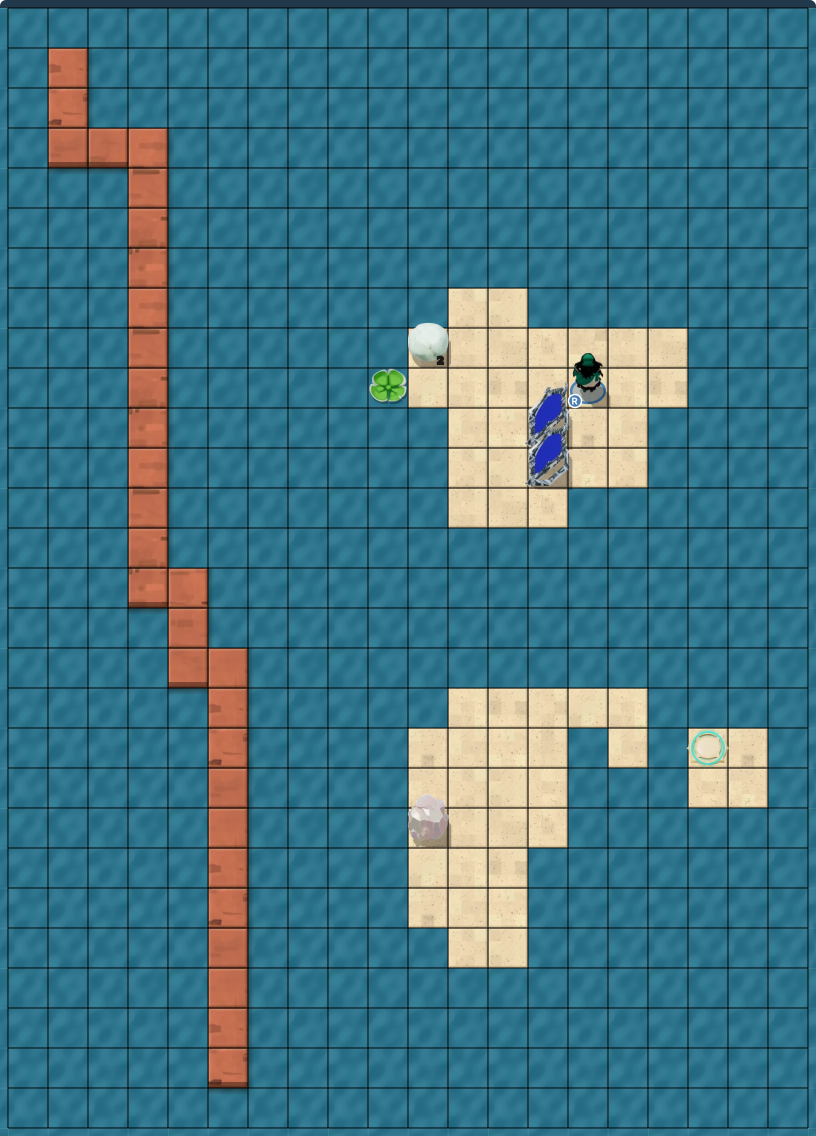
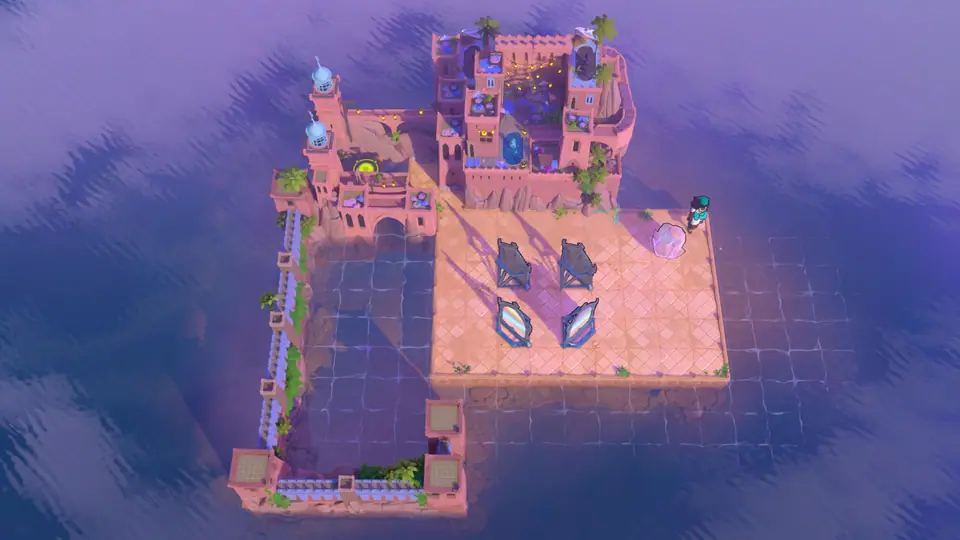
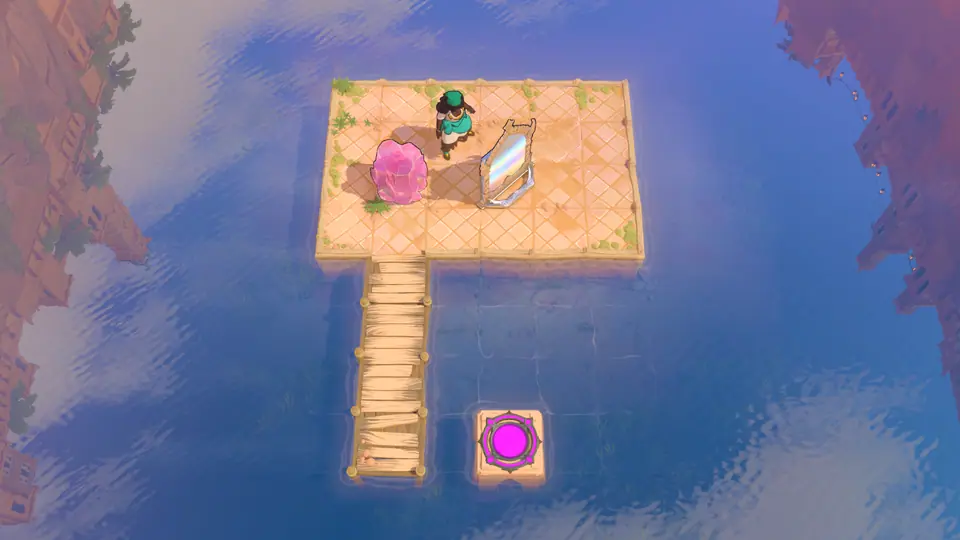
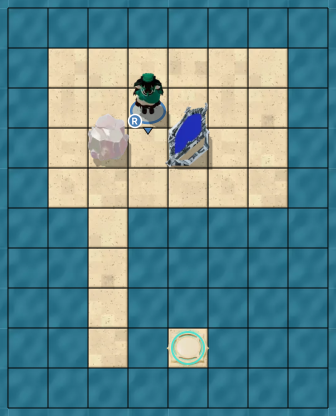
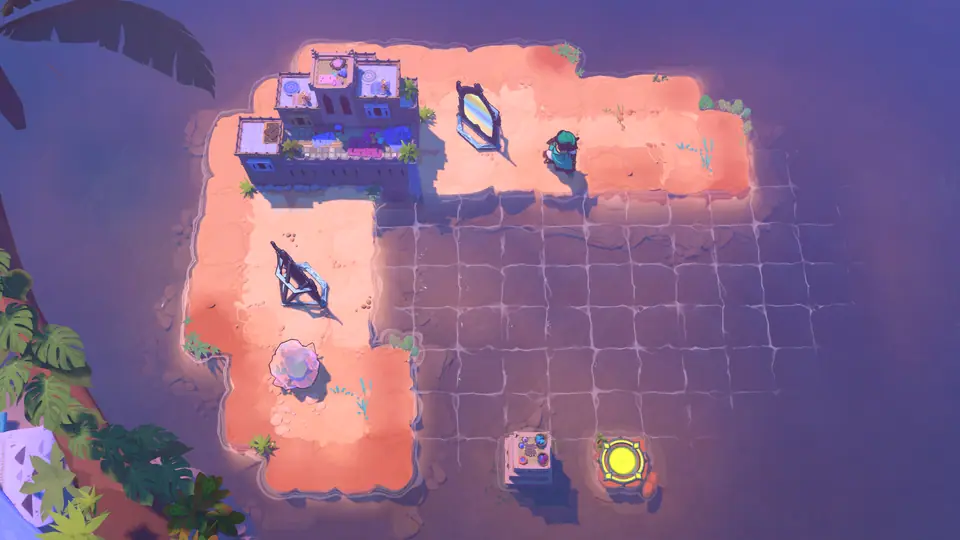
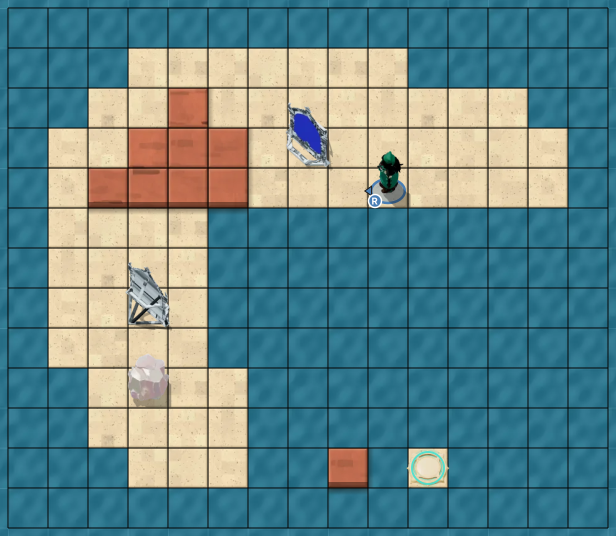
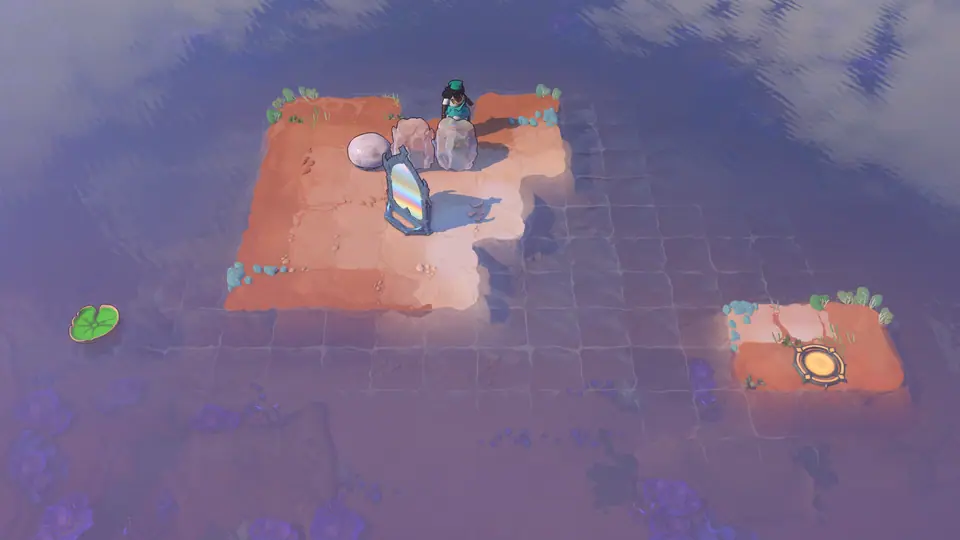
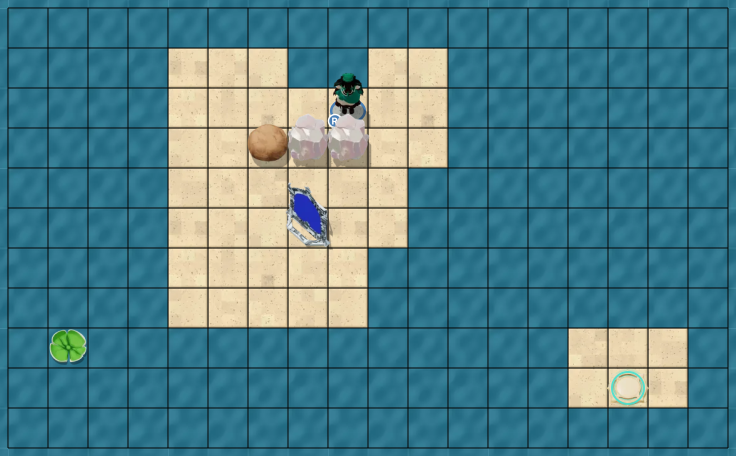
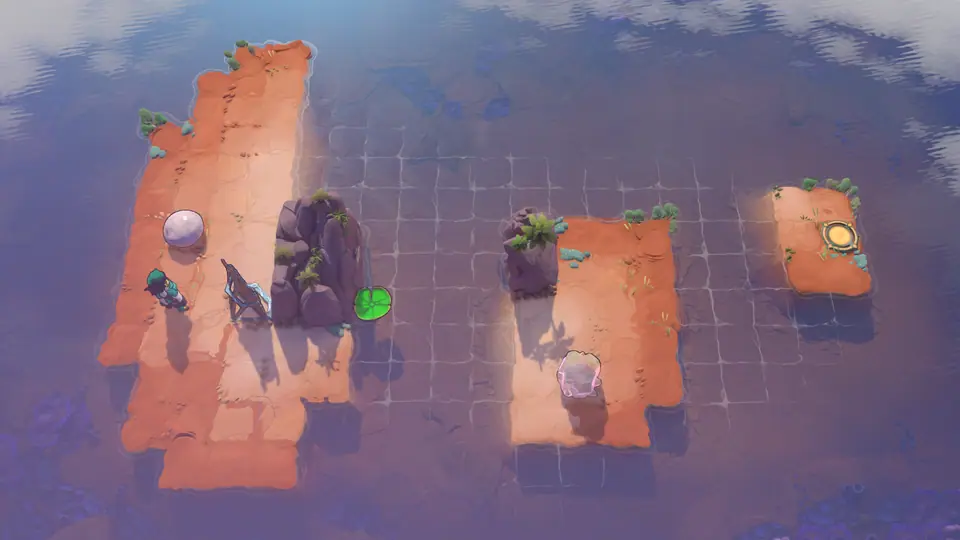
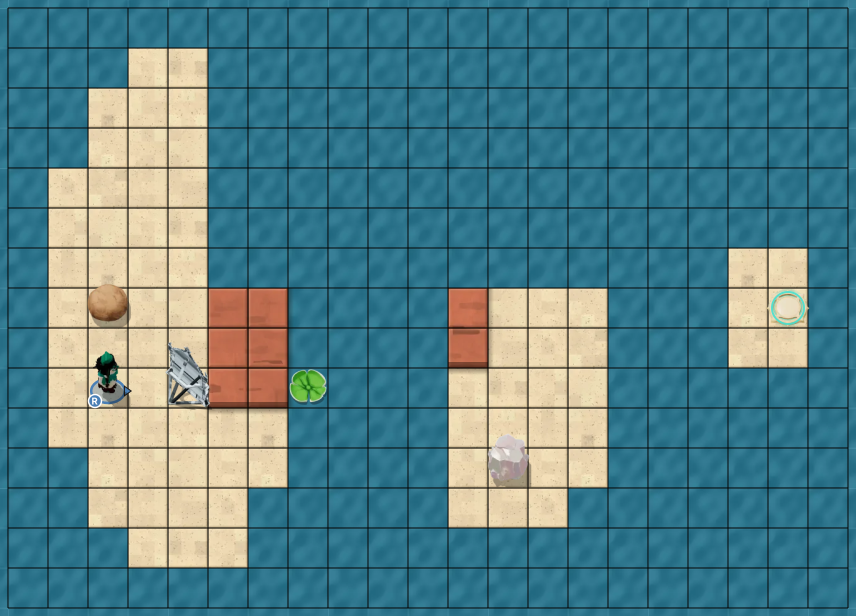
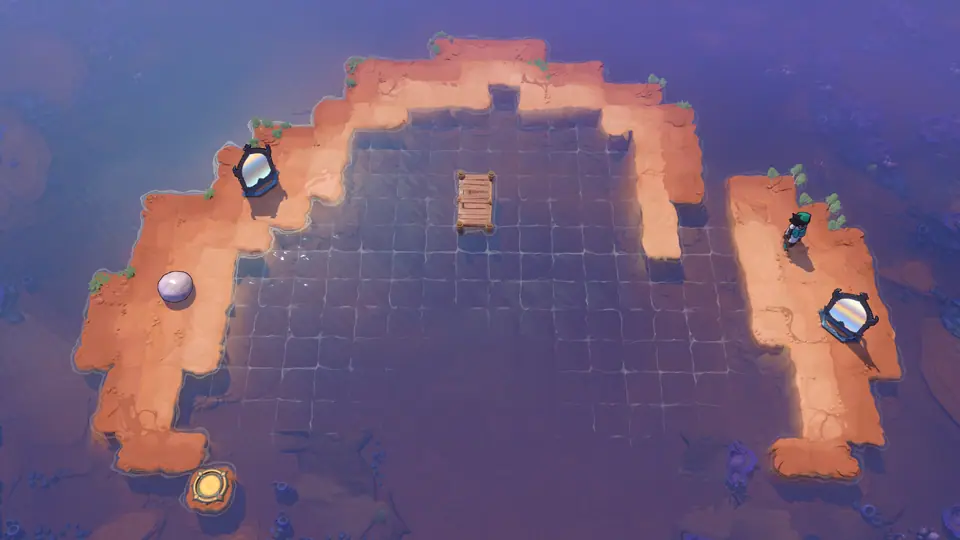
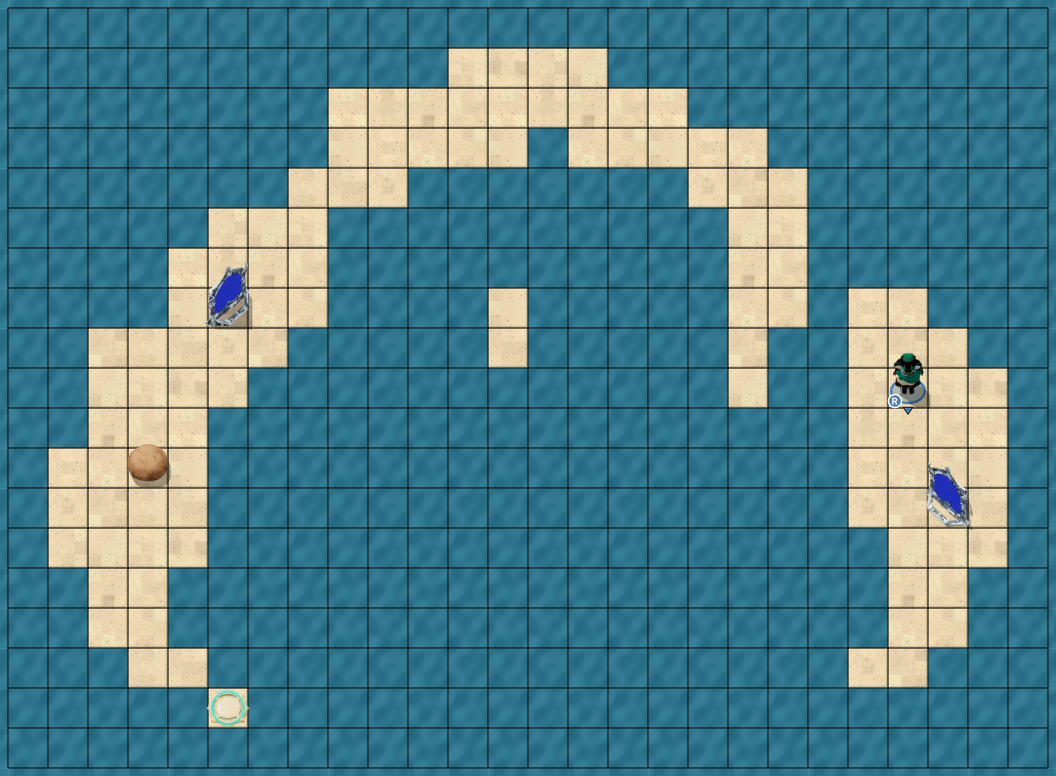
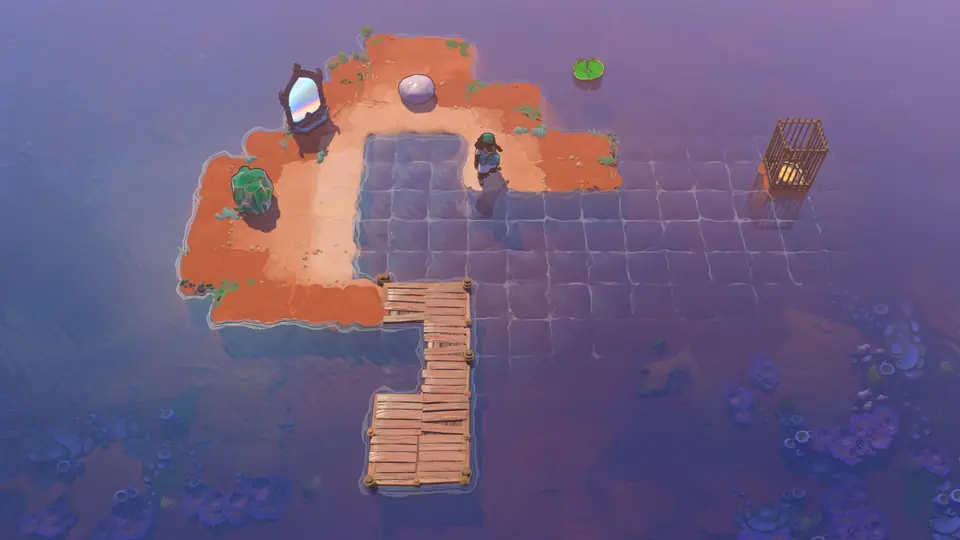
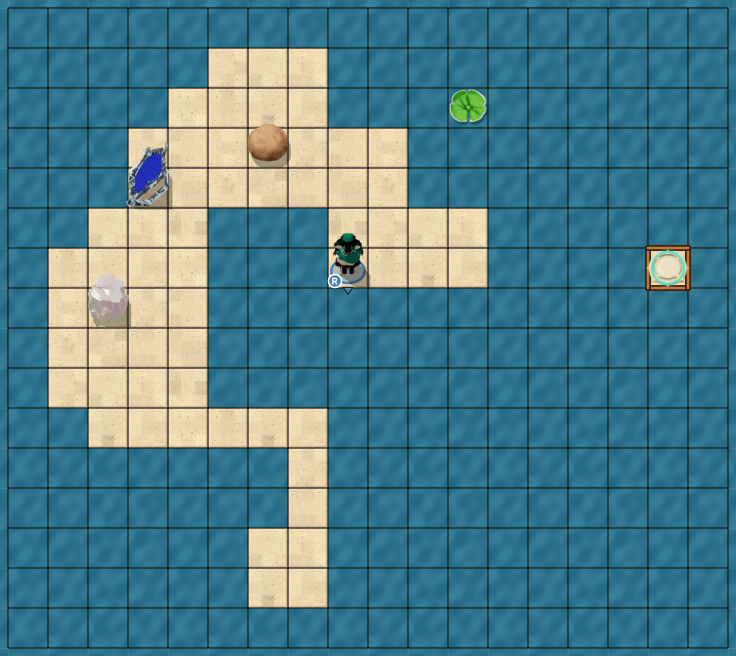
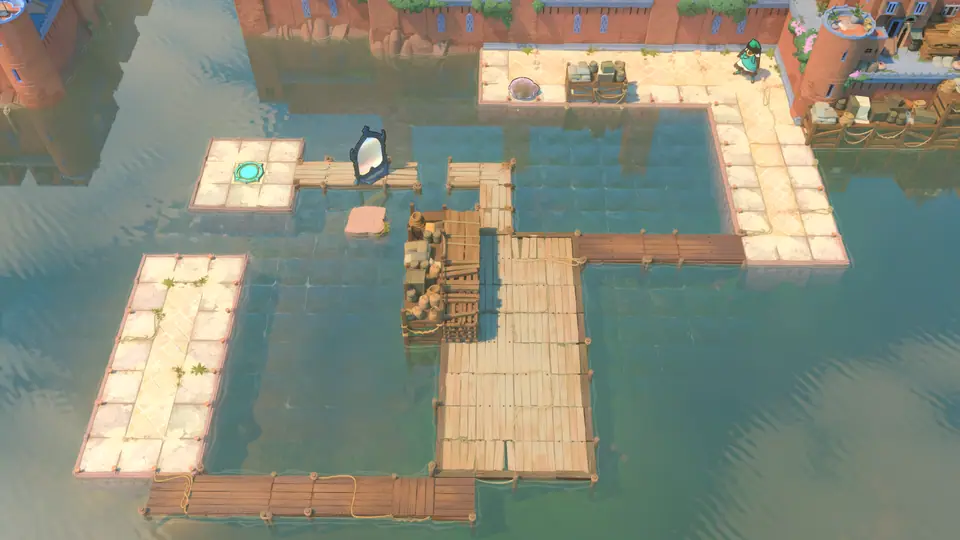
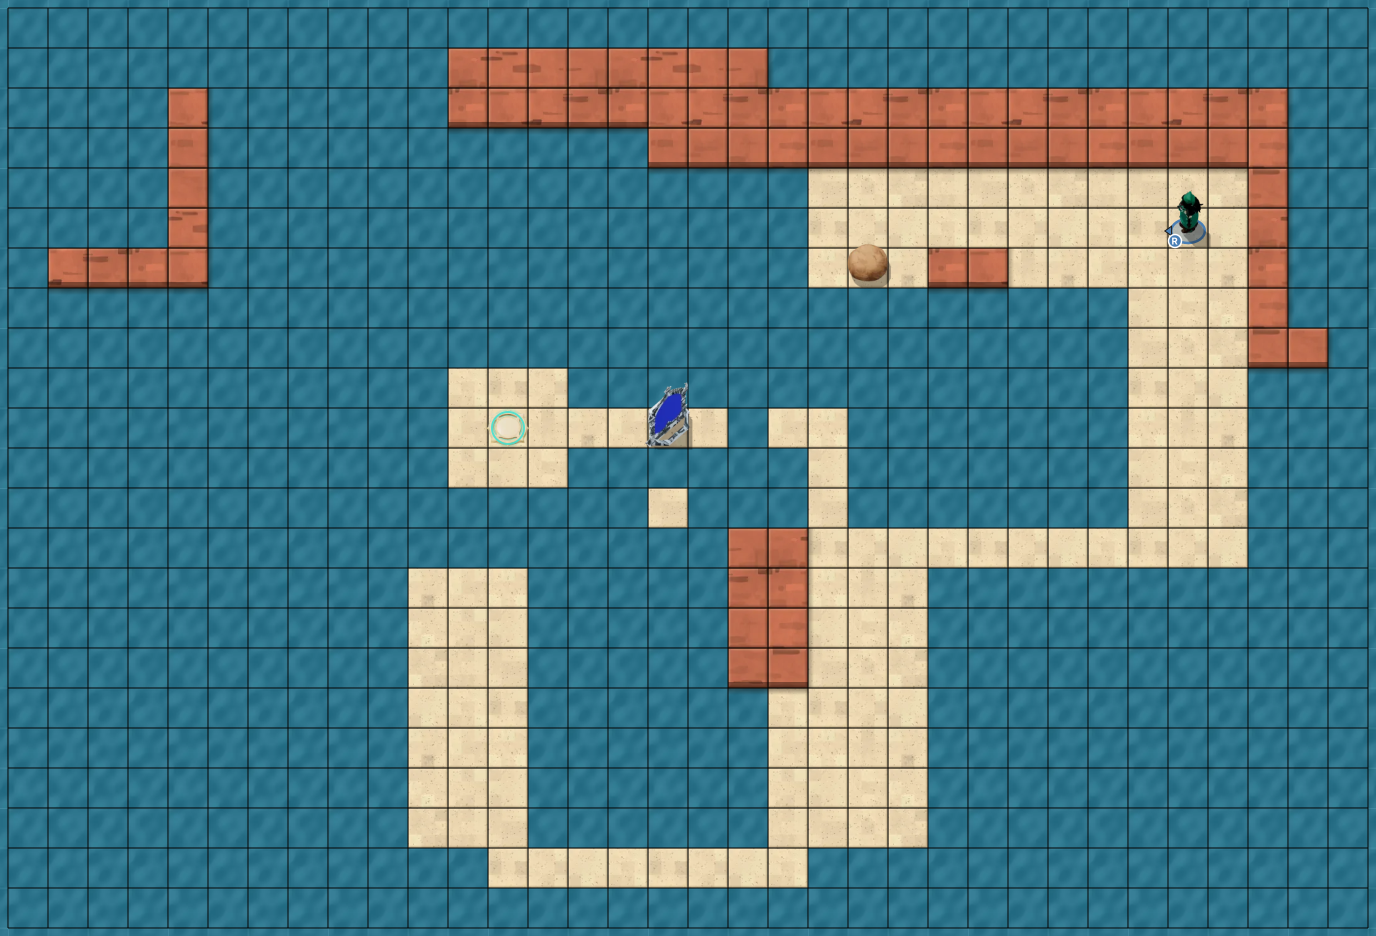
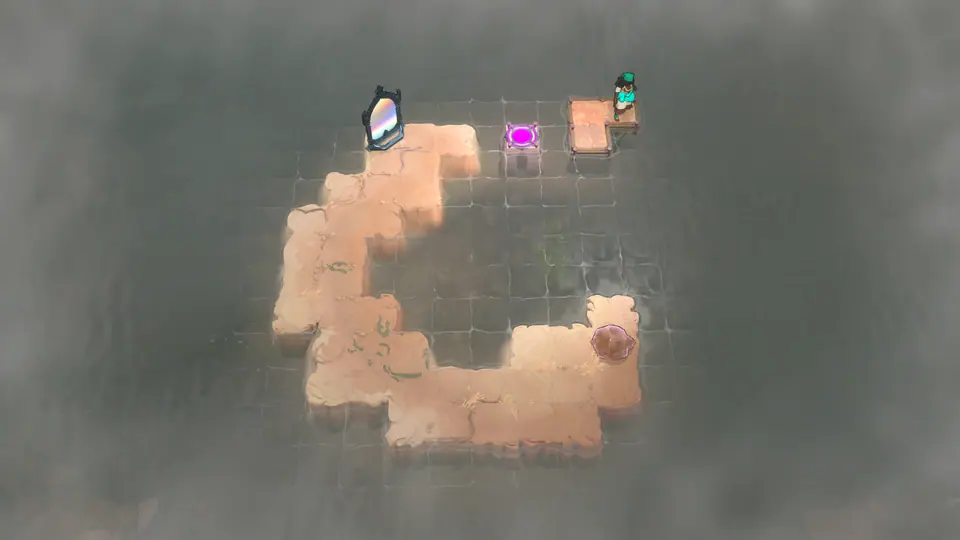
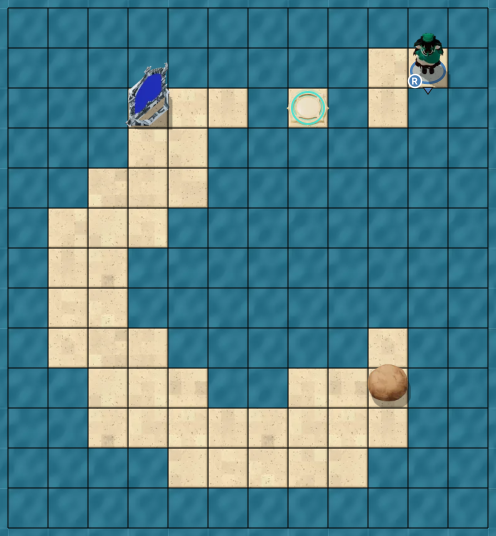
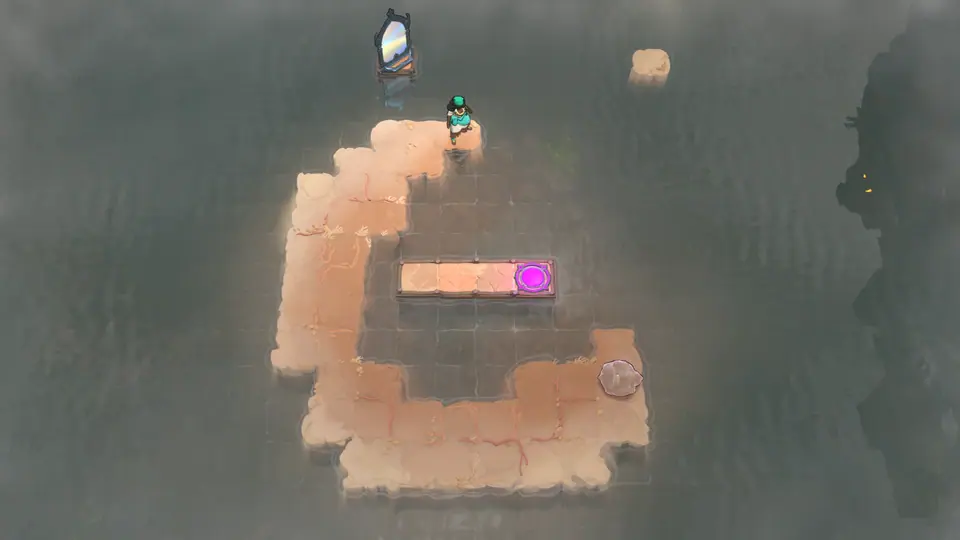
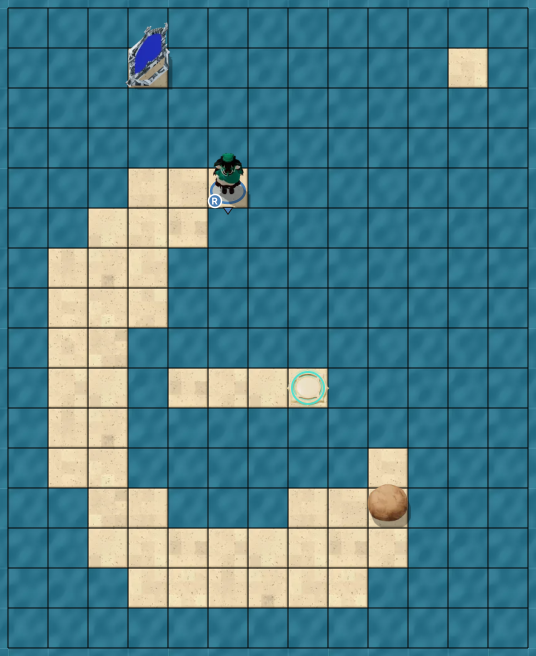
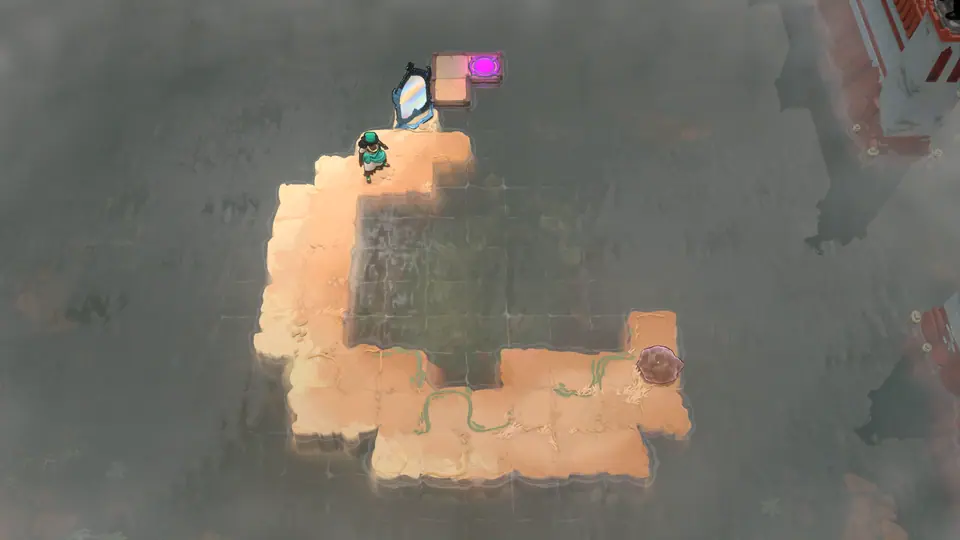
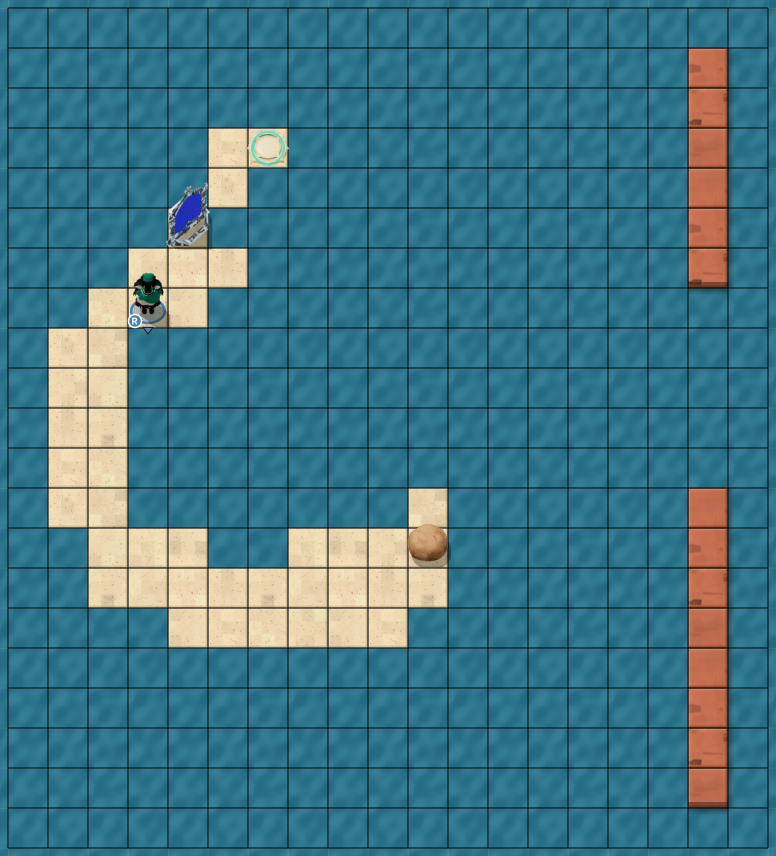
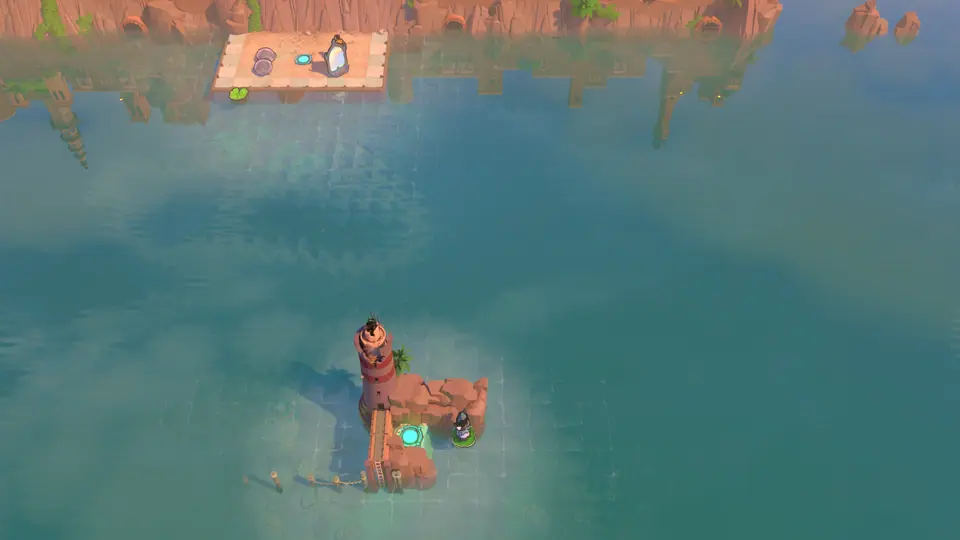
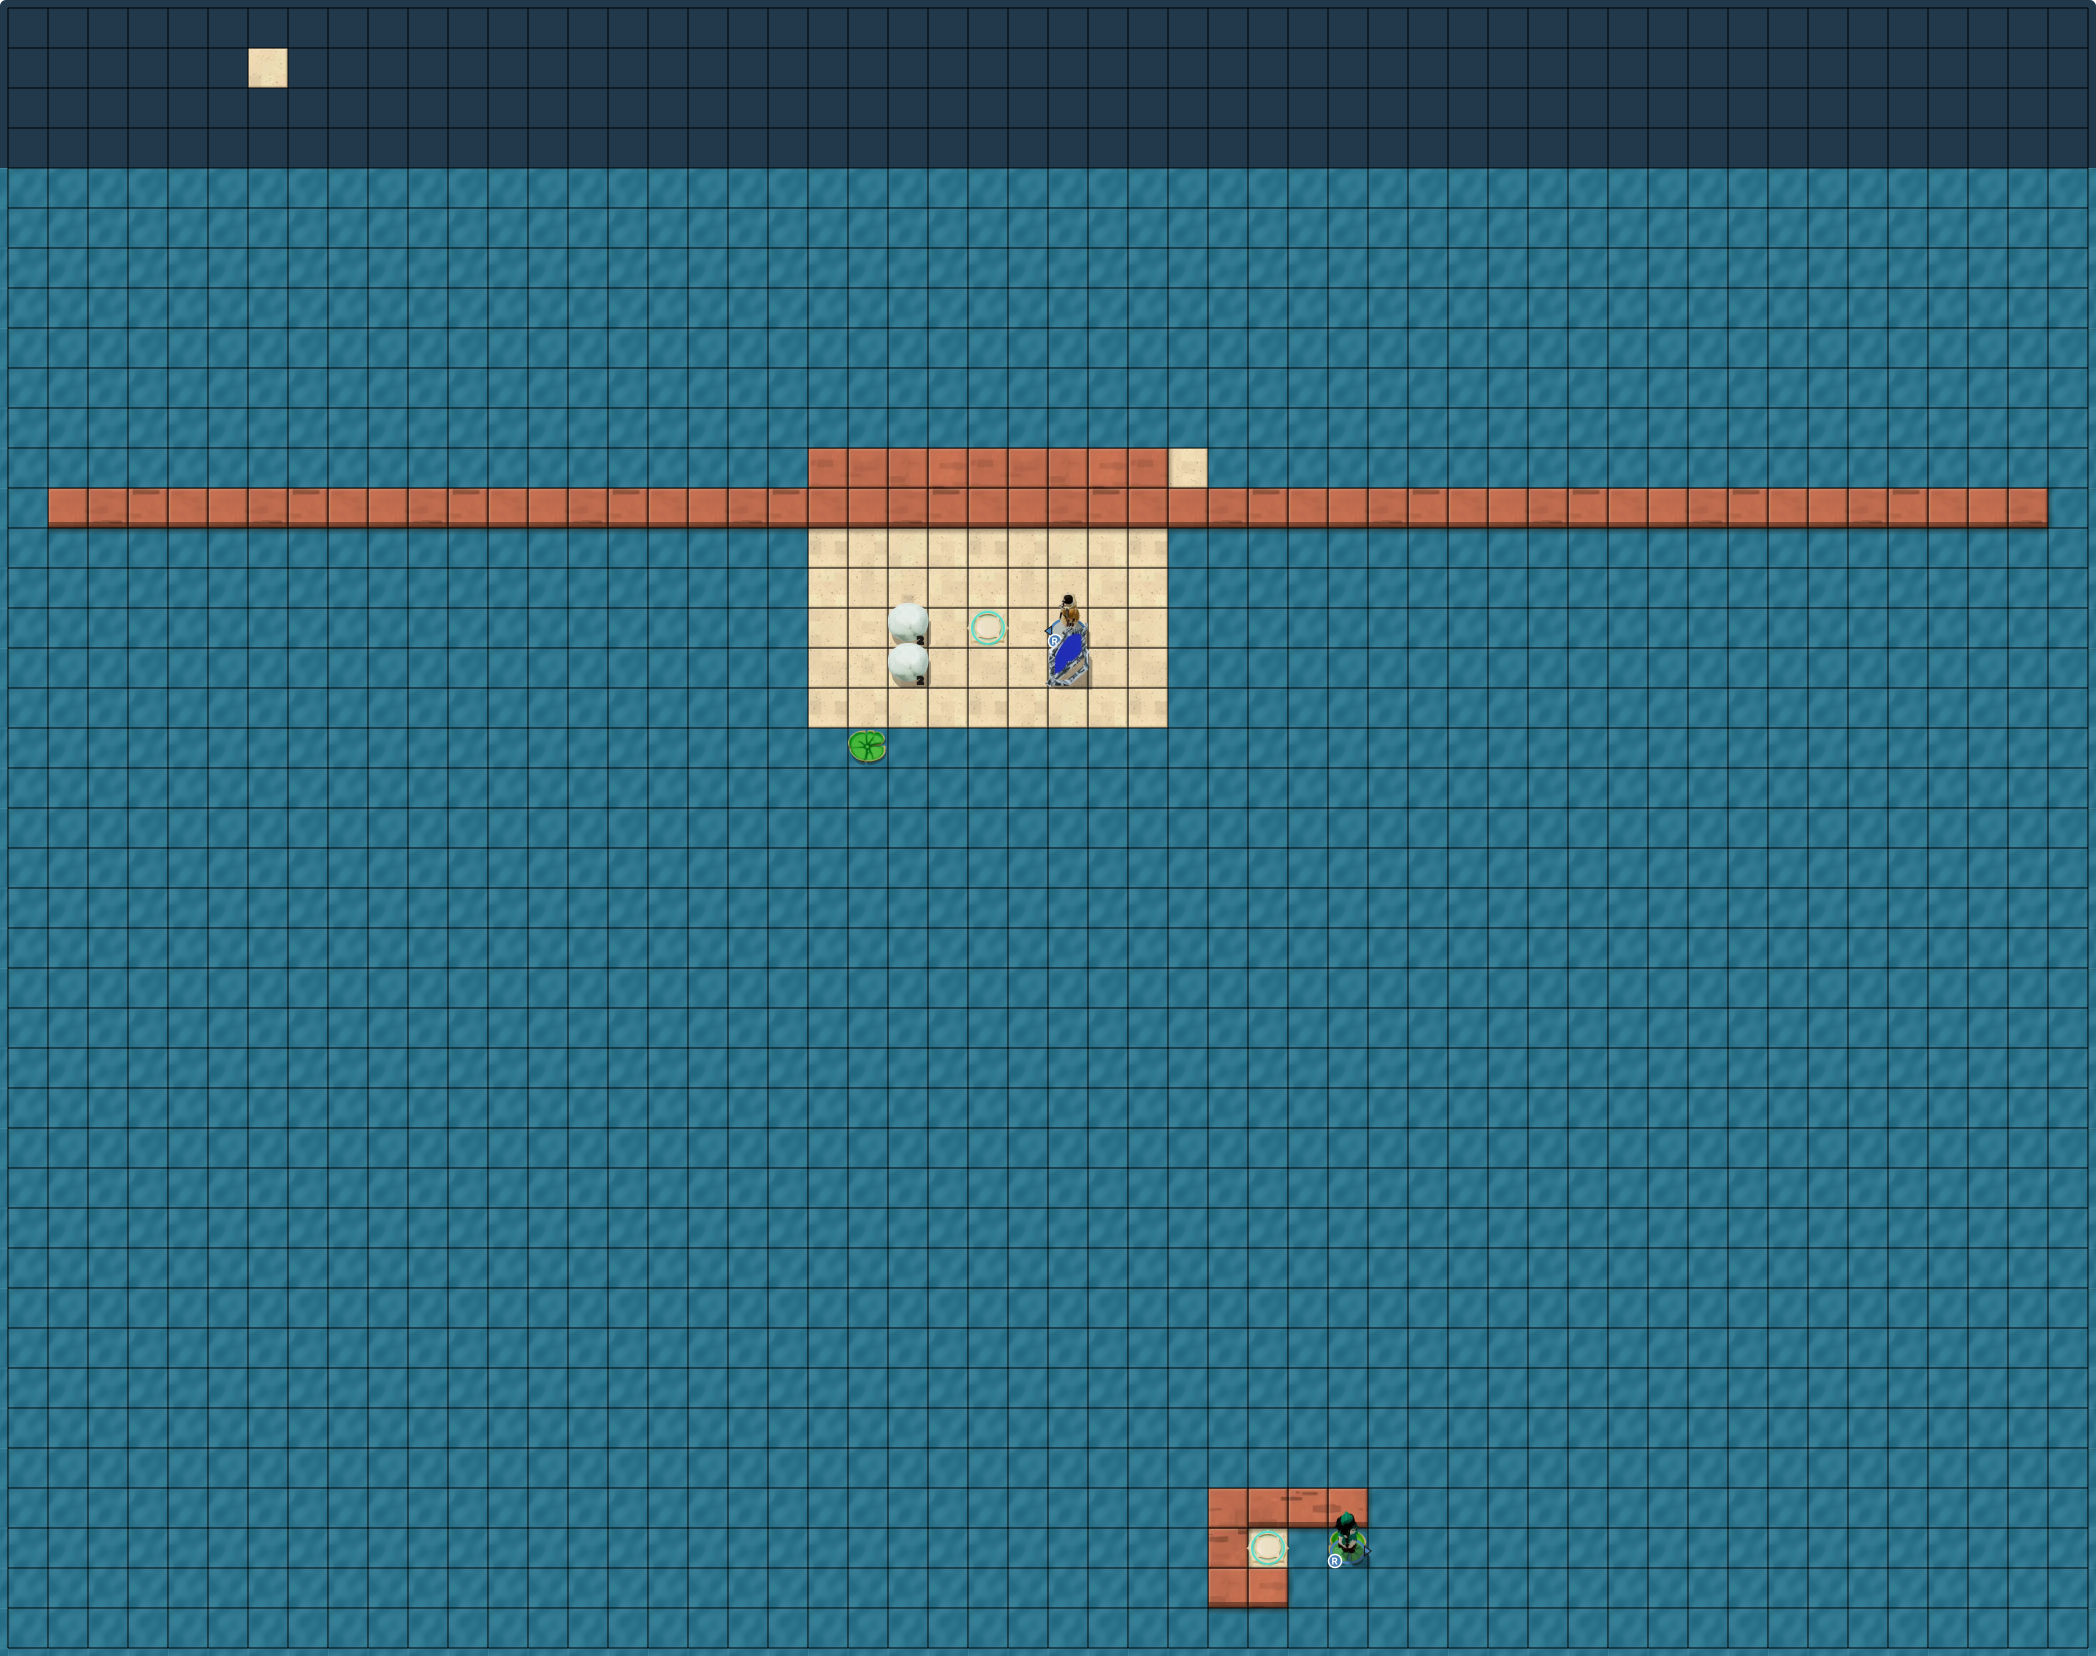
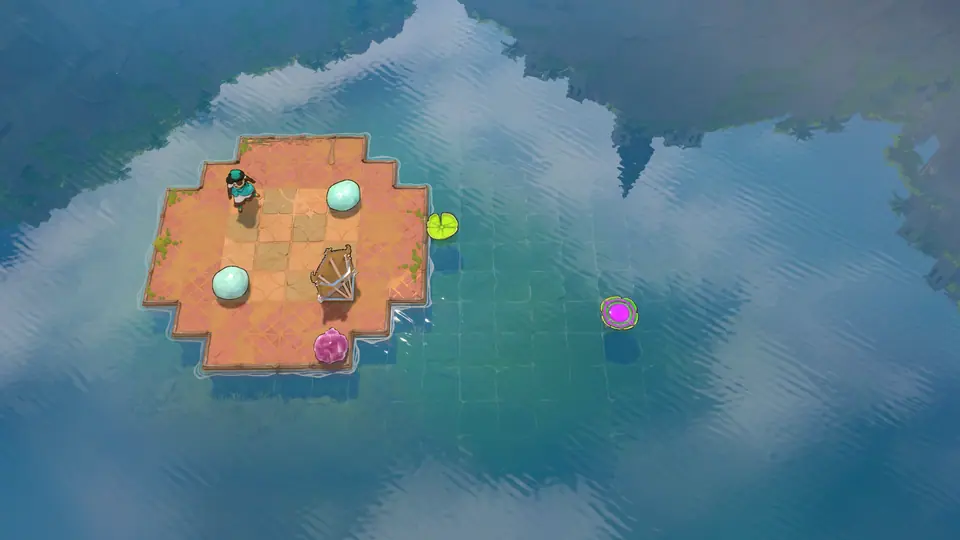
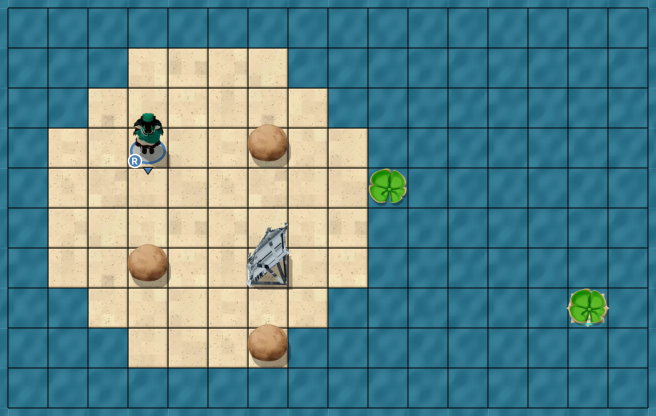
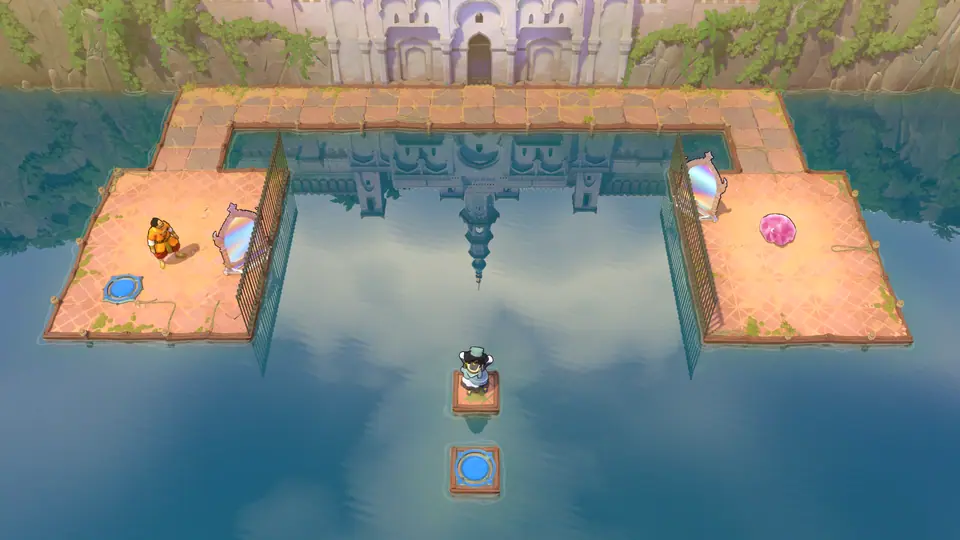
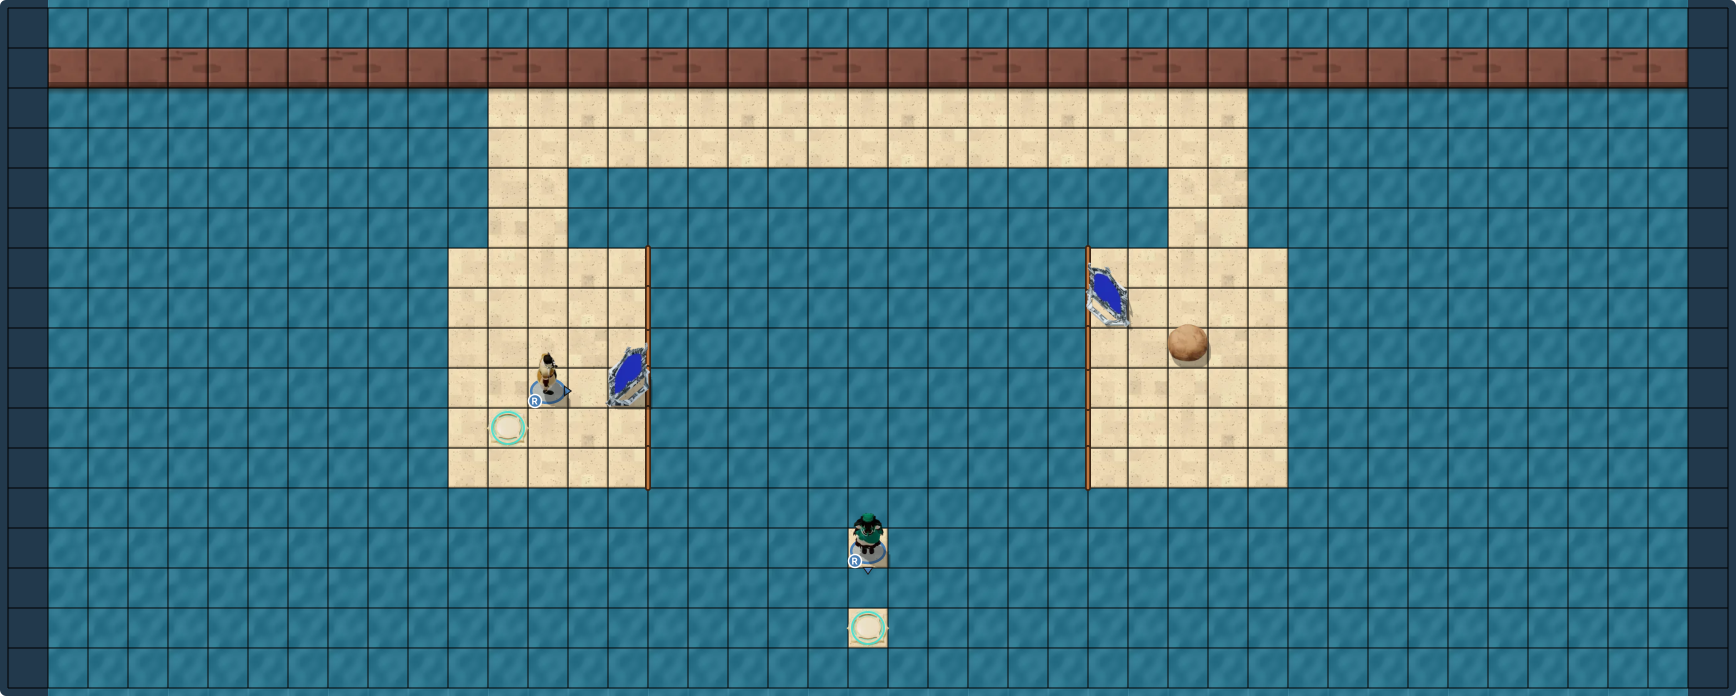
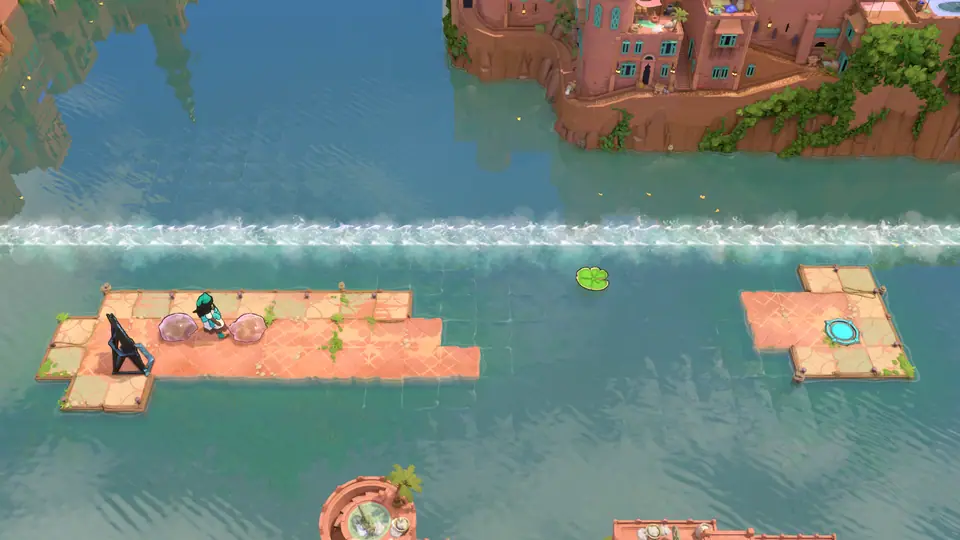
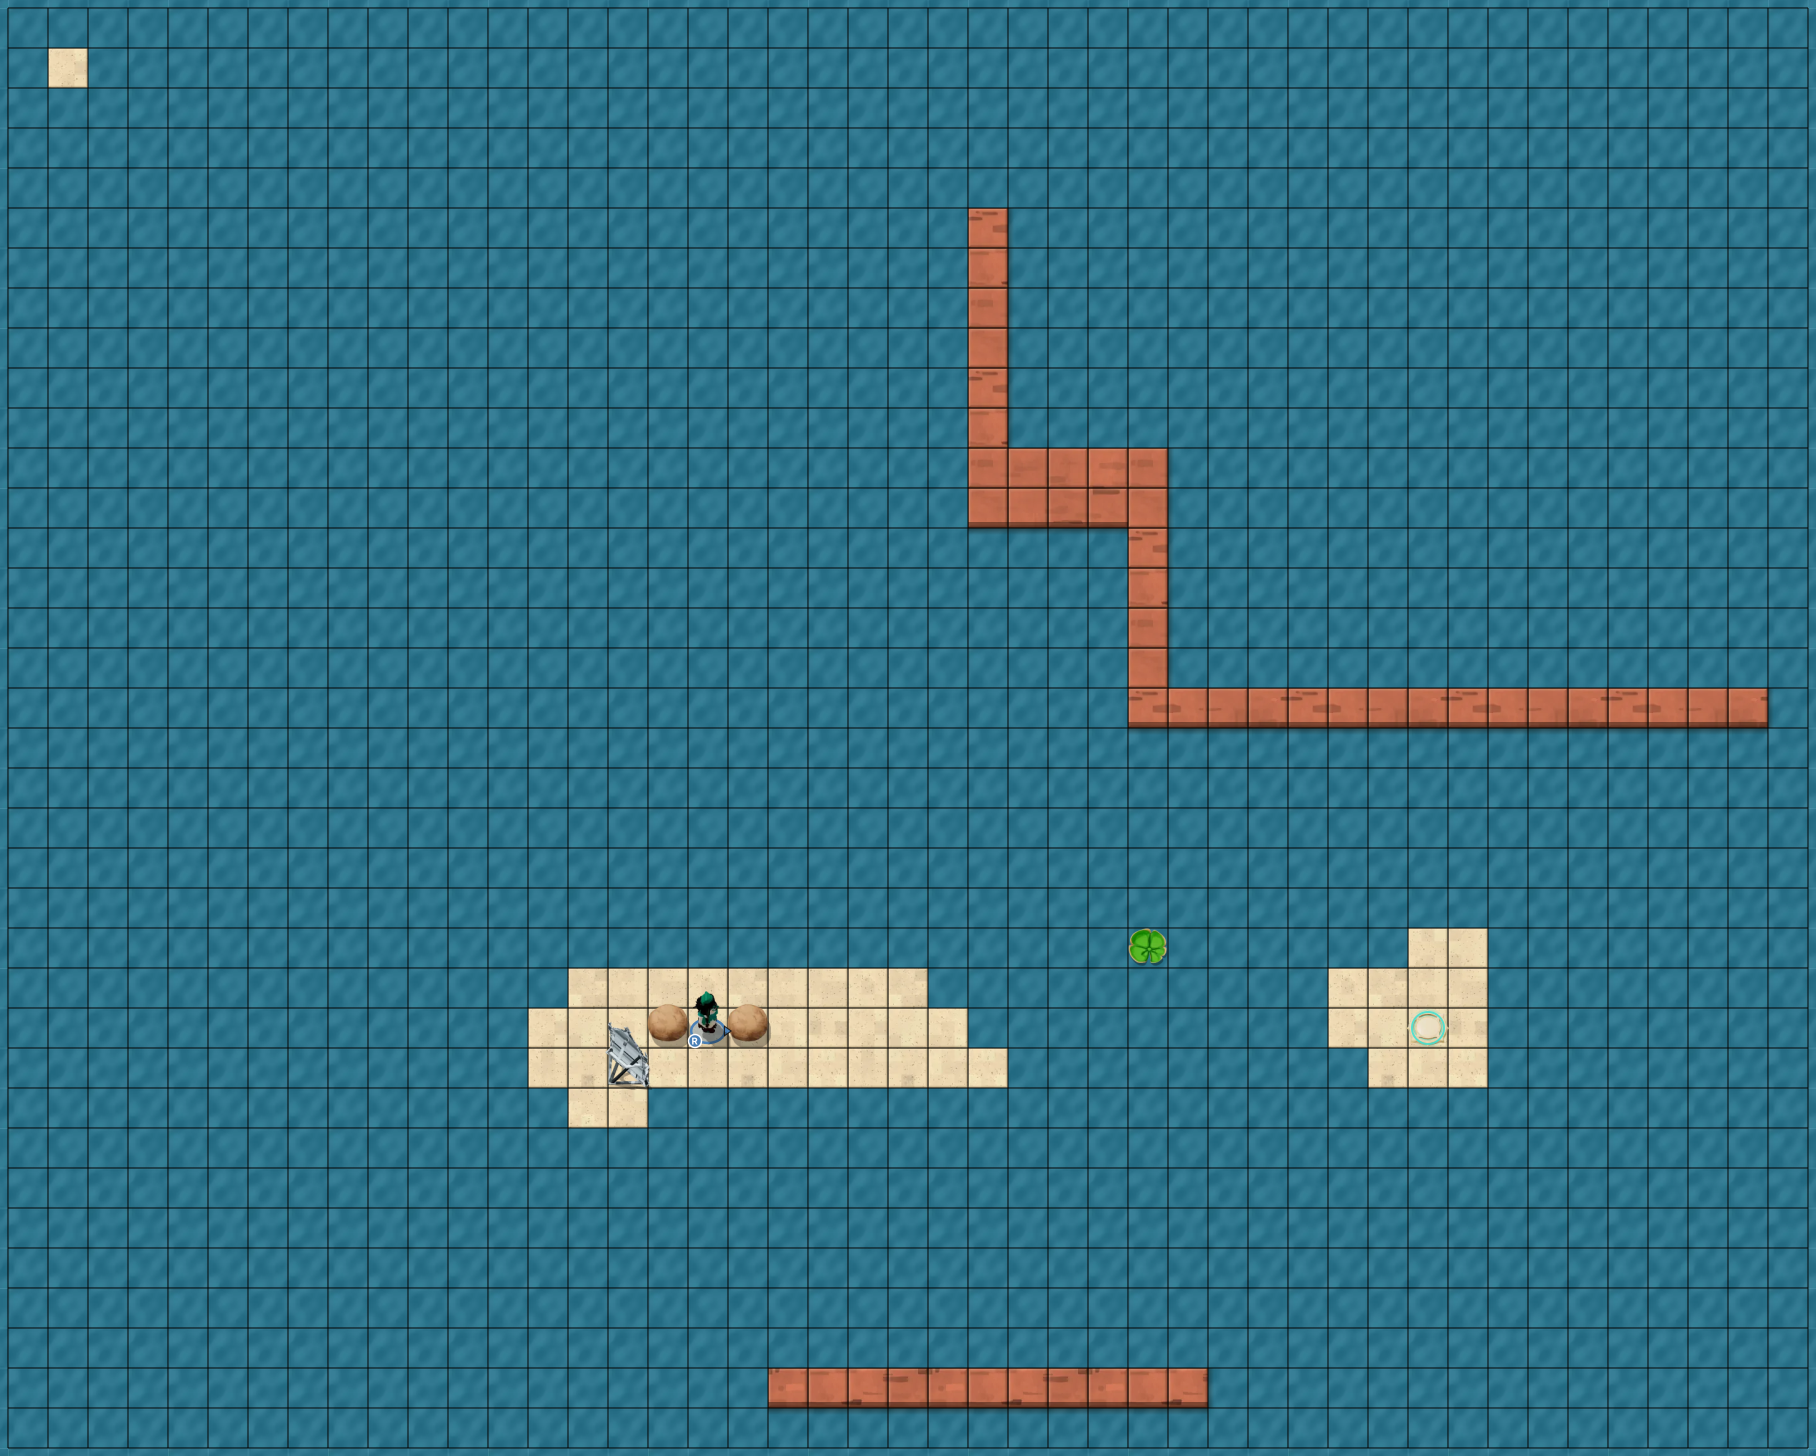
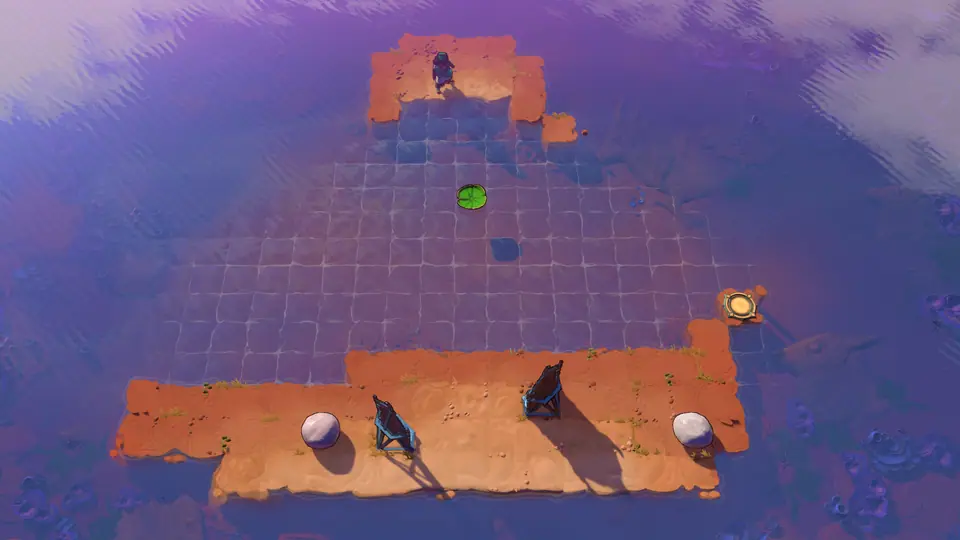
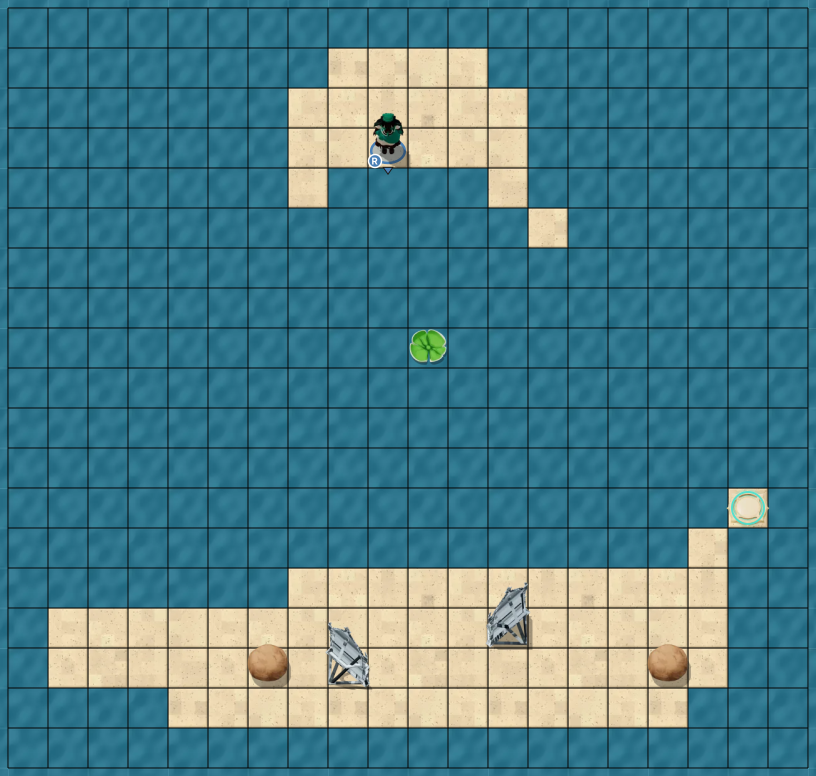
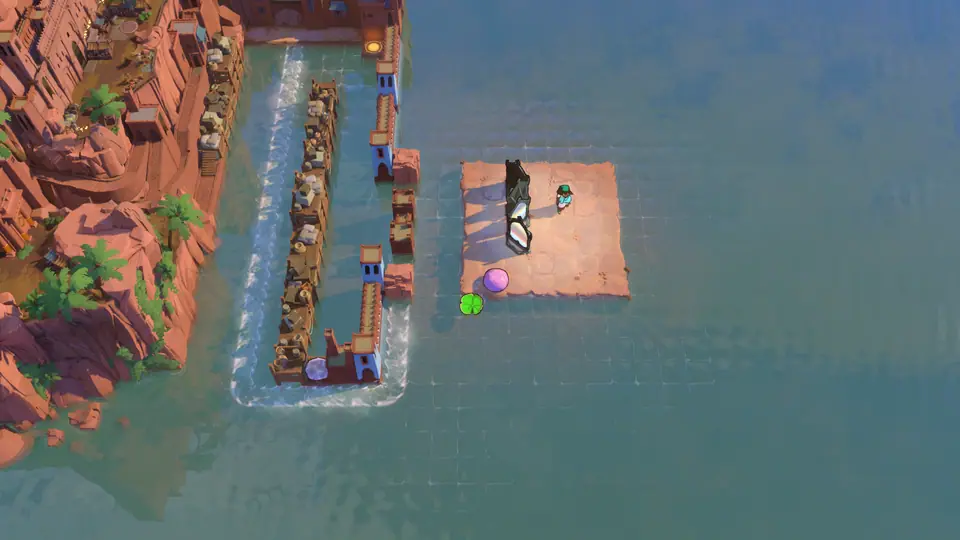
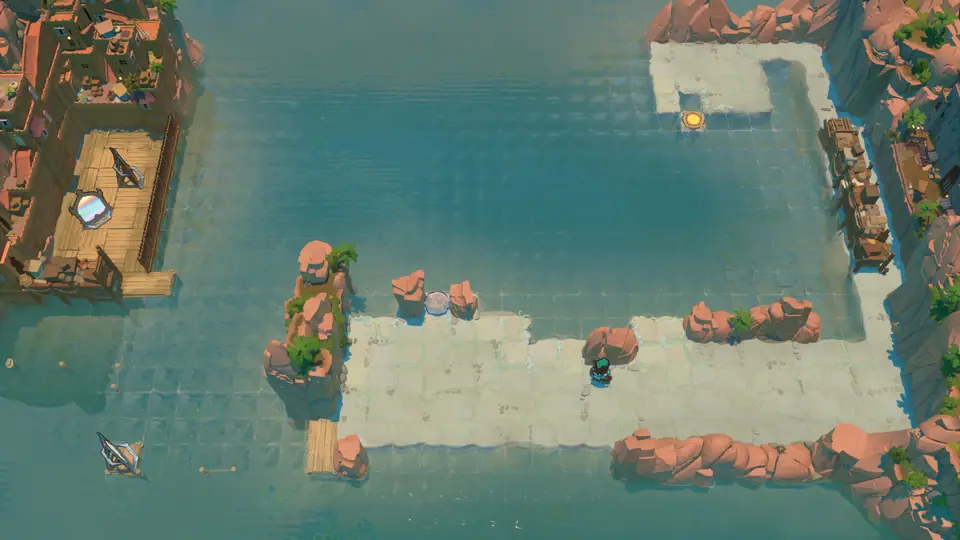
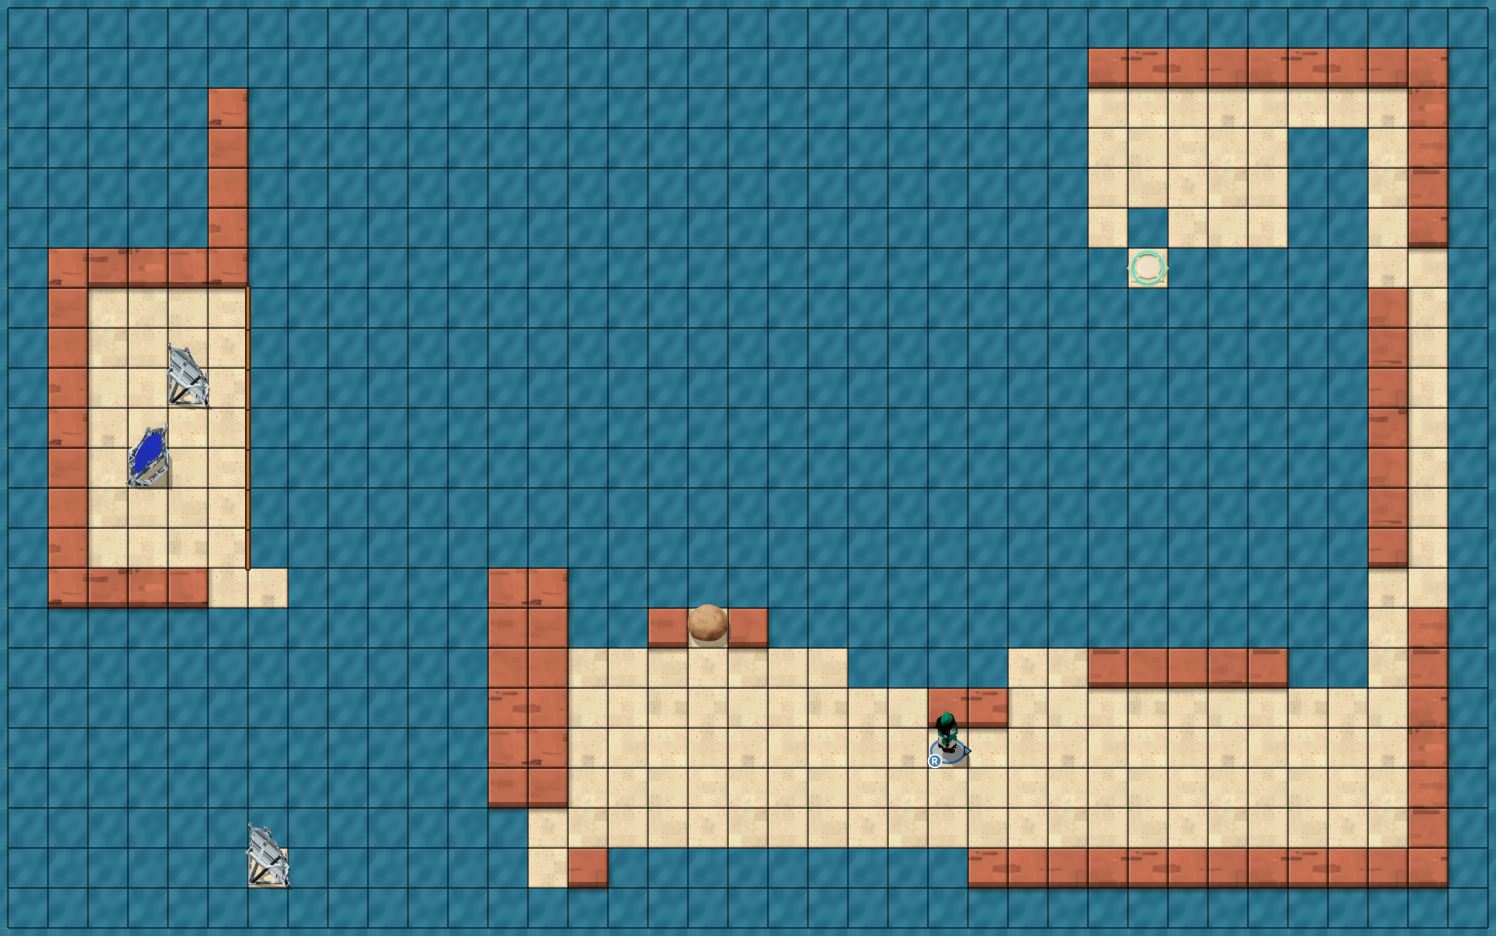
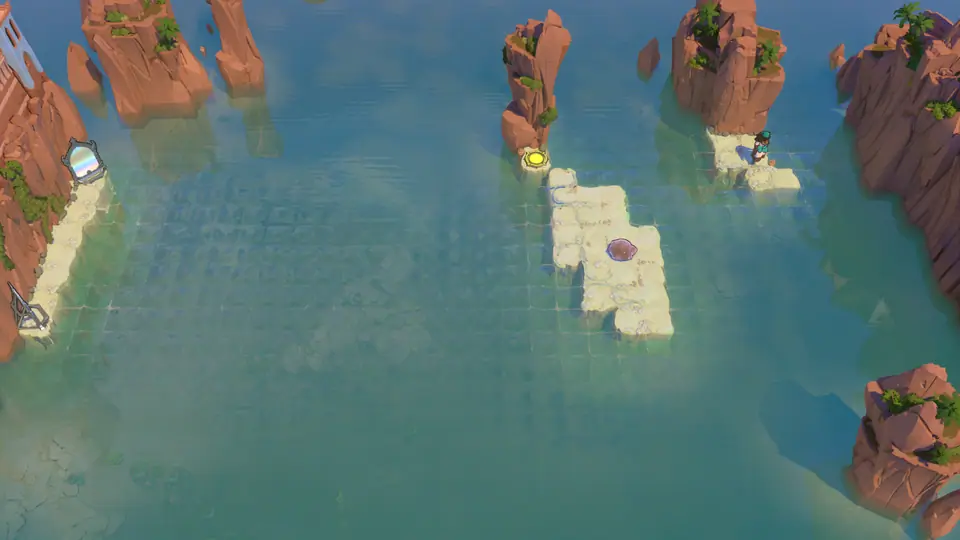
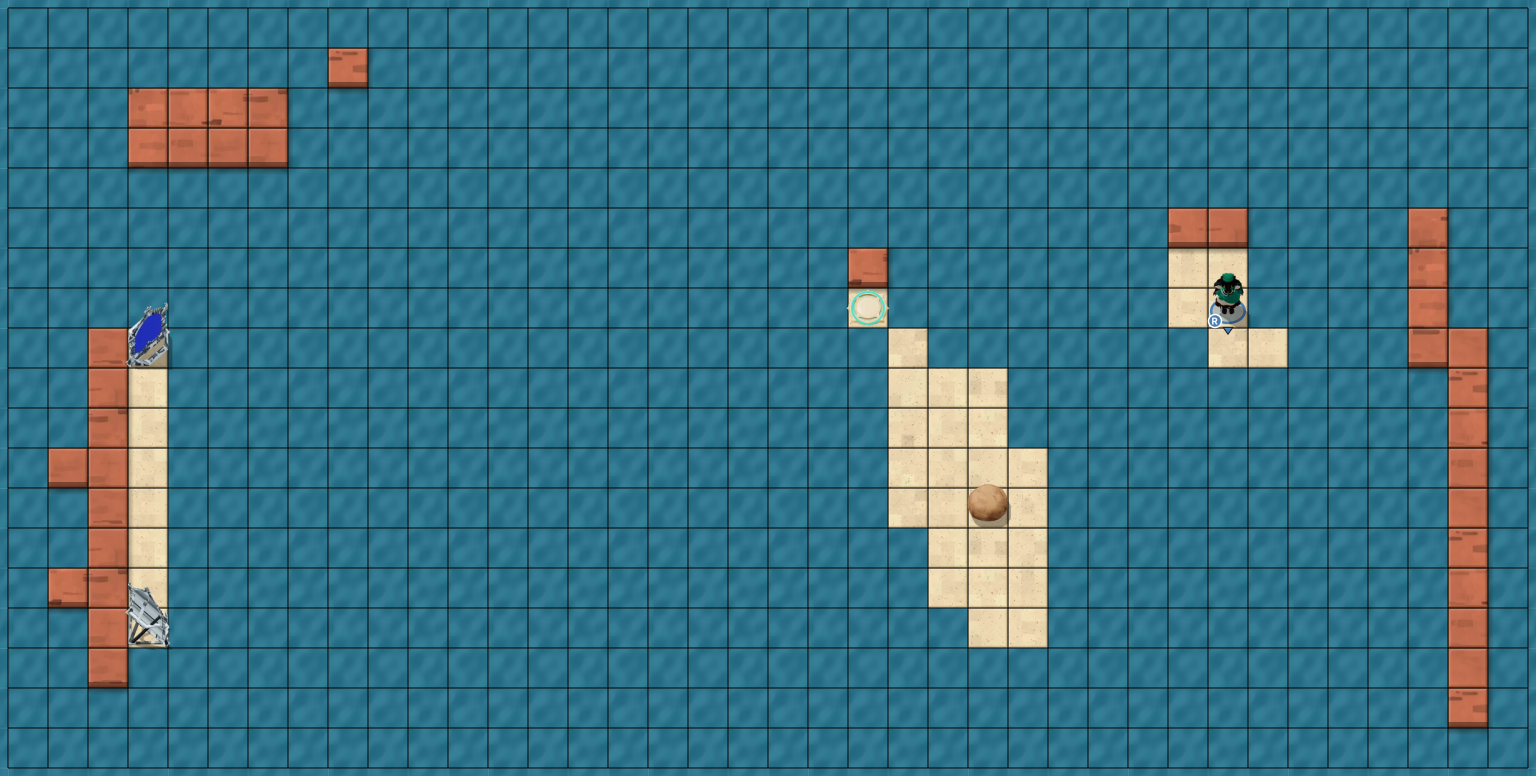
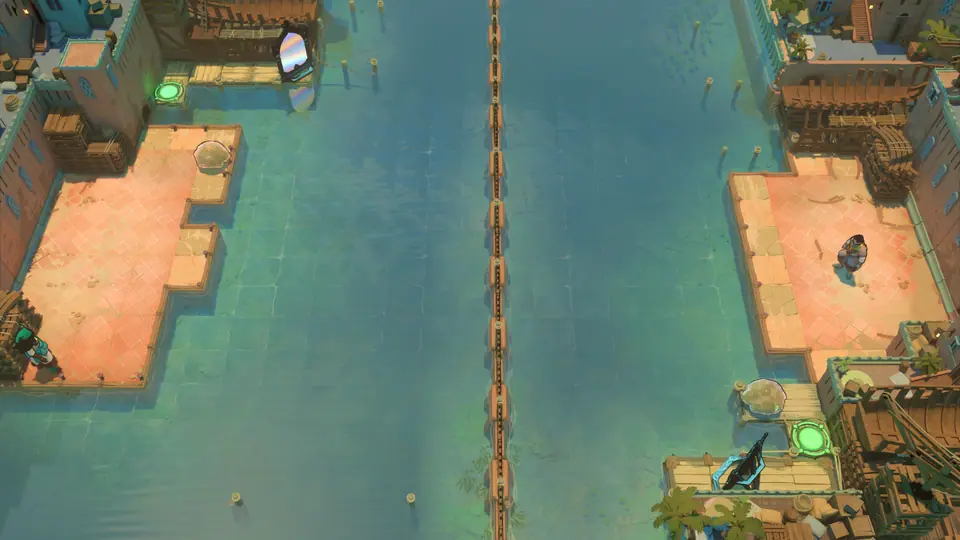
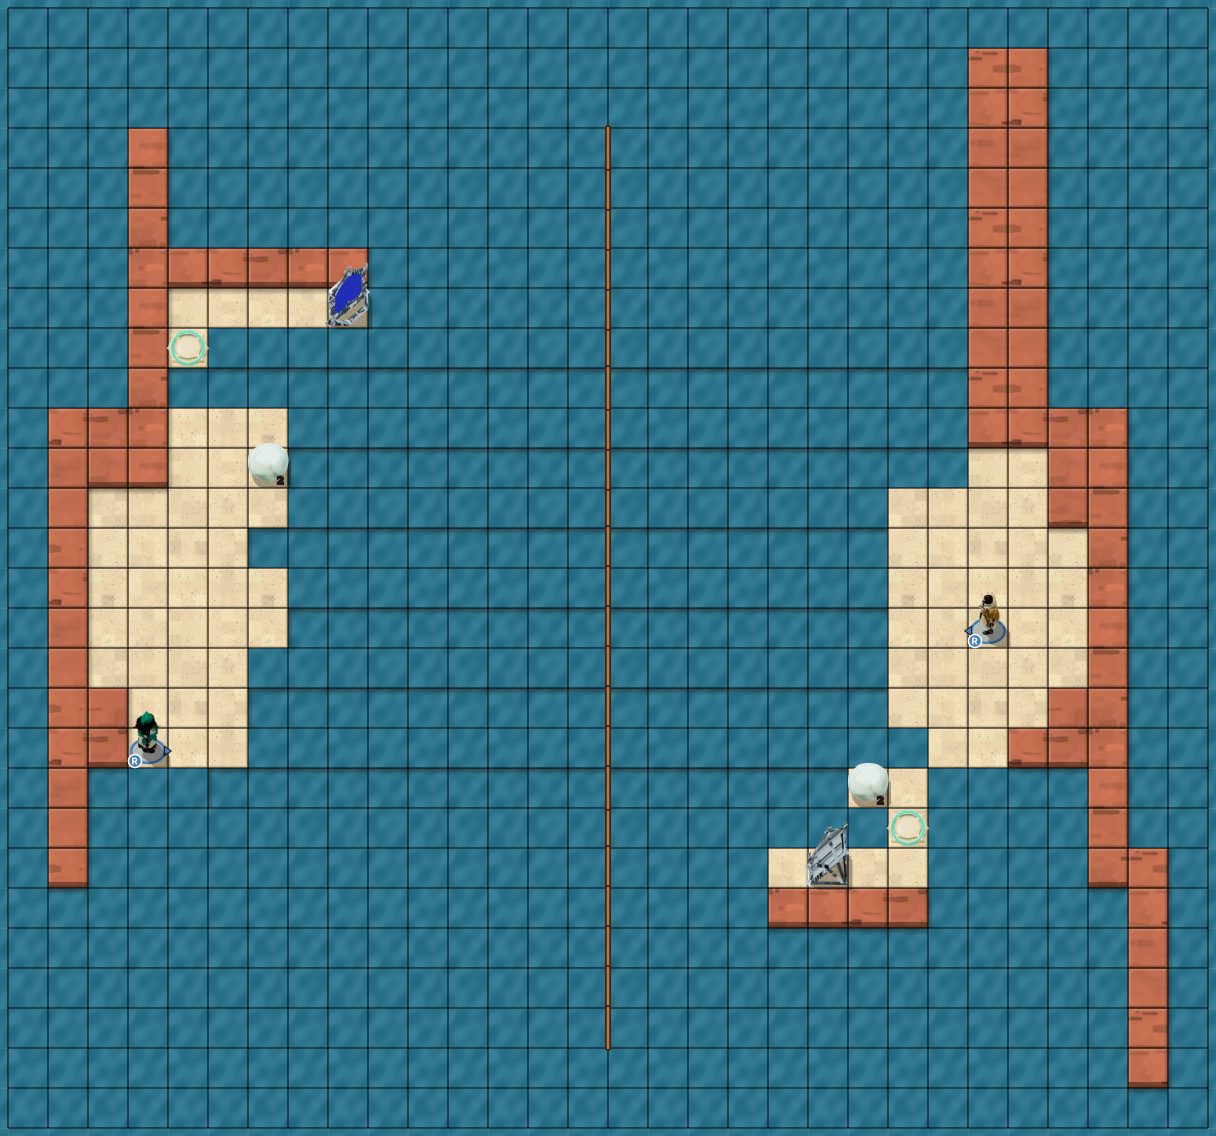
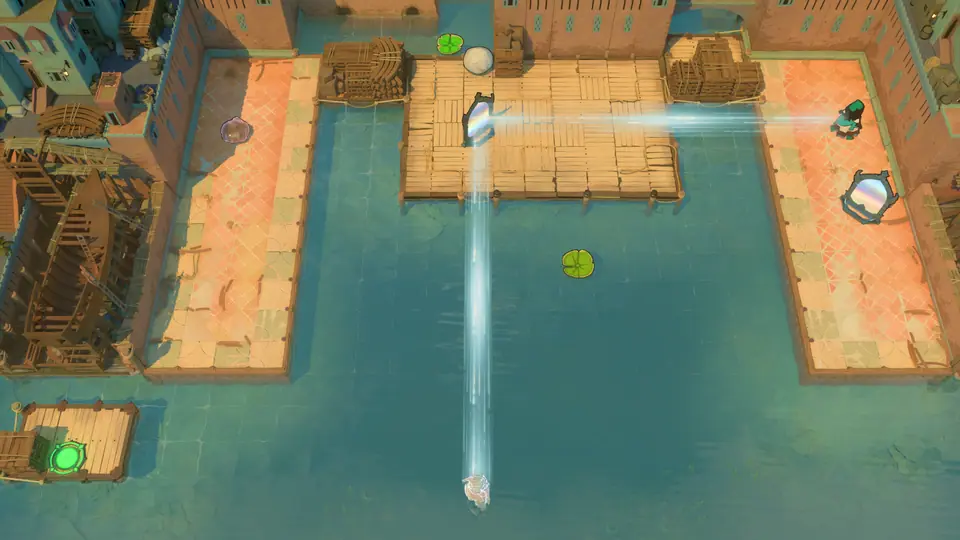
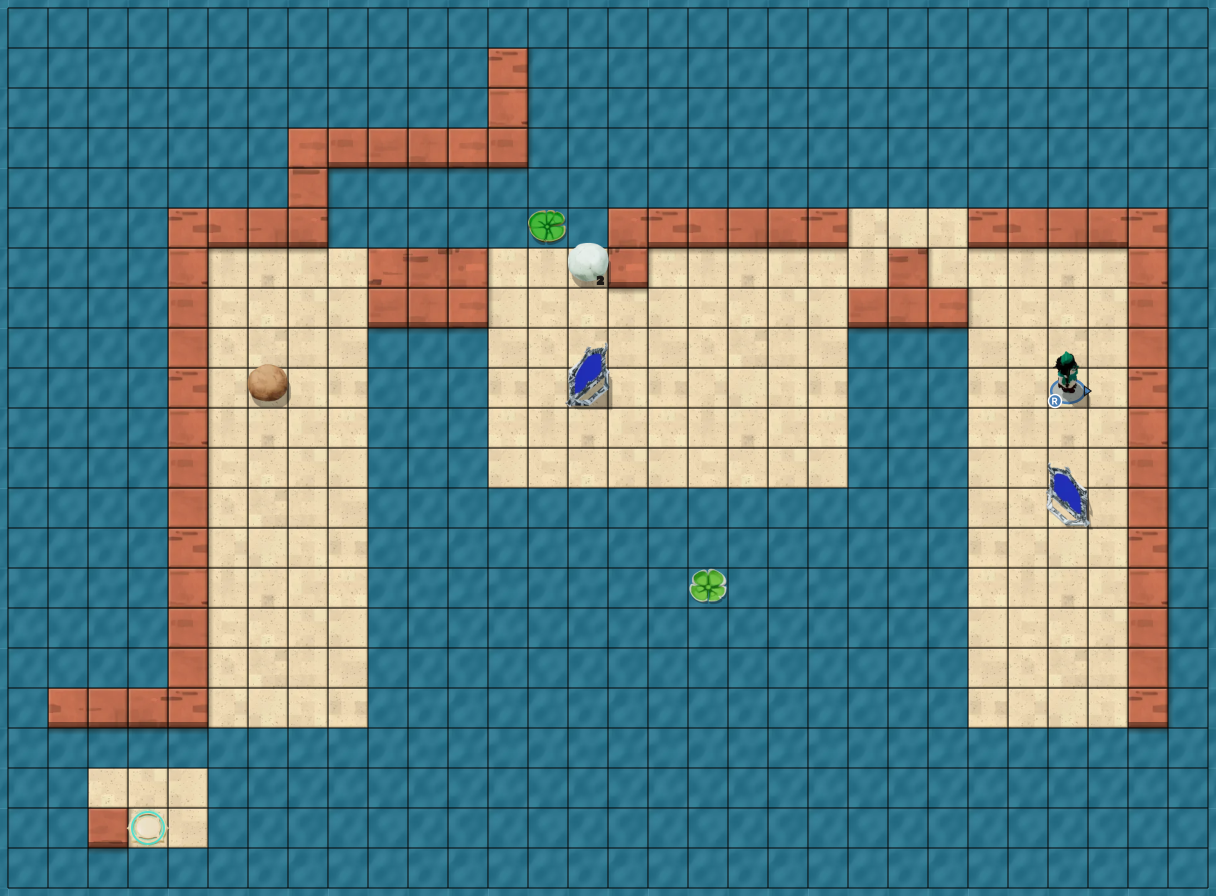
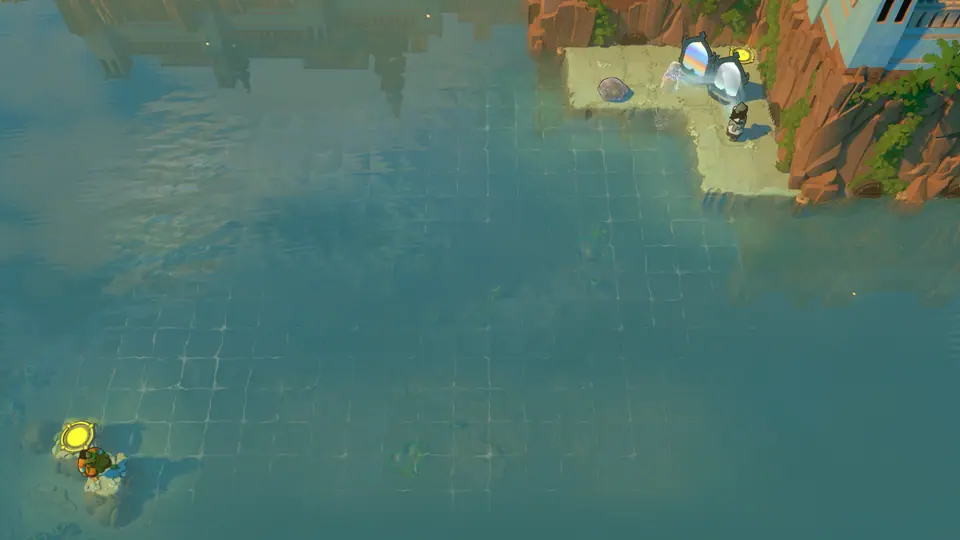
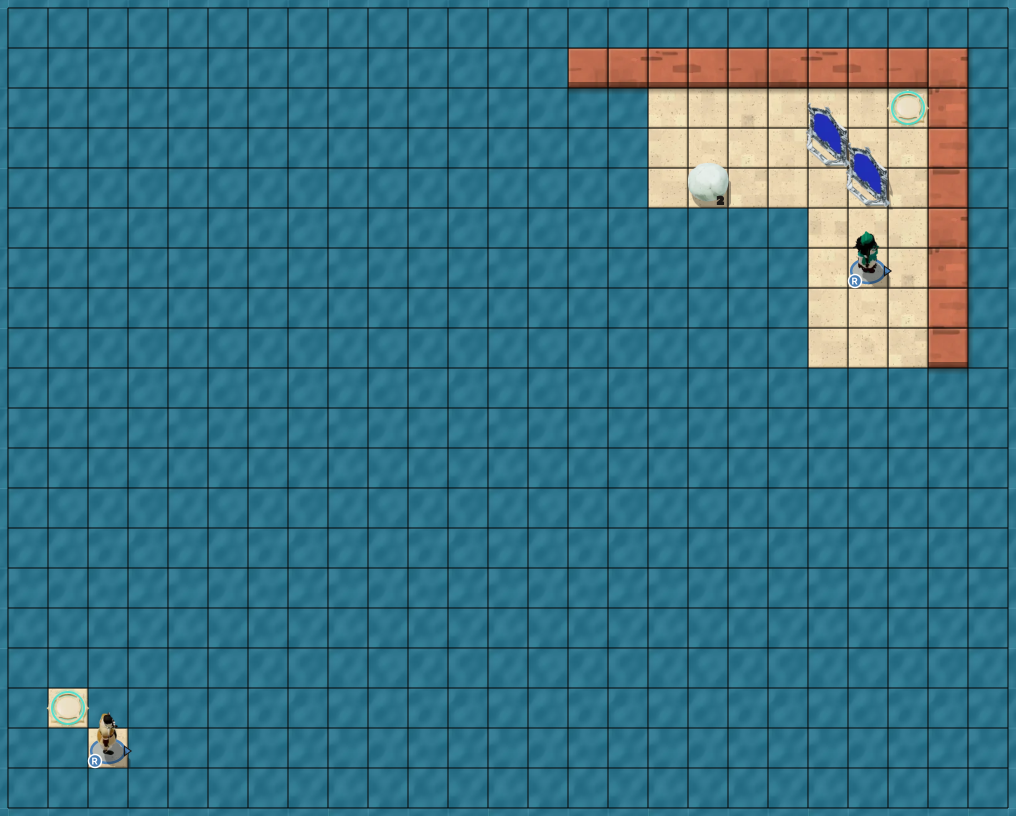
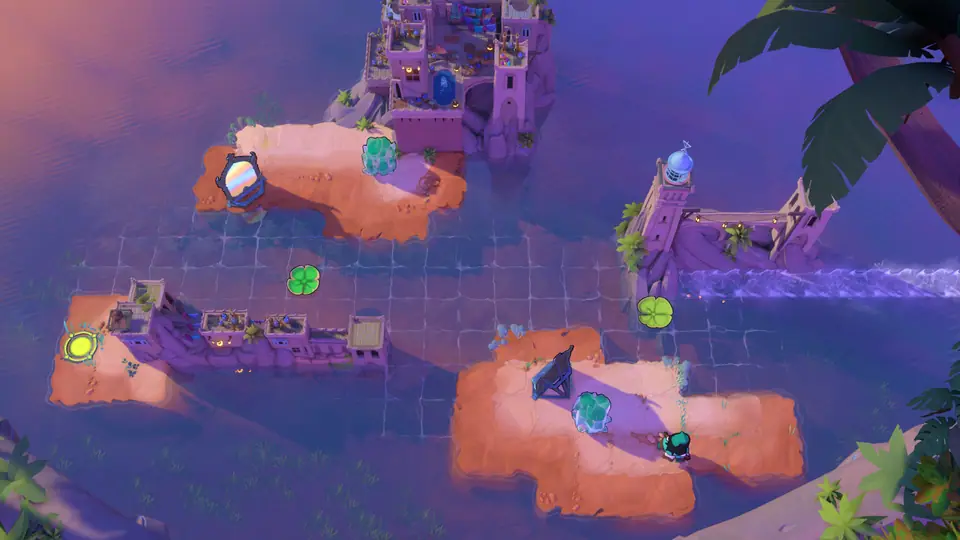
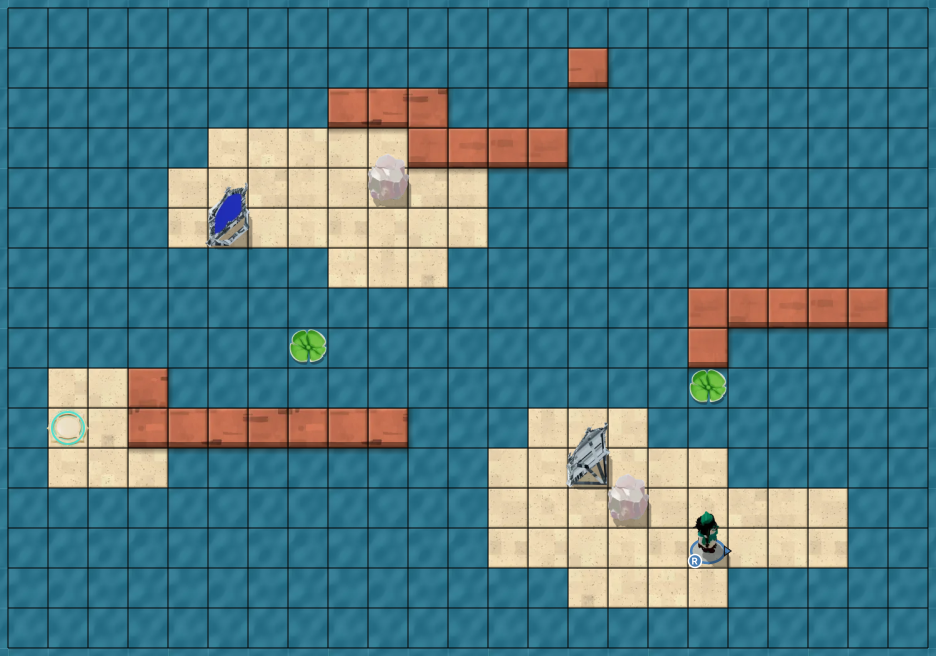
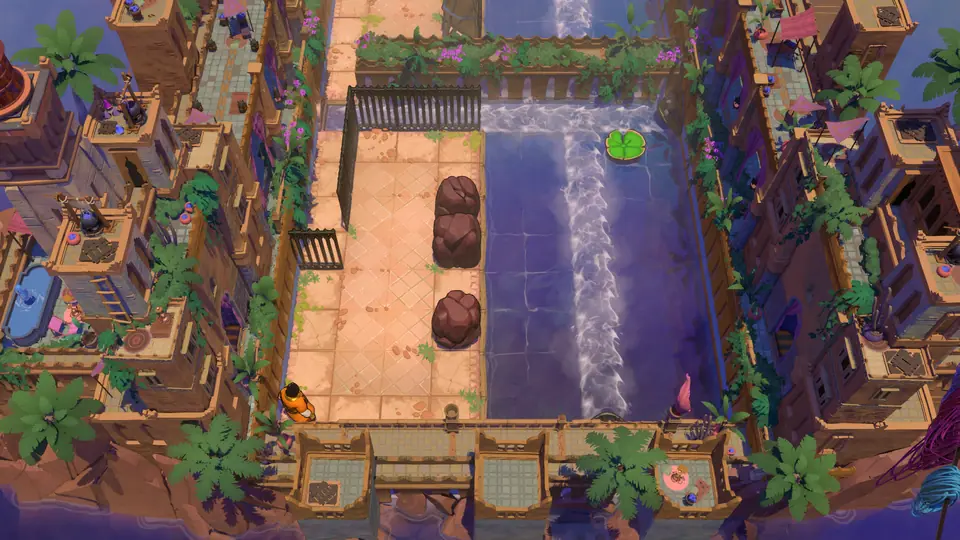
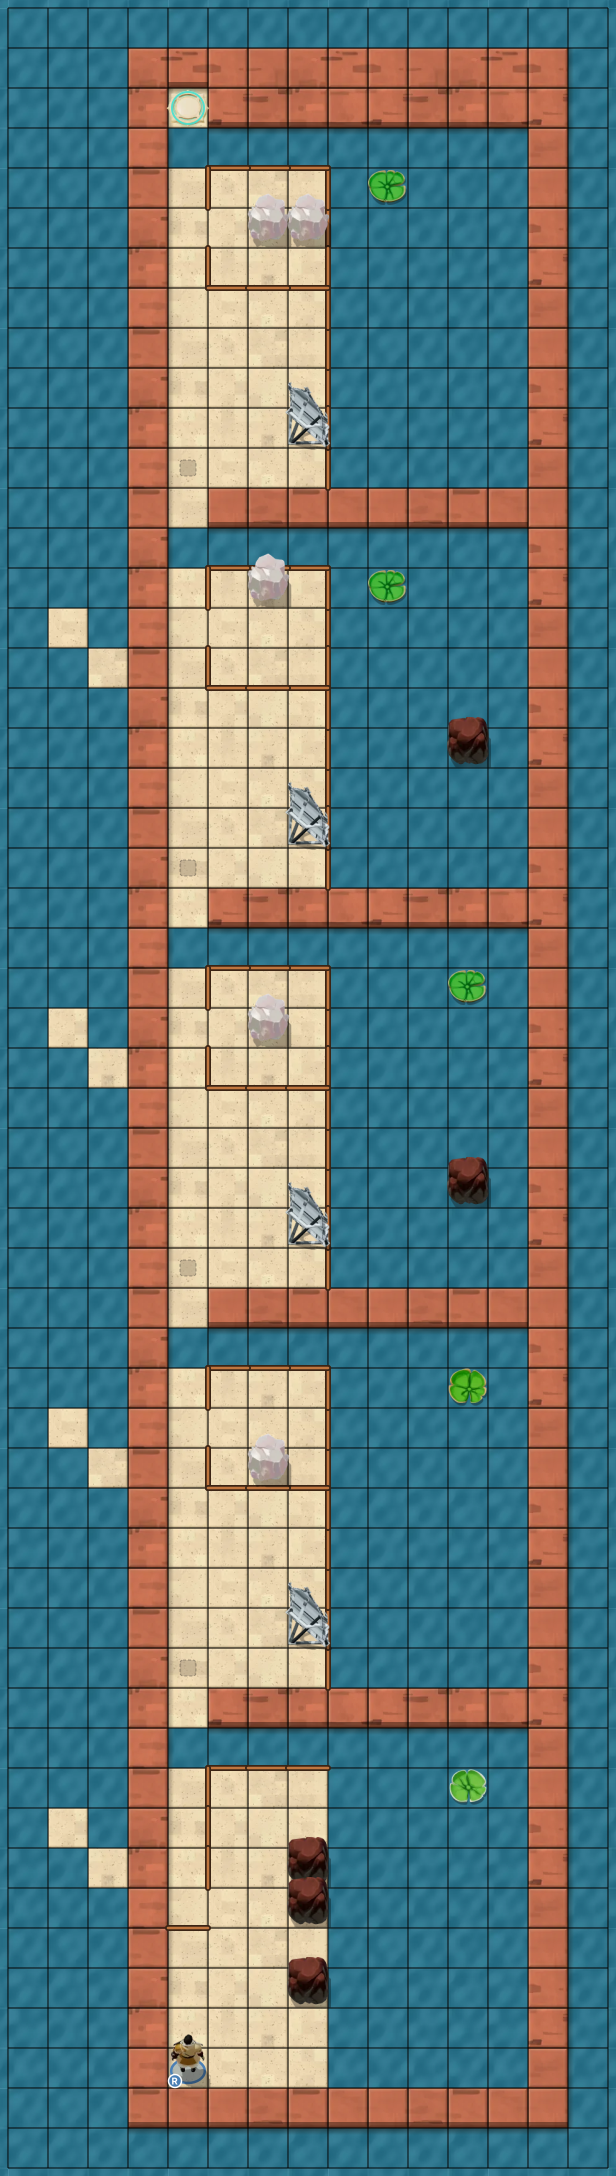
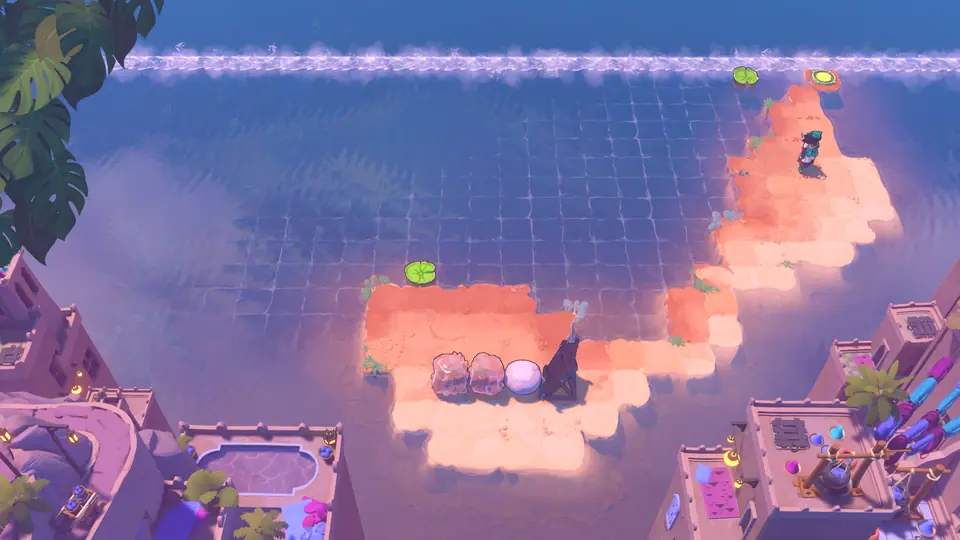
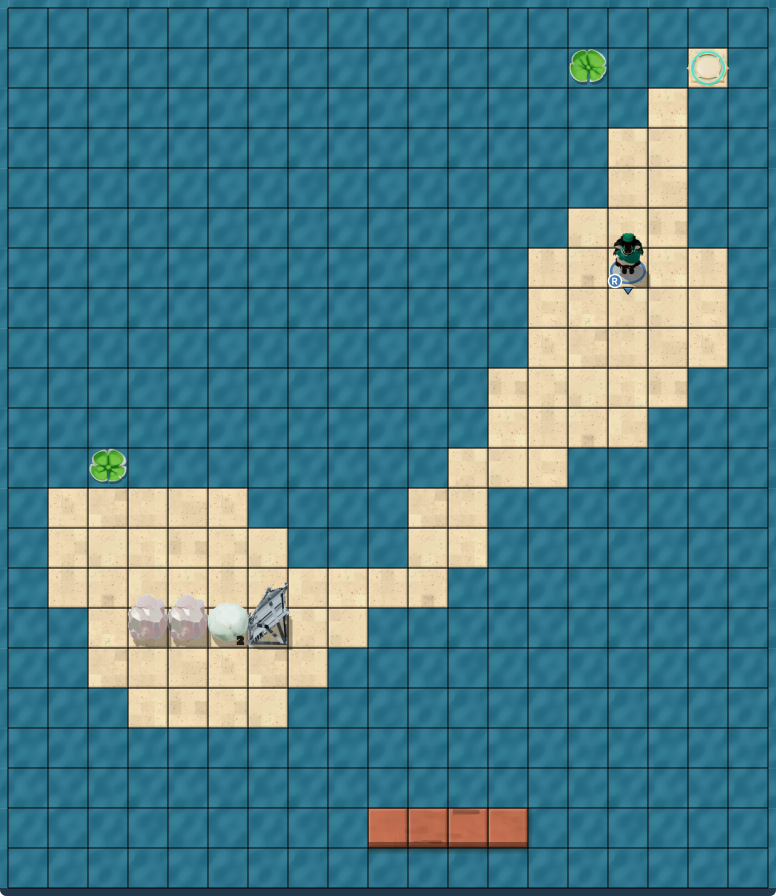
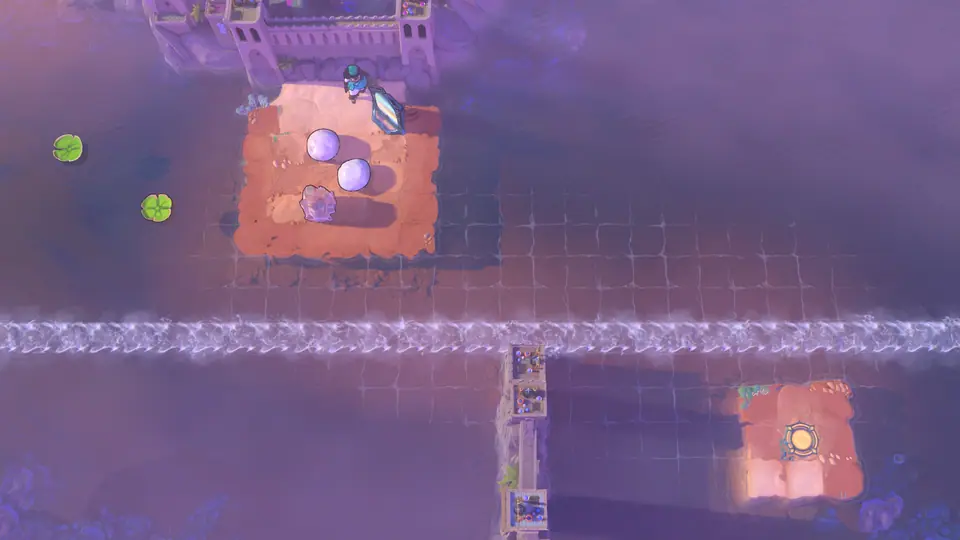
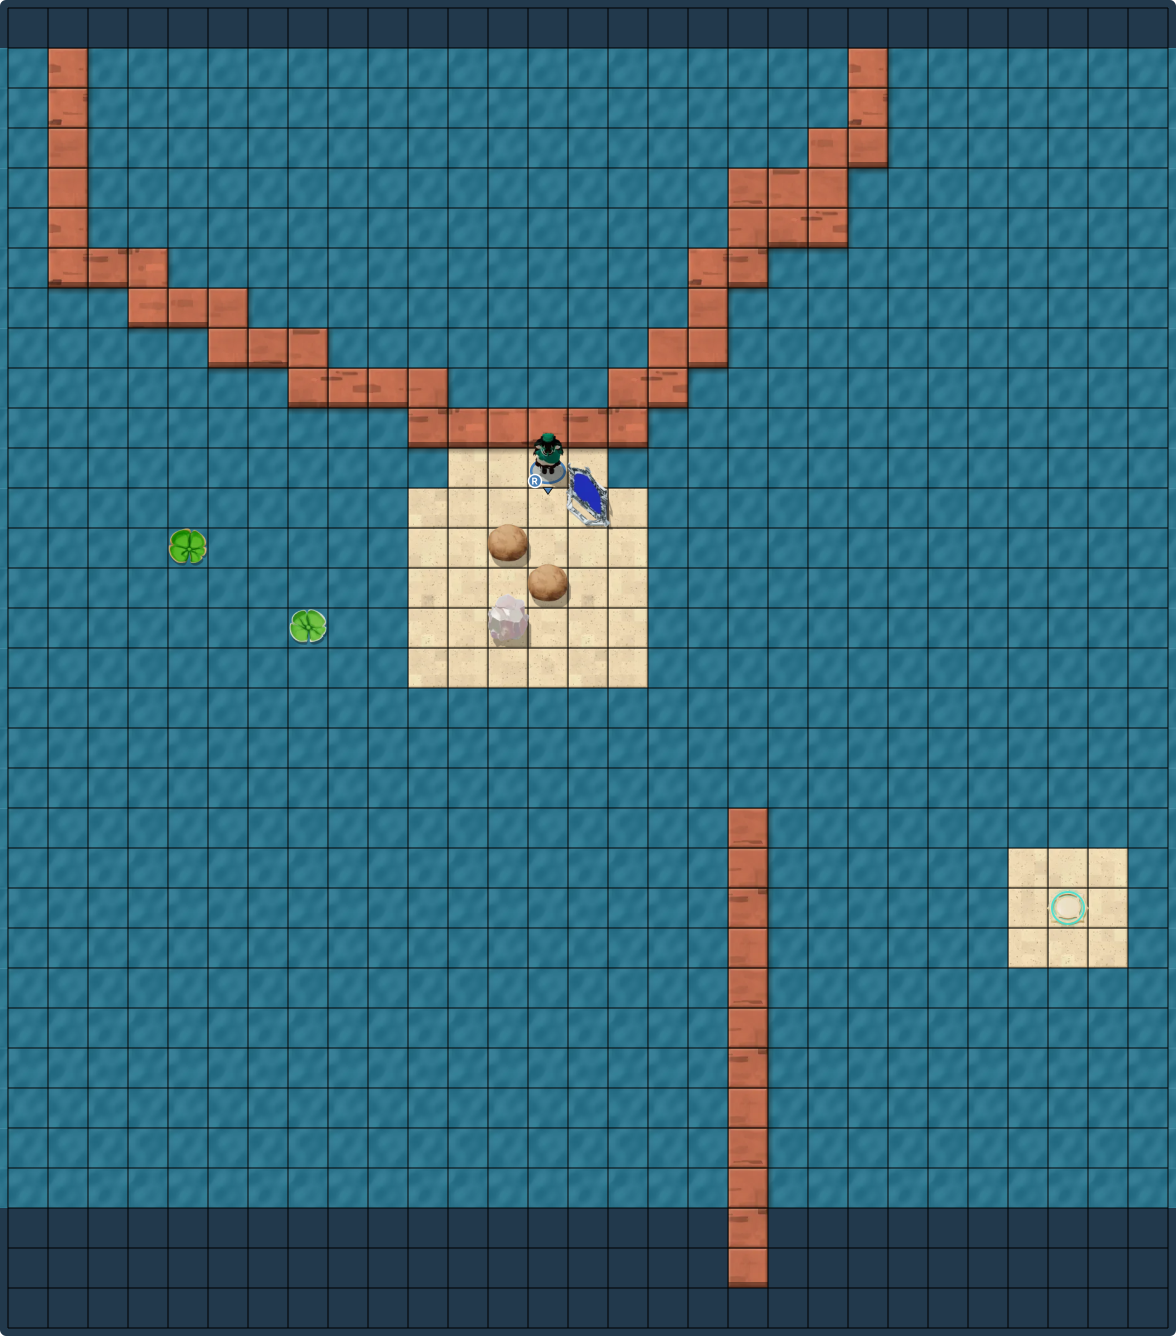
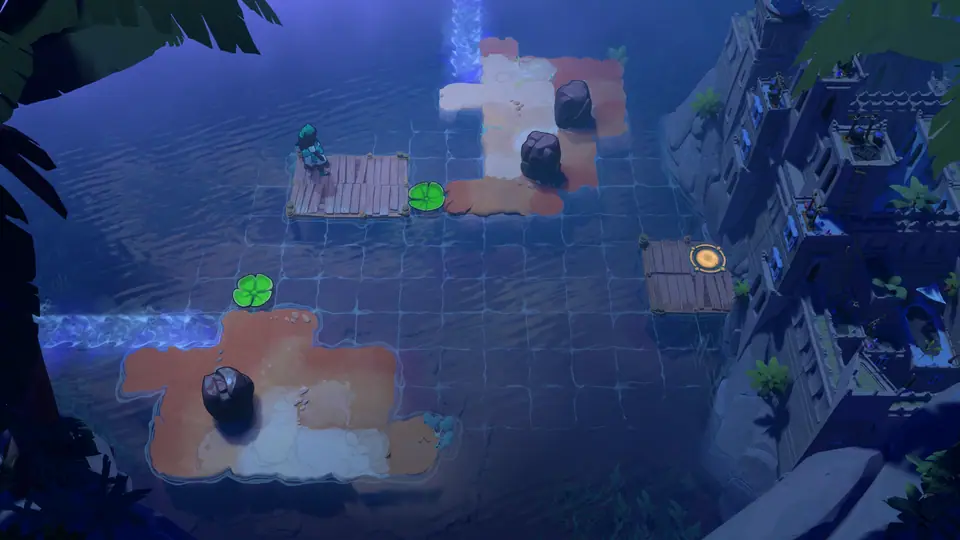
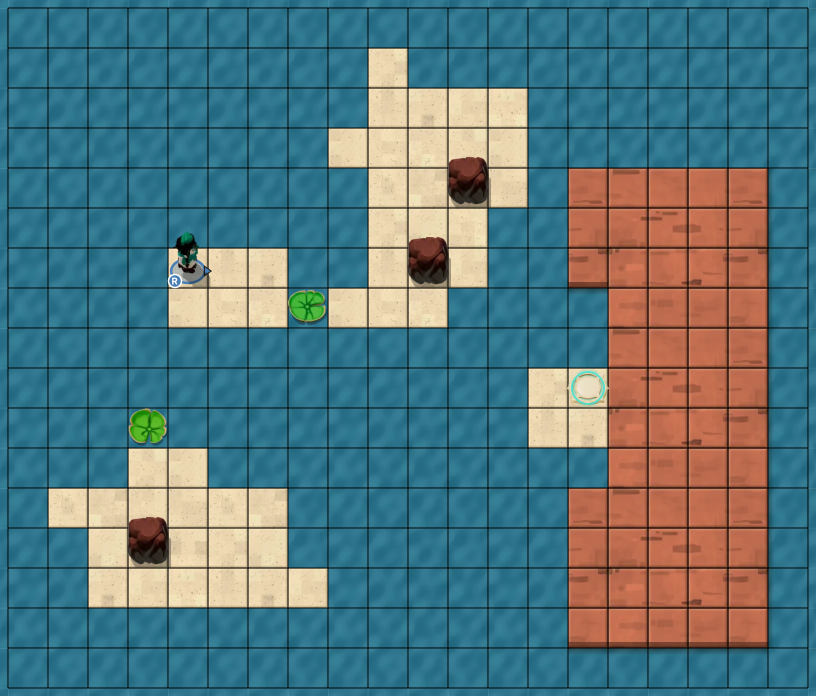
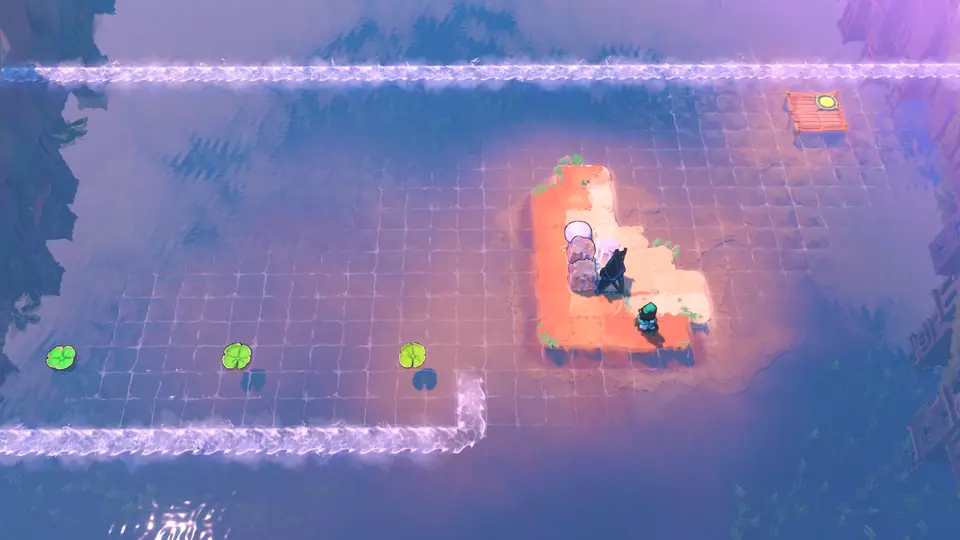
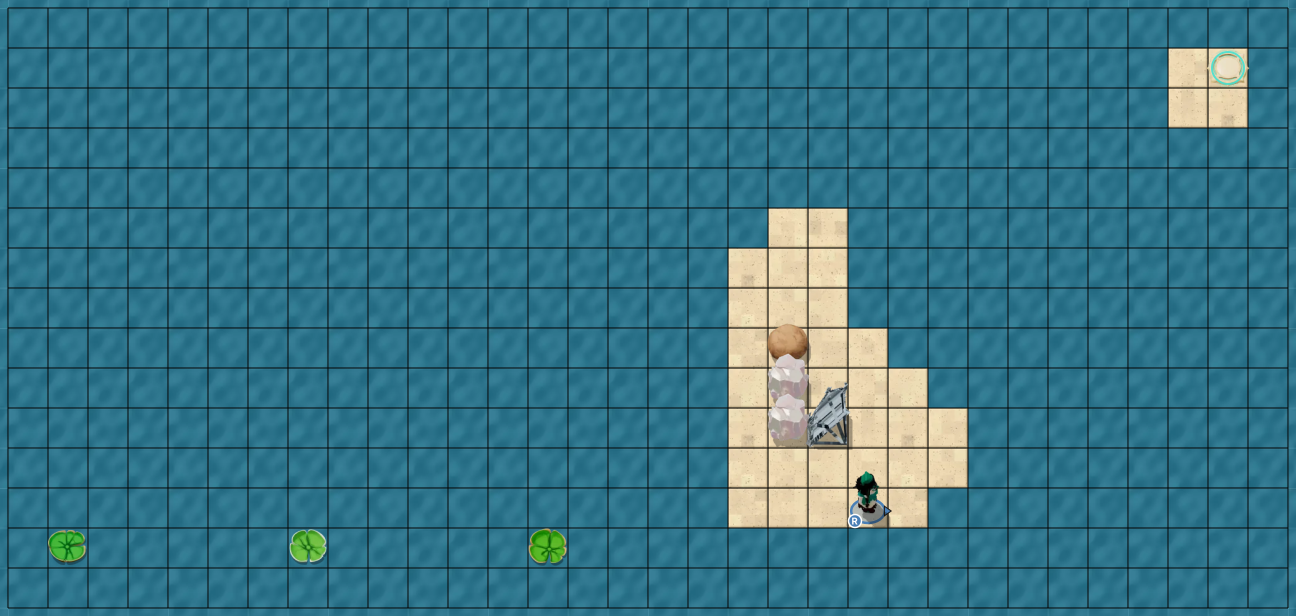
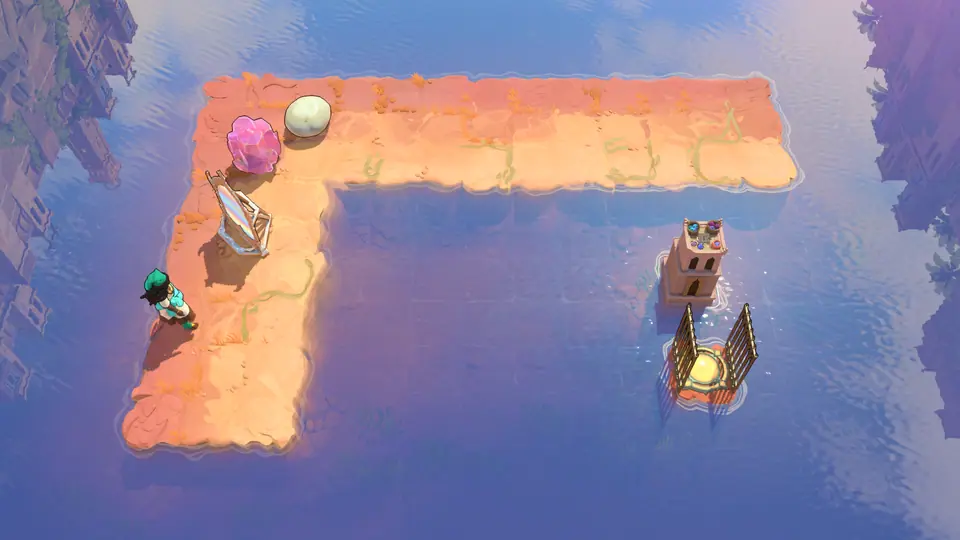
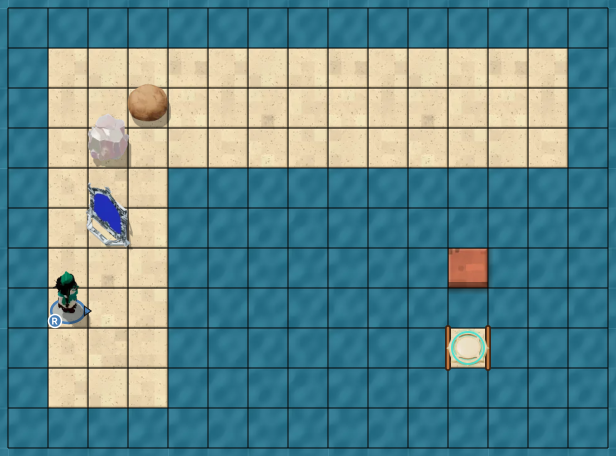
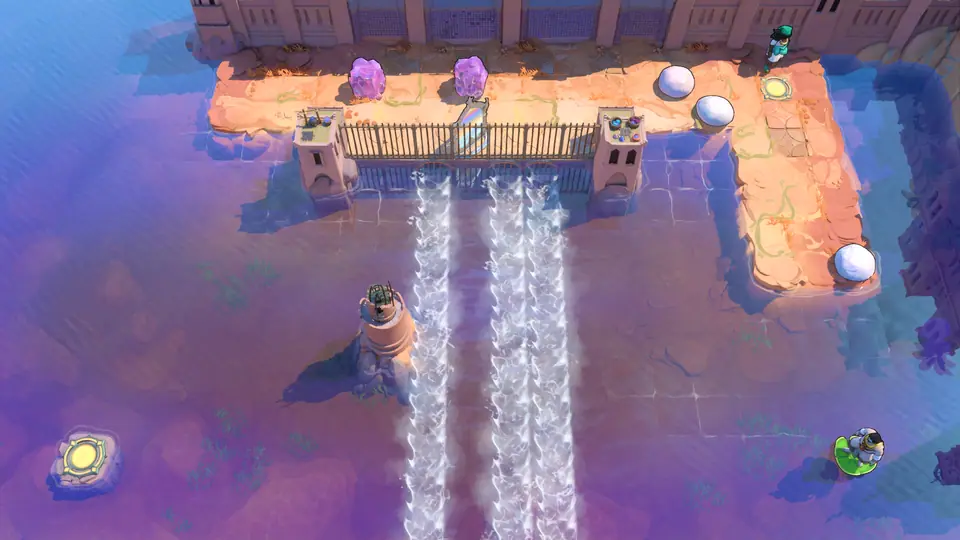
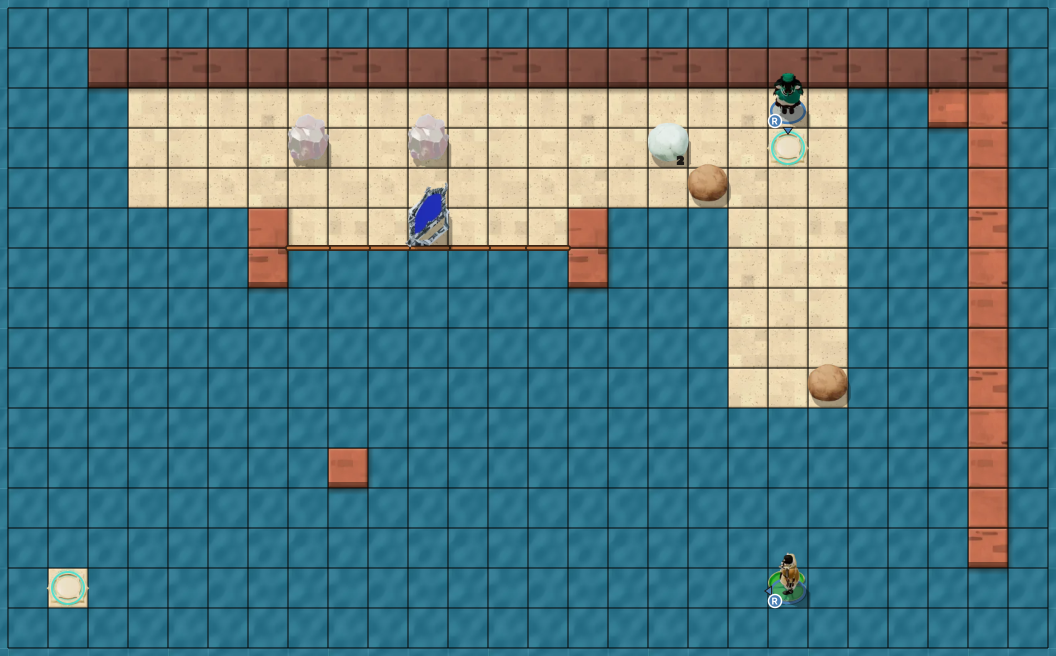
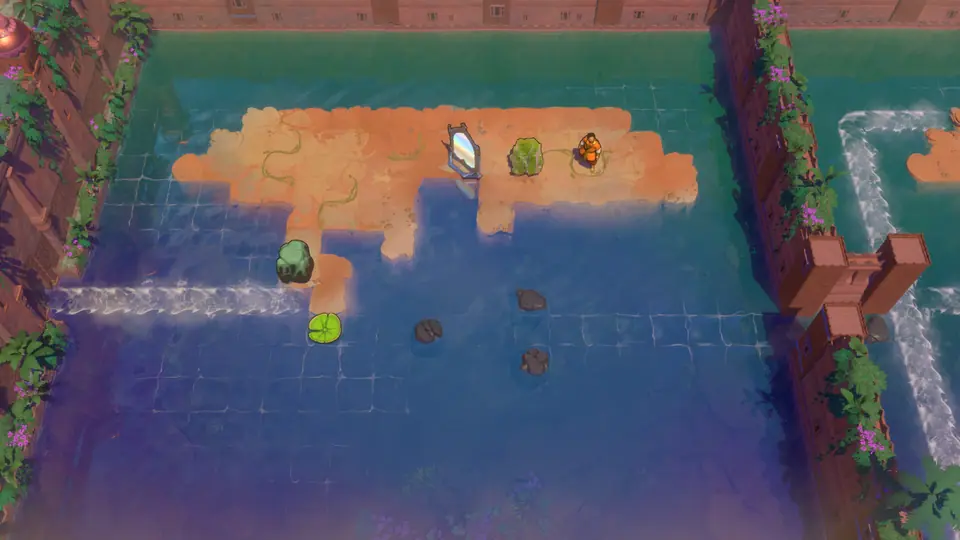
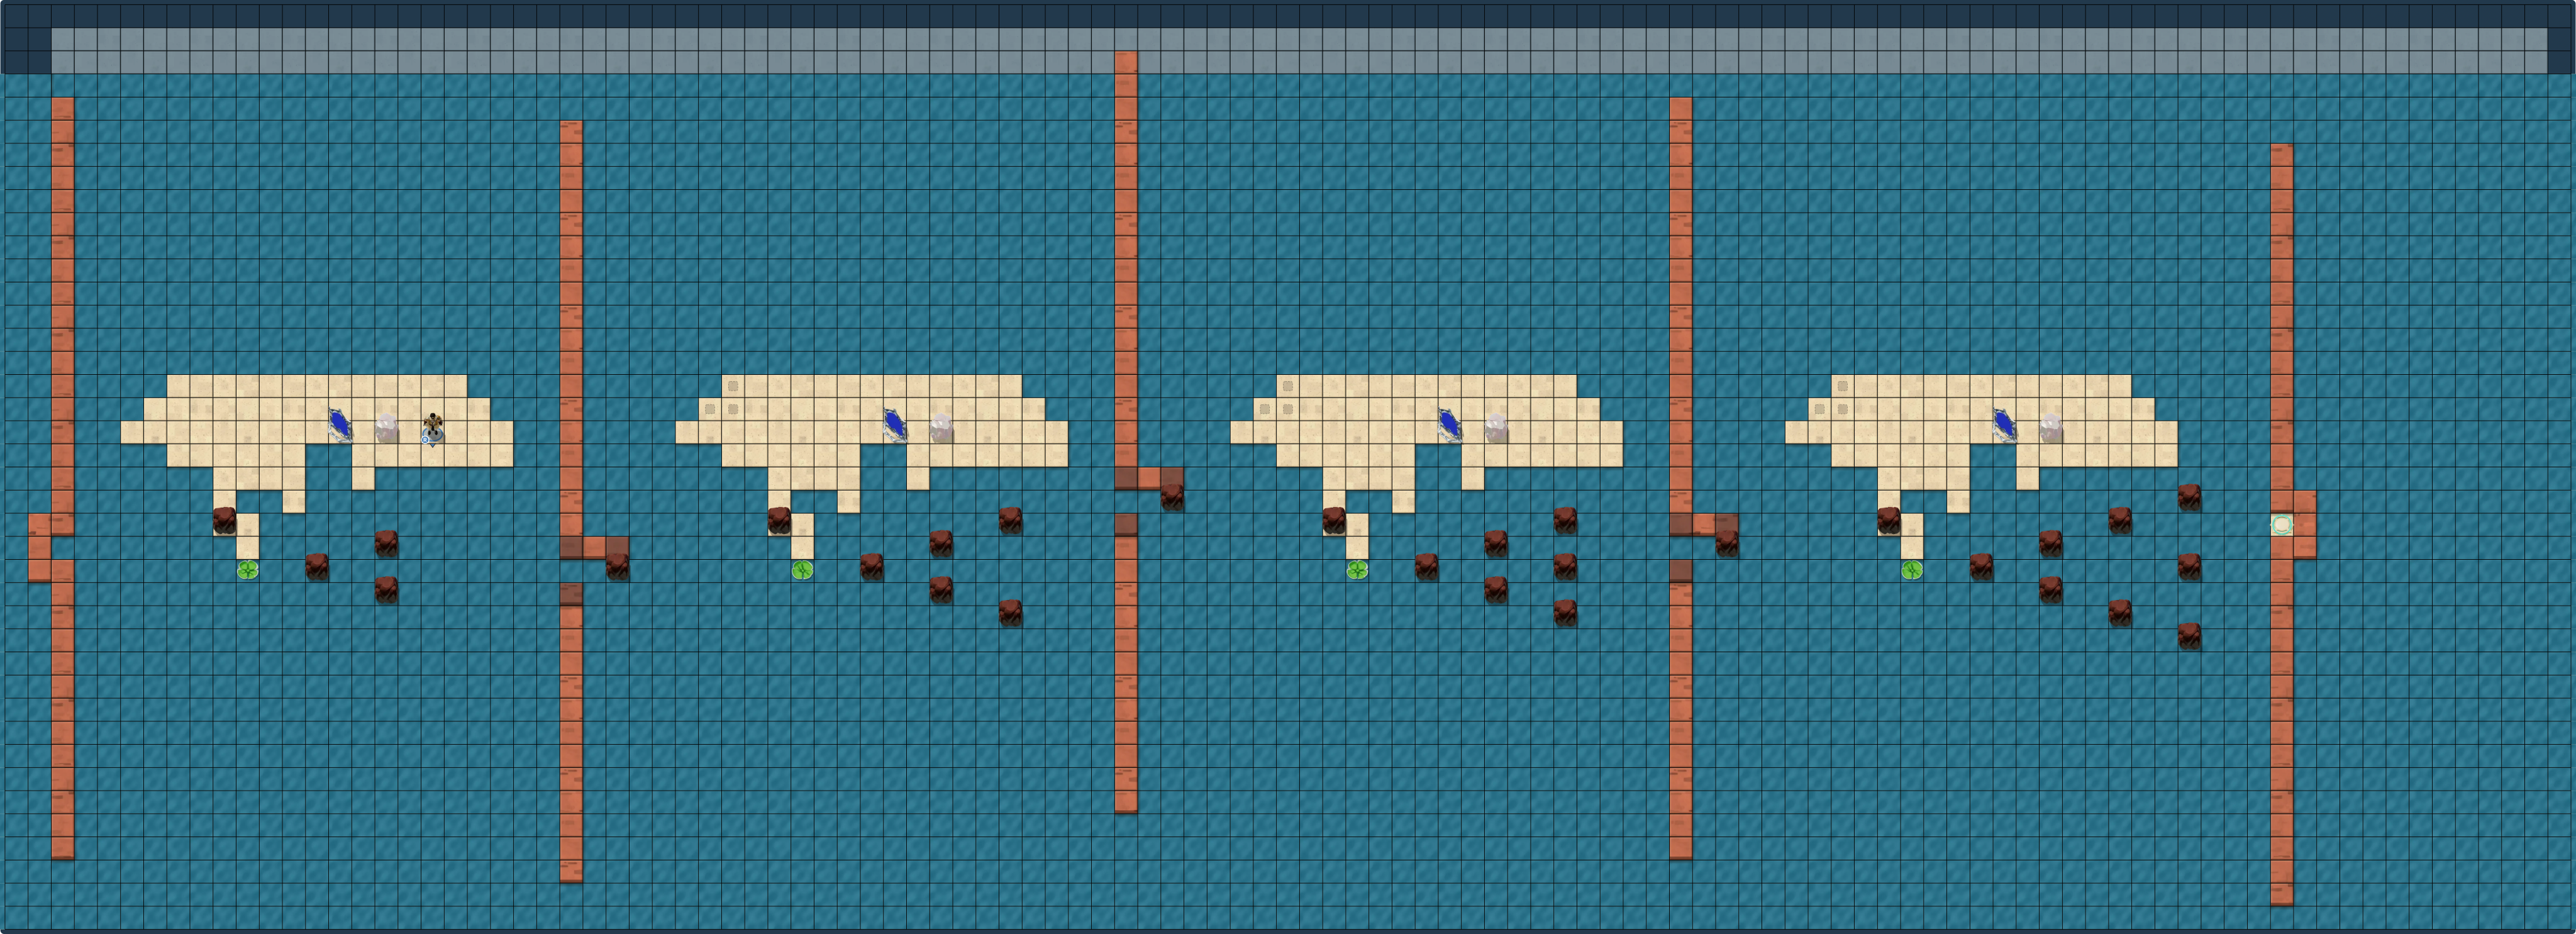
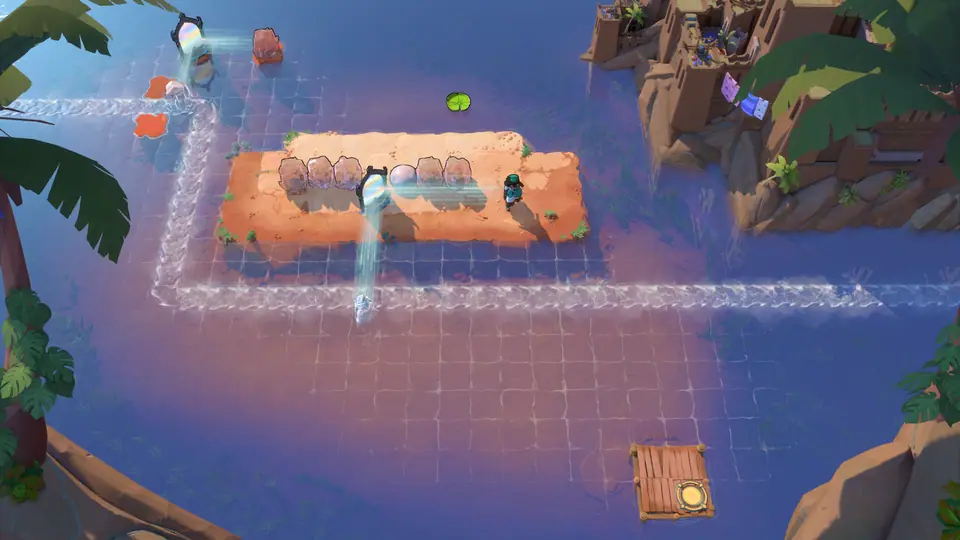
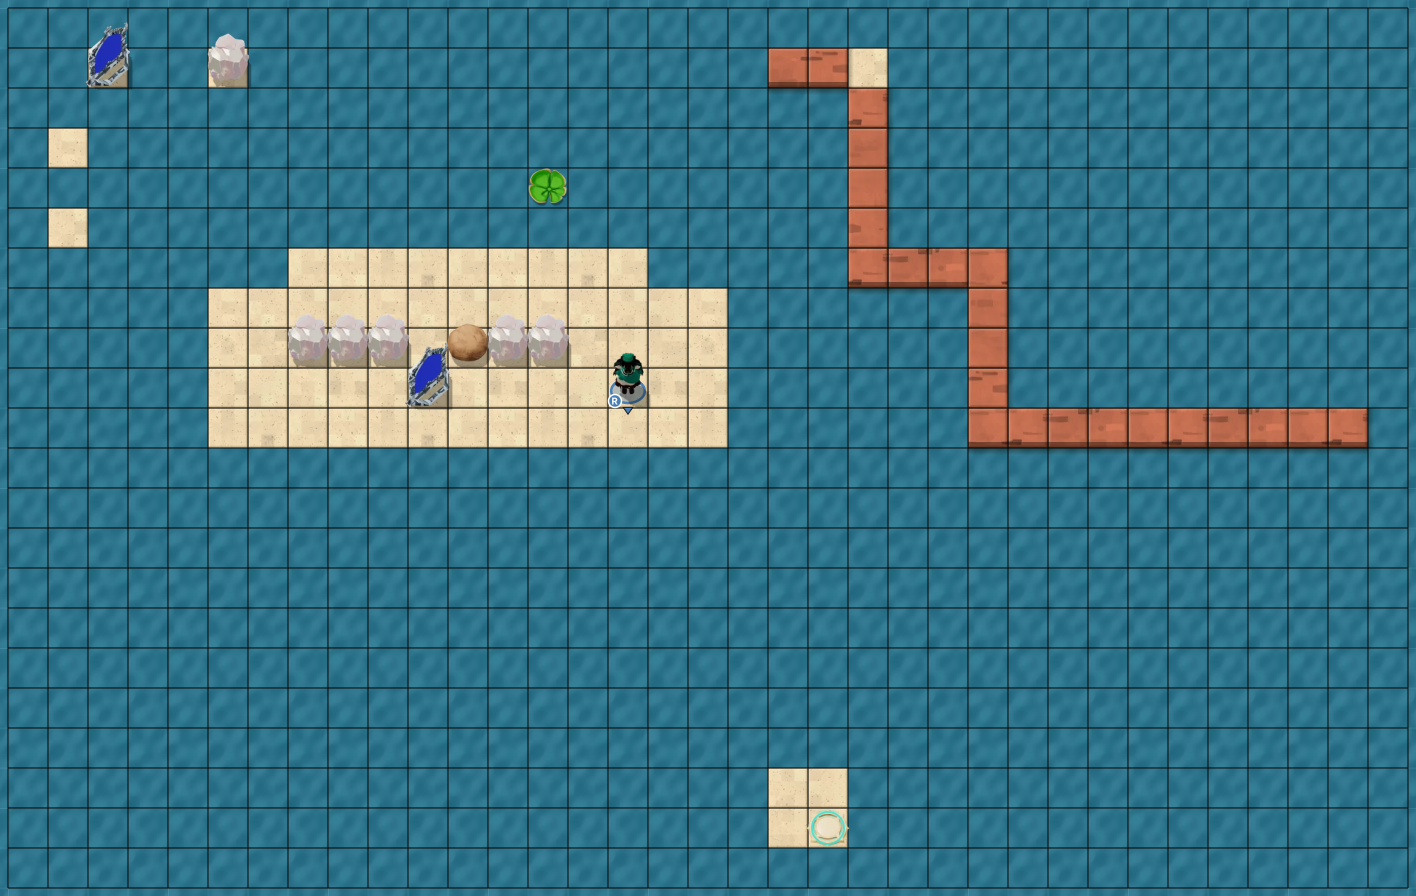
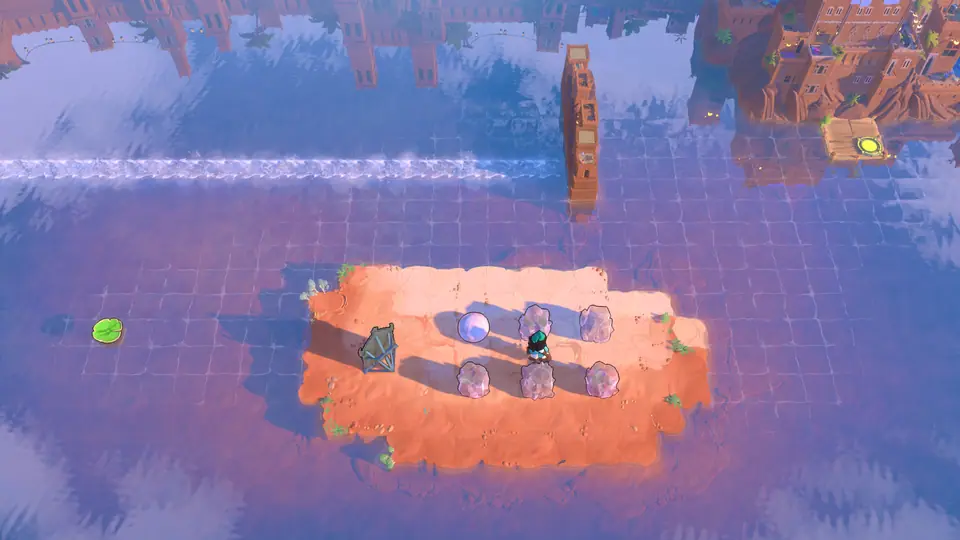
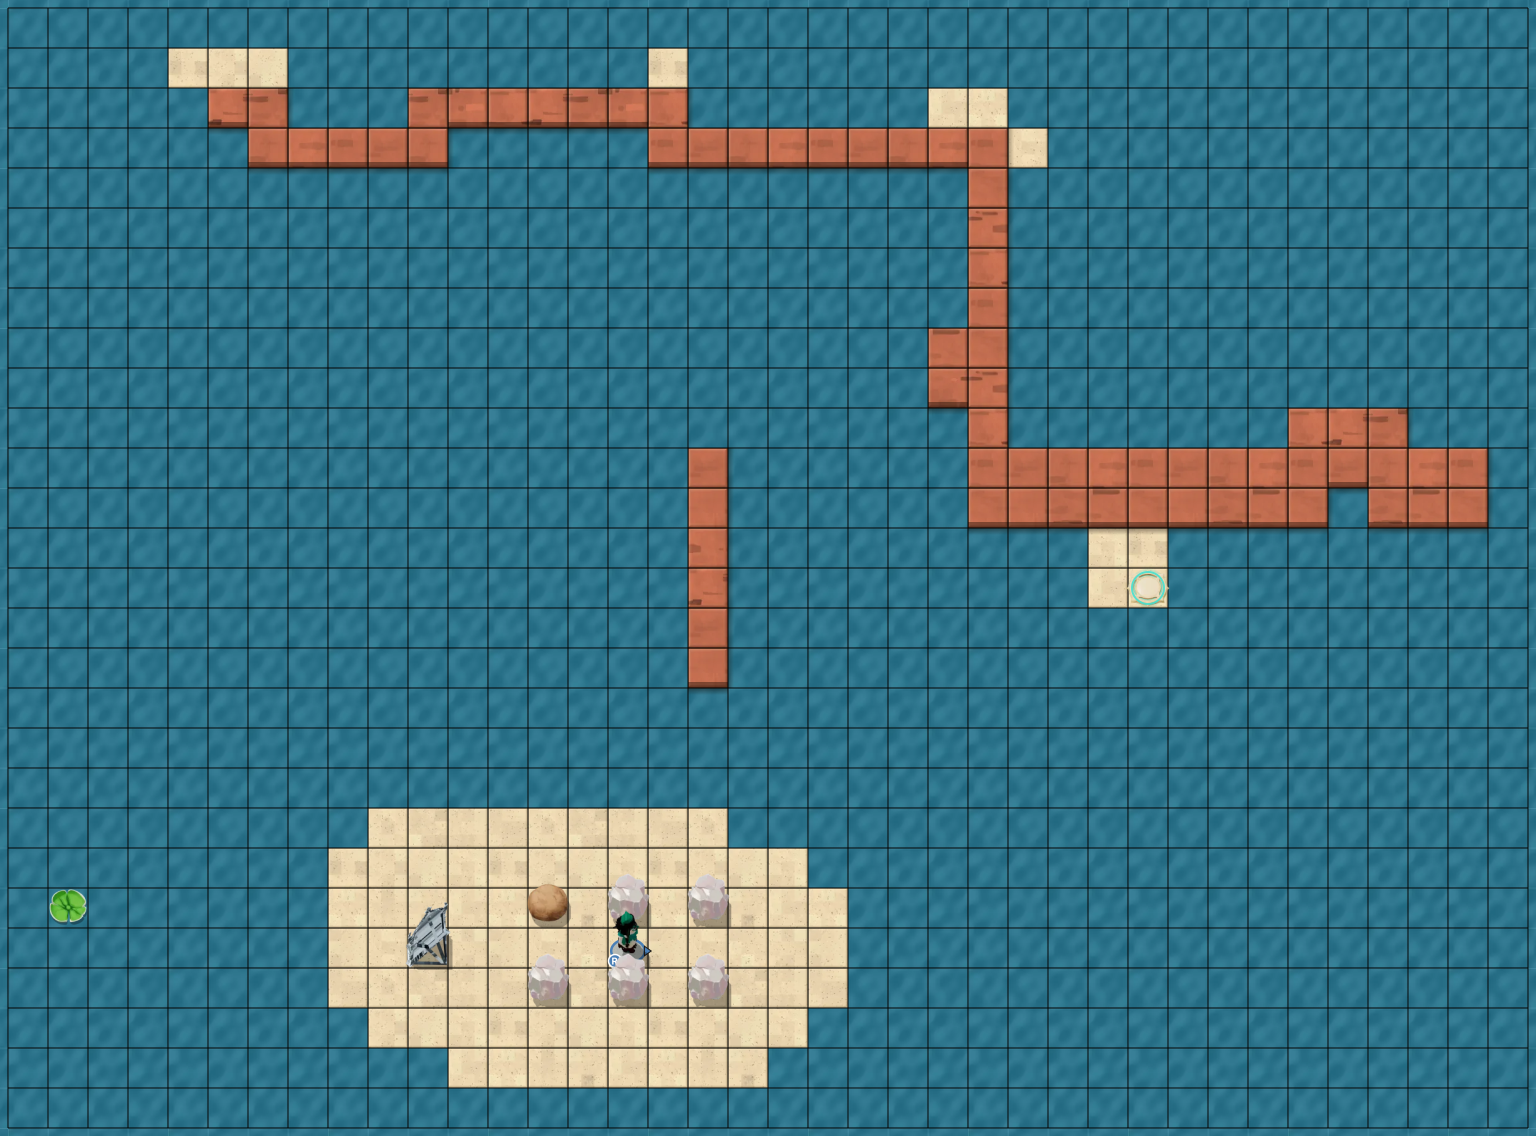
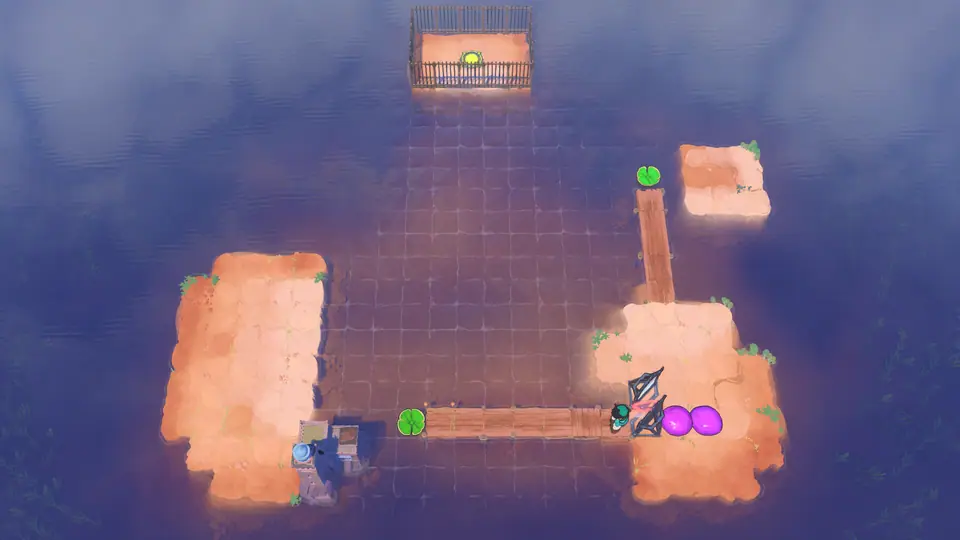
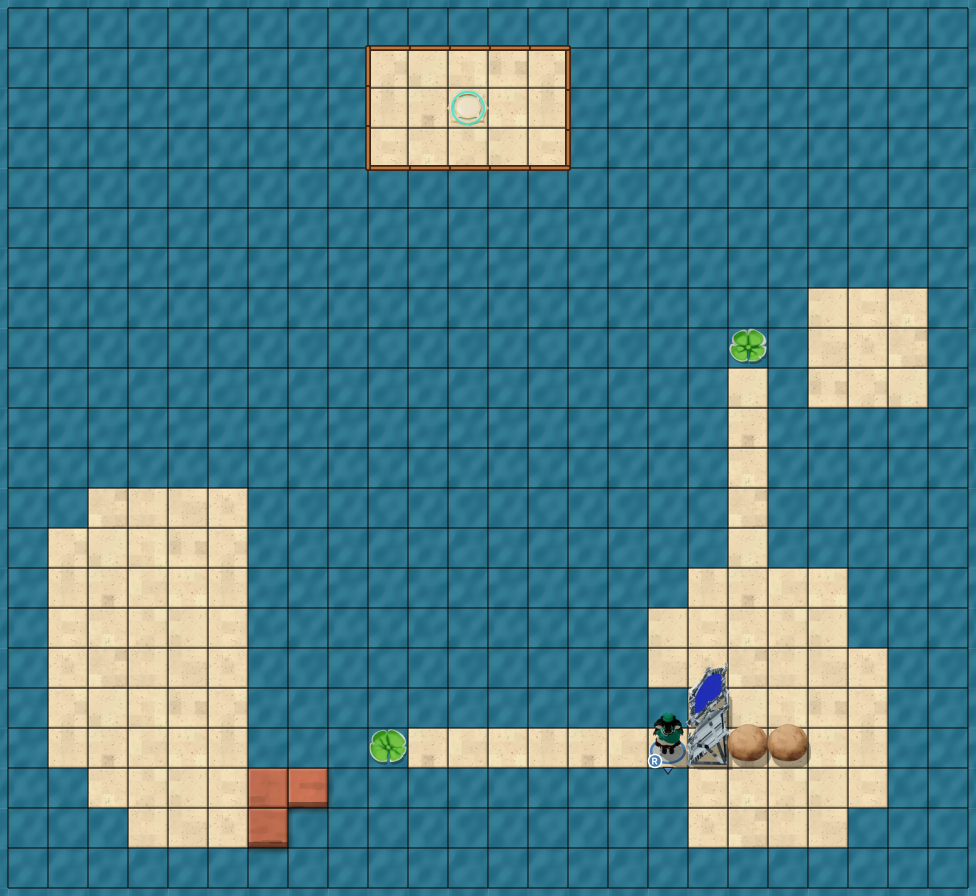
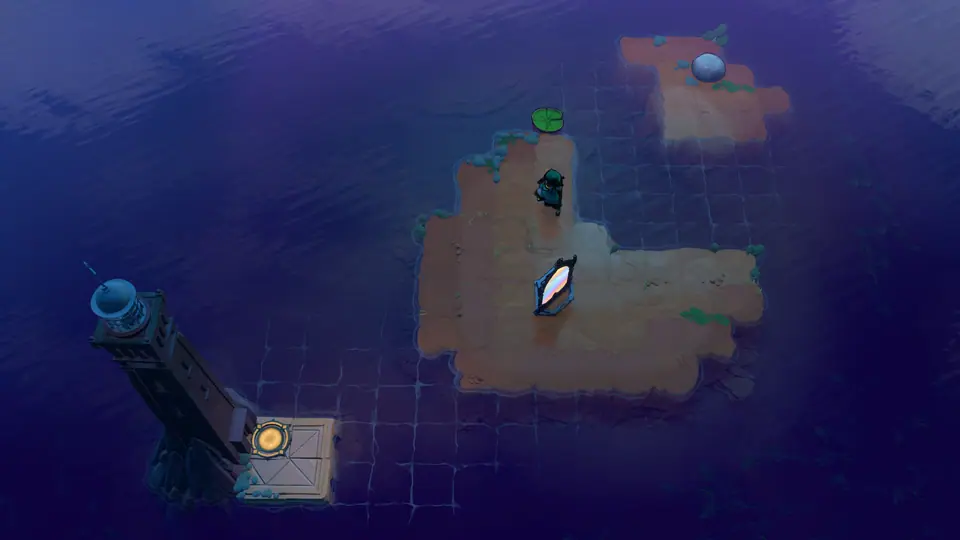
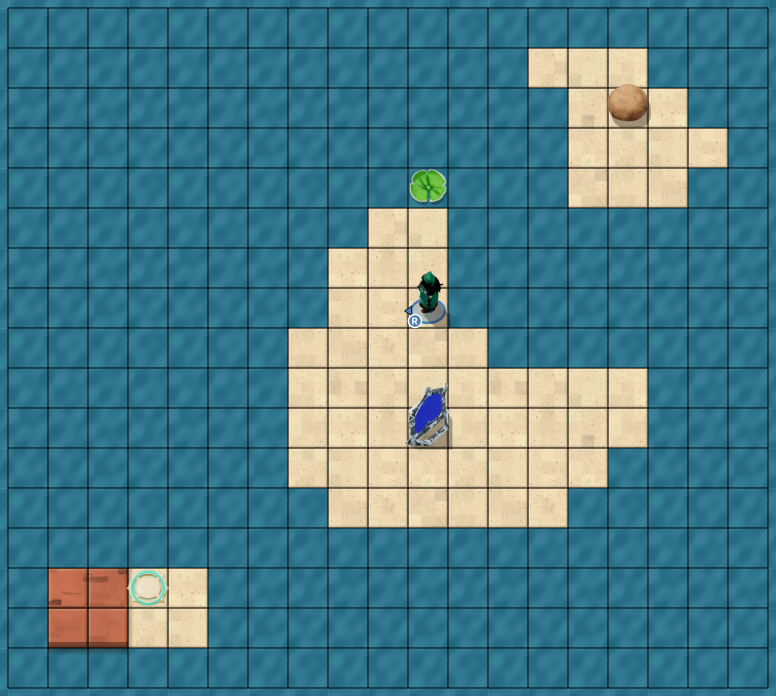
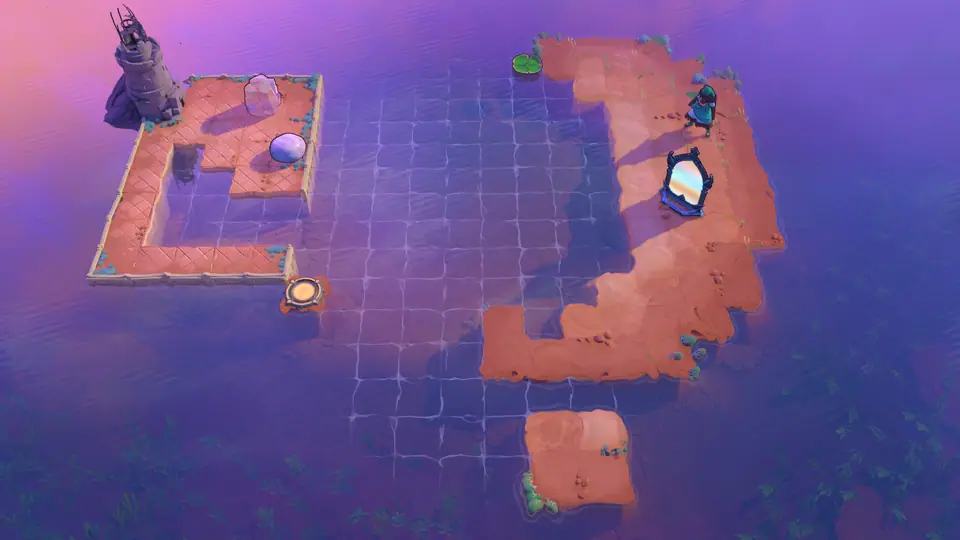
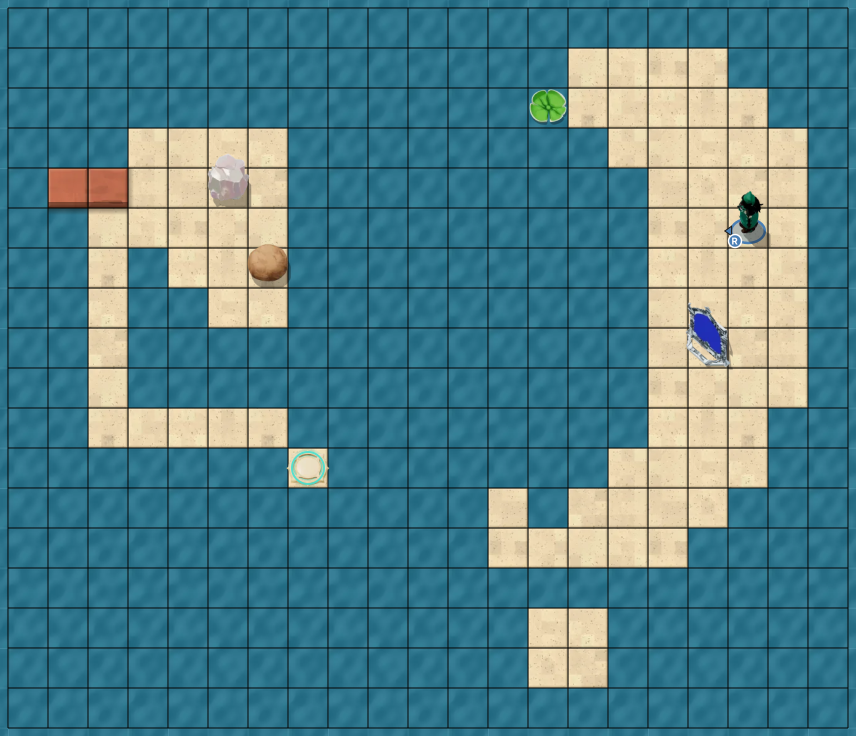
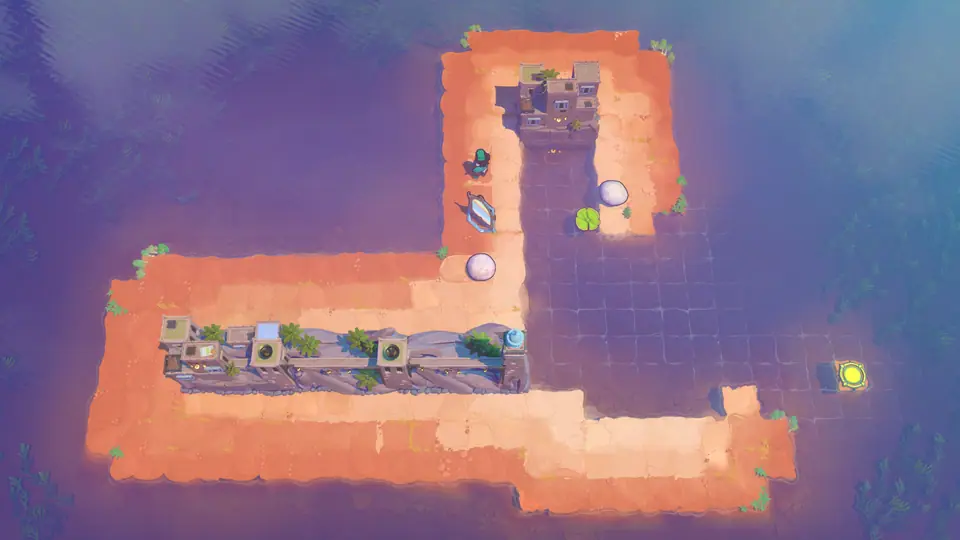
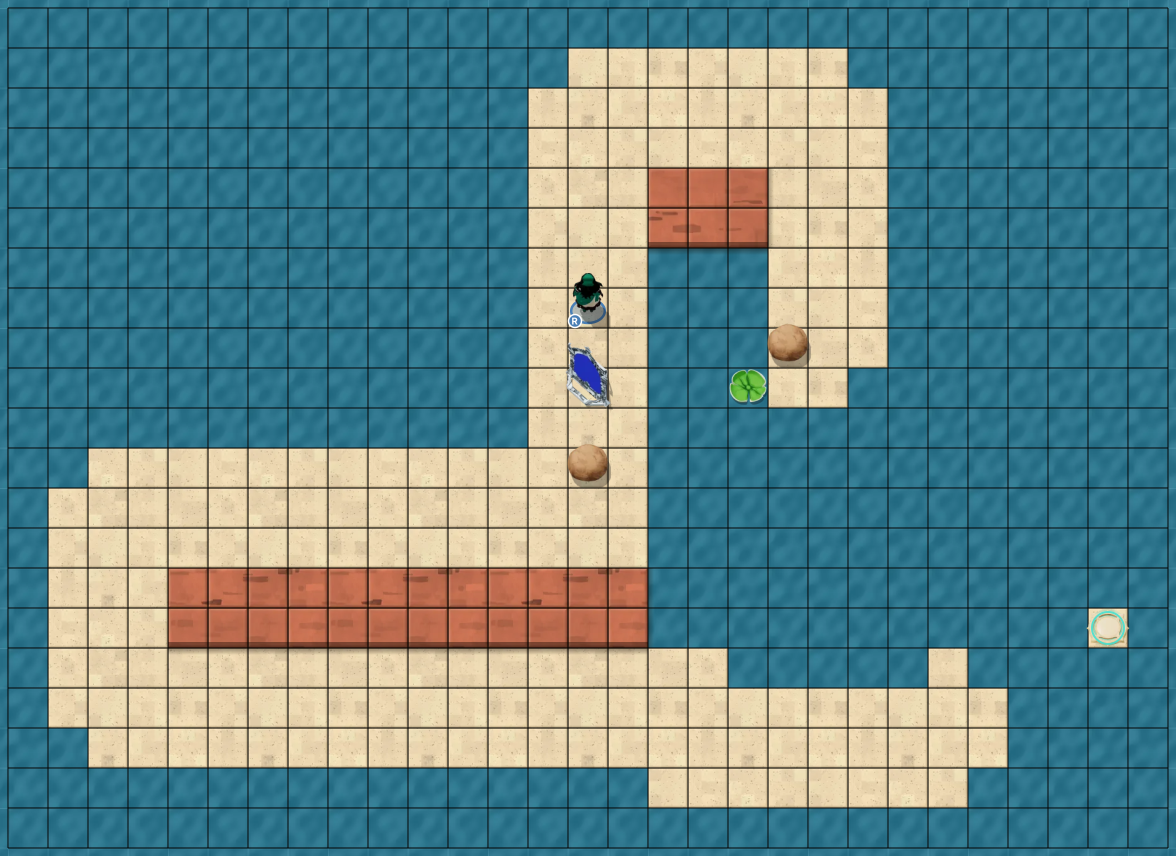
Hero ×2 · Skipping stone ×2 · Lily pad ×2 · Mirror
Hint 1
Heroes in order of first use: Hero 1 → Hero 2. Pieces that end up somewhere new: one of the 2 blocks and the mirror. 1 other piece stays where it starts.
Hint 2
Start: push the left mirror down 2 tiles, push the left mirror right 5 tiles and push the left mirror down 2 tiles.
Hint 3
Finish: push the bottom block up, push the bottom block left 4 tiles and push the bottom block up, then head for the exit.
Hint 4
Timing matters here: follow the wait times shown beside each step.
Full solution · 443 steps
Hold slow time. Follow the wait times beside each step.
Hero 1 wait 0.8 s, ←, wait 1 s · ←, wait 1 s×6 · ↑, wait 1 s×3 · →, wait 1 s · ↓, wait 1.4 s×2 · ←, wait 1 s · ↓, wait 1 s · →, wait 1.4 s×5 · wait 0.48 s×61 · activate, wait 1 s · ↑, wait 1 s · →, wait 1 s · ↓, wait 1.4 s×2 · ←, wait 1 s · ↓, wait 1 s · →, wait 1.4 s×3
Hero 2 →, wait 1 s×3 · ↓, wait 1 s
Hero 1 wait 0.48 s×79
Hero 2 activate, wait 1 s
Hero 1 ↓, wait 1 s · →, wait 1 s×2 · ↑, wait 1 s · ←, wait 1.4 s×2 · ↓, wait 1 s · ←, wait 1 s · ↑, wait 1.4 s · →, wait 1 s · ↑, wait 1 s · ←, wait 1.4 s · ↓, wait 1 s
Hero 2 →, wait 4 s
Hero 1 ←, wait 1 s · ↑, wait 1.4 s×4
Hero 2 ↑, wait 1 s · →, wait 1 s · ↓, wait 1.4 s · →, wait 1 s · ↓, wait 1 s · ←, wait 1.4 s×2
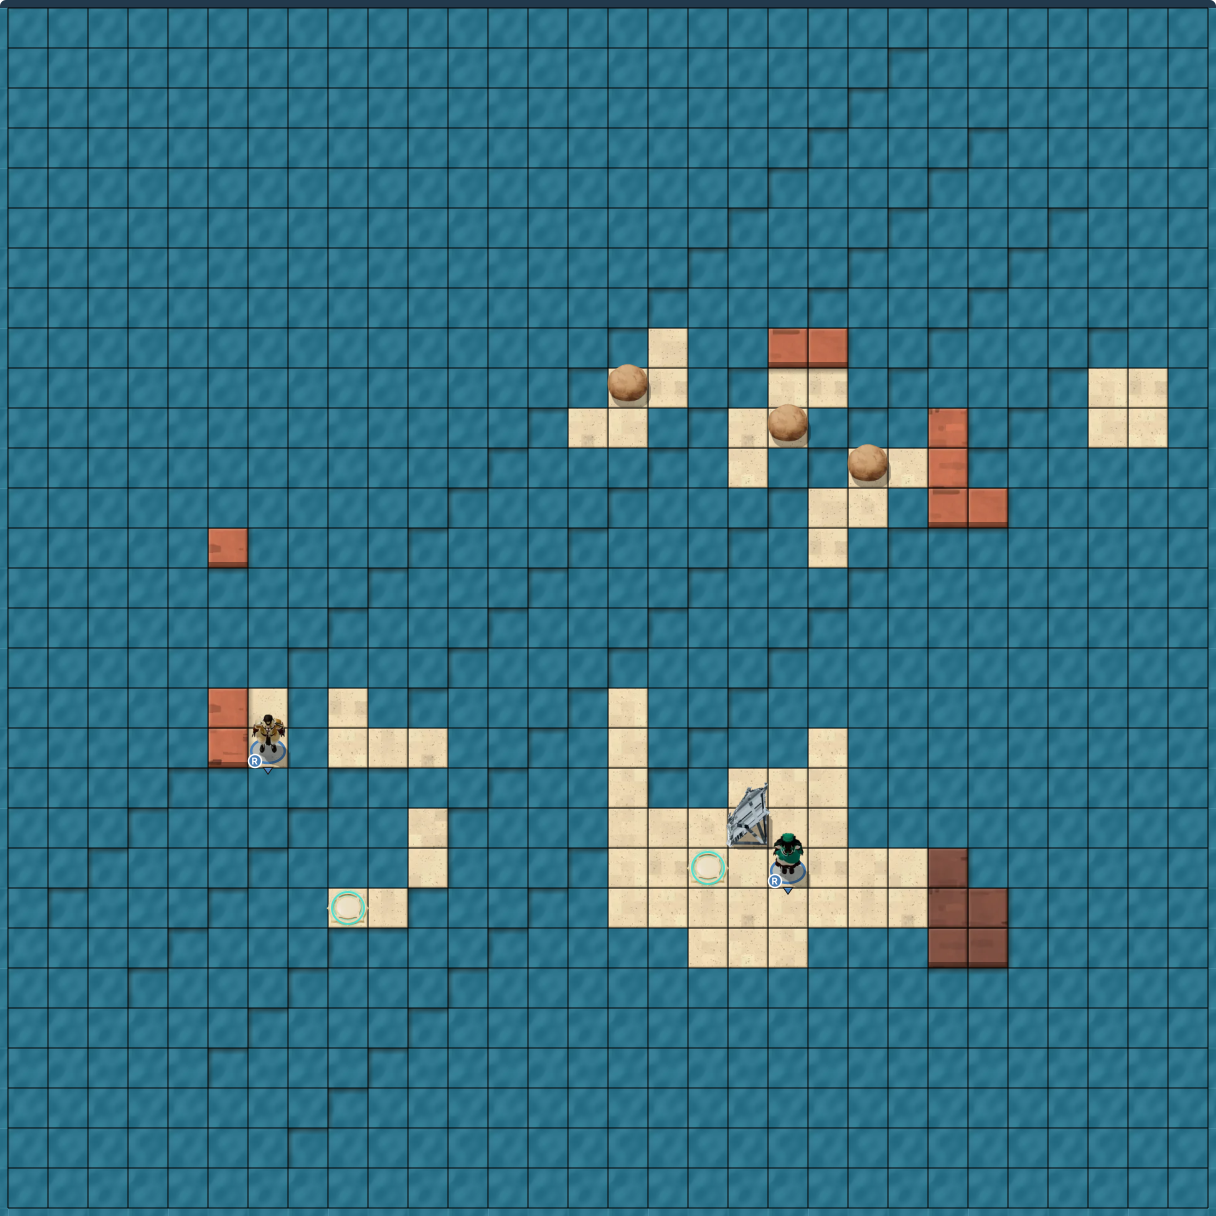
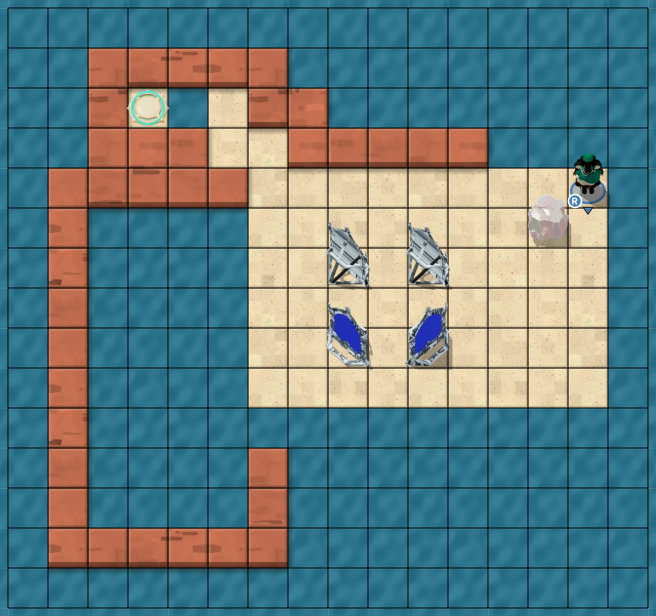
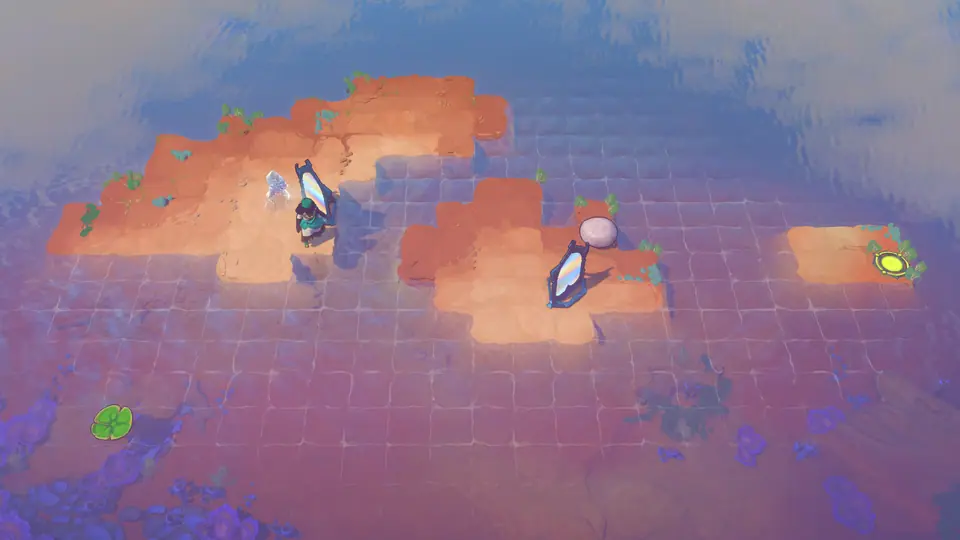
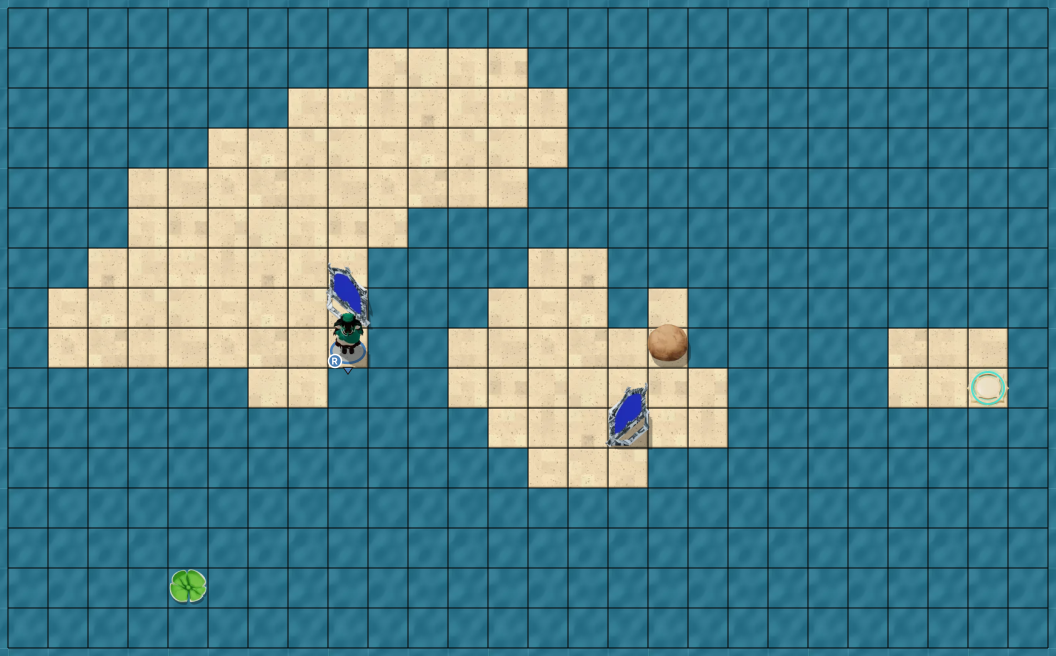
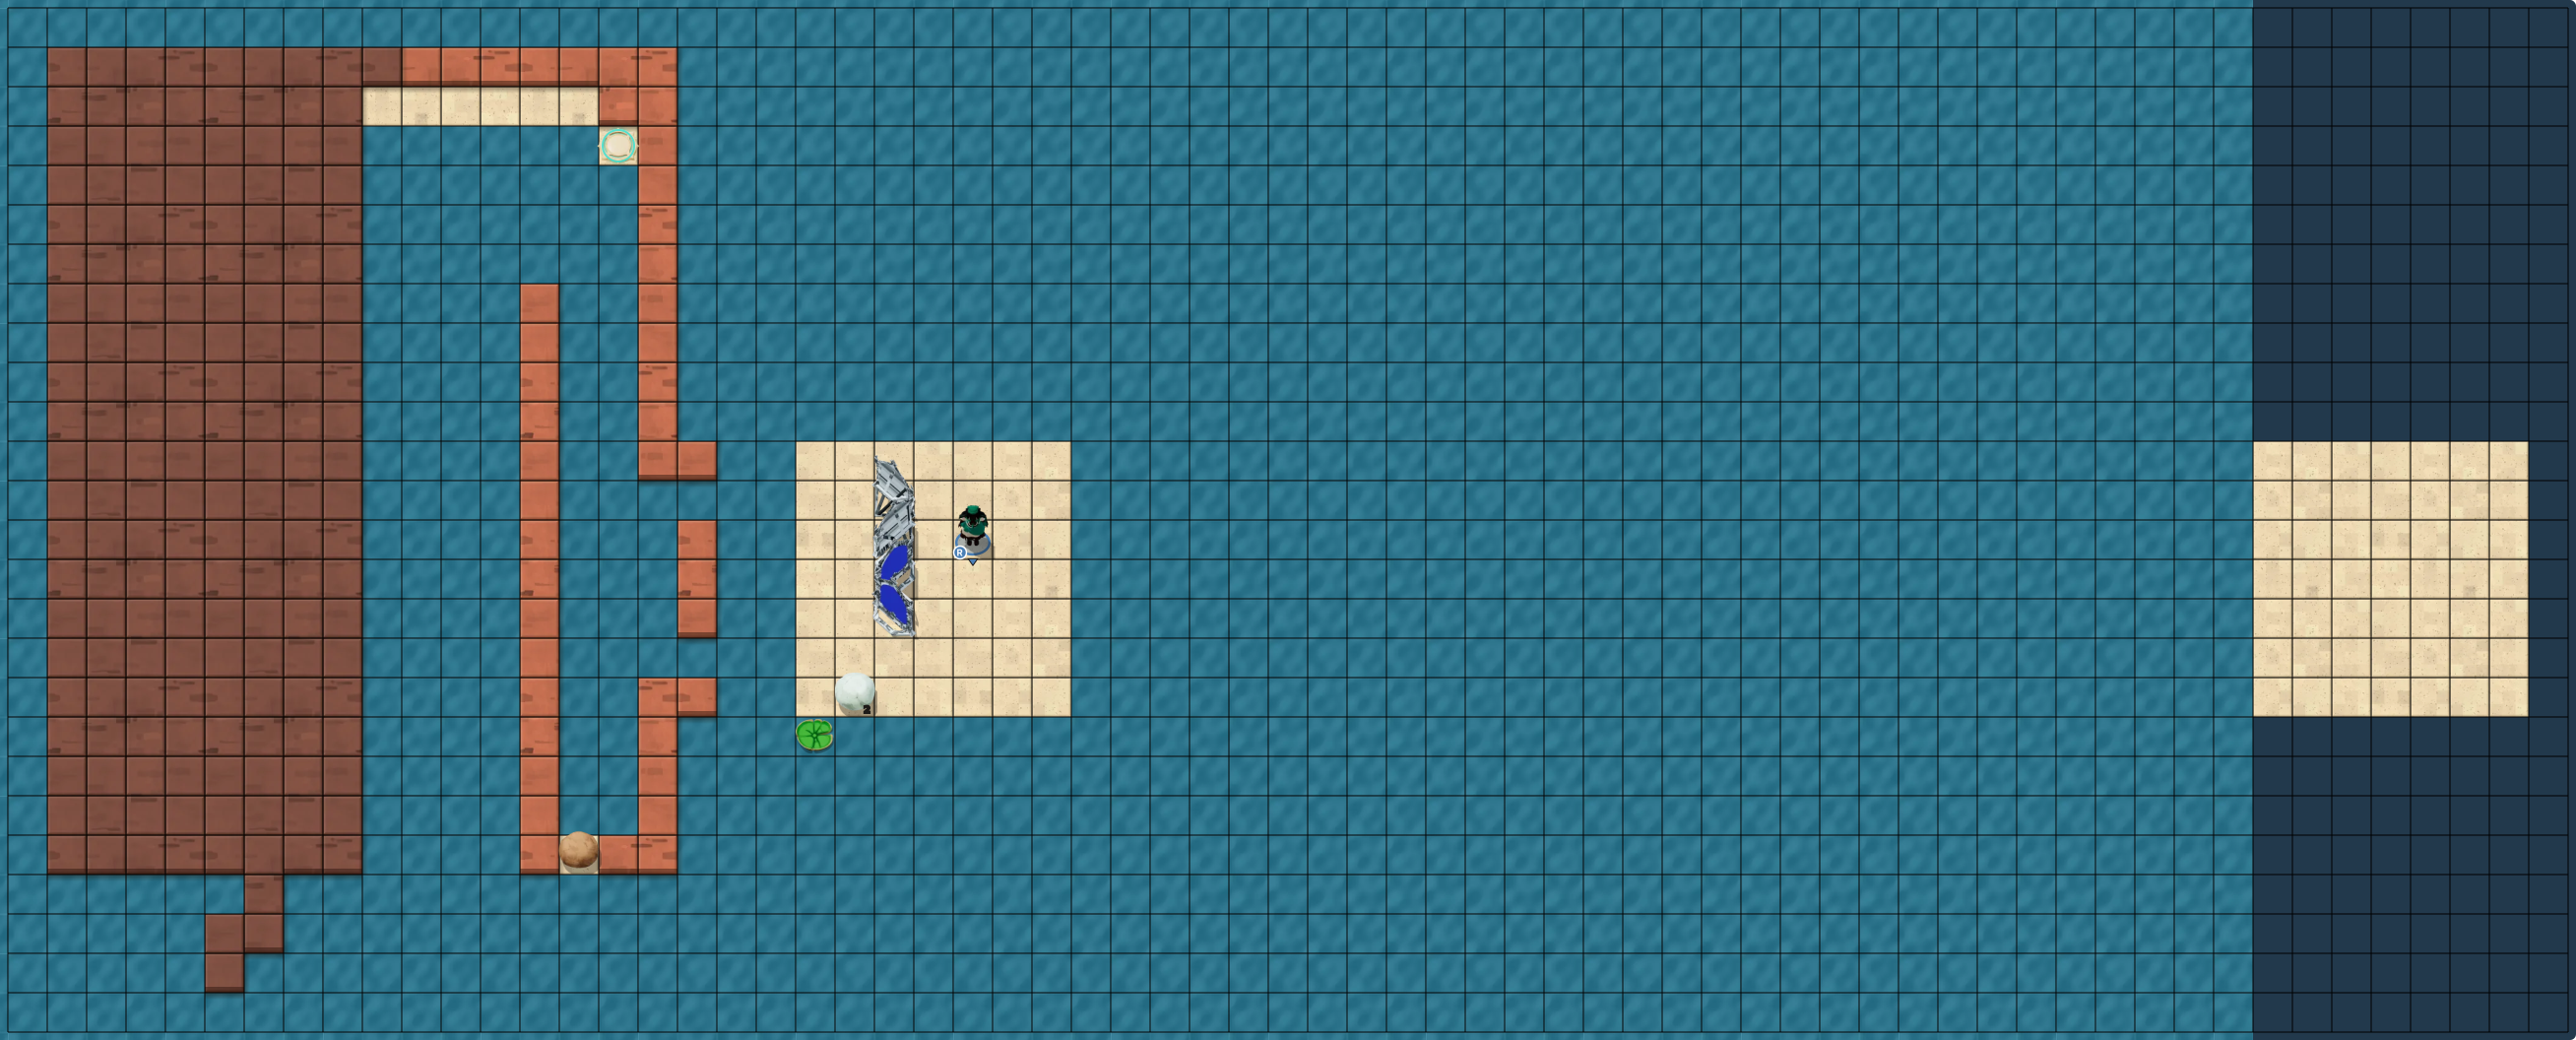
Heroes in order of first use: Hero 2 → Hero 1. Pieces that end up somewhere new: the mirror and both crystals.
Hint 2
Start: push the bottom mirror up 2 tiles, push the bottom mirror left and push the bottom mirror right.
Hint 3
Finish: push the right bottom-right crystal right 2 tiles, push the bottom mirror right 2 tiles and push the bottom mirror down 2 tiles, then head for the exit.
Hint 4
Timing matters here: follow the wait times shown beside each step.
Full solution · 192 steps
Hold slow time. Follow the wait times beside each step.
Hero 2 wait 0.8 s, ←, wait 1 s · ←, wait 1 s · ↑, wait 1.4 s×2 · →, wait 1 s · ↑, wait 1 s · ←, wait 1.4 s
Hero 1 ←, wait 1 s · activate, wait 1 s
Hero 2 ↑, wait 1 s · ←, wait 1 s · activate, wait 1 s · →, wait 1.4 s · ↑, wait 1 s · →, wait 1 s · ↓, wait 1.4 s×3 · →, wait 1 s×3 · ↑, wait 1 s · ←, wait 1.4 s · ↓, wait 1 s · ←, wait 1 s · ↑, wait 1.4 s · →, wait 1 s · ↑, wait 1 s · ←, wait 1.4 s · ↓, wait 1 s · ←, wait 1 s · ↑, wait 1.4 s · →, wait 1 s · ↑, wait 1 s · ←, wait 1.4 s×2 · ↓, wait 1 s · ←, wait 1 s · ↑, wait 1.4 s · wait 3.2 s×3 · ↓, wait 1 s · →, wait 1 s×2 · ↓, wait 1 s×2 · →, wait 1 s×5 · ↓, wait 1 s · ←, wait 1.4 s×3 · ↓, wait 1 s · ←, wait 1 s · ↑, wait 1.4 s×3 · →, wait 1 s · ↑, wait 1 s · ←, wait 1.4 s×3 · ↑, wait 1 s · →, wait 1 s · ↓, wait 1 s×3 · →, wait 1 s · ↓, wait 1 s×2 · ←, wait 1 s · ↑, wait 1.4 s×3 · →, wait 1 s · ↑, wait 1 s · ←, wait 1.4 s · activate, wait 1 s×2 · ↑, wait 1 s · ←, wait 1 s×2 · ↓, wait 1.4 s · ↑, wait 1 s · →, wait 1 s×2 · ↓, wait 1 s · activate, wait 1 s
Hero 1 activate, wait 1 s · ↑, wait 1 s
Hero 2 ←, wait 1.4 s · activate, wait 1.6 s
Hero 1 ←, wait 1 s · ↓, wait 1 s · activate, wait 1 s
Hero 2 ↑, wait 1 s · ←, wait 1 s · activate, wait 1 s · →, wait 1.4 s
Hero 1 ↓, wait 1 s×3
Hero 2 →, wait 1.4 s · ↑, wait 1 s · →, wait 1 s · ↓, wait 1.4 s×3 · →, wait 1 s · ↓, wait 1 s×2 · ←, wait 1 s×2 · ↑, wait 1 s · →, wait 1.4 s×3 · ↓, wait 1 s · ←, wait 1 s×4 · ↑, wait 1.4 s · →, wait 1 s · ↓, wait 1 s · →, wait 1 s · ↑, wait 1 s×2 · activate, wait 1 s
Hero 1 →, wait 1 s · ↓, wait 1 s
Hero 2 →, wait 1 s×2 · ↓, wait 1 s · →, wait 1.4 s · ↑, wait 1 s · activate, wait 1 s
Hero 1 →, wait 1 s
Hero 2 →, wait 1 s×2 · ↓, wait 1 s · ←, wait 1.4 s×3 · ↑, wait 1 s · ↓, wait 1 s · ←, wait 1.4 s · ↑, wait 1 s · activate, wait 1 s
Hero 1 →, wait 1 s
Hero 2 ↓, wait 1 s×2 · ←, wait 1 s · ↑, wait 1.4 s×3 · →, wait 1 s · ↑, wait 1 s · ←, wait 1.4 s · ↑, wait 1 s · ←, wait 1 s×2 · activate, wait 1 s · →, wait 1.4 s×2 · ↓, wait 1 s · →, wait 1 s · ↑, wait 1.4 s · ←, wait 1 s×3 · ↓, wait 1 s · →, wait 1.4 s×2 · ↑, wait 1 s · →, wait 1 s · ↓, wait 1.4 s×2 · →, wait 1 s · activate, wait 1.6 s
Heroes in order of first use: Hero 2 → Hero 1. Pieces that end up somewhere new: the mirror and all 3 crystals.
Hint 2
Start: push the bottom right mirror left, push the right crystal up 2 tiles and push the bottom right mirror left.
Hint 3
Finish: push the bottom right mirror down 2 tiles, push the bottom right mirror right 2 tiles and push the bottom right mirror up 5 tiles, then head for the exit.
Hint 4
Timing matters here: follow the wait times shown beside each step.
Full solution · 160 steps
Hold slow time. Follow the wait times beside each step.
Hero 2 wait 0.8 s, ↑, wait 1.6 s · ←, wait 1.6 s · ←, wait 2 s · ↓, wait 1.6 s · ←, wait 1.6 s×2 · ↑, wait 1.6 s · ↑, wait 2 s×2 · →, wait 1.6 s×2 · ↓, wait 1.6 s×2 · ←, wait 2 s · ↓, wait 1.6 s · ←, wait 1.6 s · ↑, wait 2 s · →, wait 1.6 s · ↑, wait 1.6 s×2 · ←, wait 1.6 s · ↑, wait 2 s · →, wait 1.6 s · wait 0.72 s×8 · activate, wait 1.6 s
Hero 1 →, wait 1.6 s · ↓, wait 1.6 s×3
Hero 2 ←, wait 1.6 s · ↓, wait 1.6 s · ↓, wait 2 s×3 · ←, wait 1.6 s · ↓, wait 1.6 s · →, wait 2 s · ↓, wait 1.6 s · →, wait 1.6 s×3 · ↑, wait 1.6 s · →, wait 1.6 s · ↑, wait 1.6 s · ←, wait 2 s×3 · →, wait 1.6 s · ↓, wait 1.6 s×2 · ←, wait 1.6 s×2 · ↑, wait 1.6 s · ↑, wait 2 s×4 · →, wait 1.6 s · ↓, wait 1.6 s×2 · →, wait 1.6 s · ↓, wait 1.6 s×2 · ←, wait 2 s · ↑, wait 1.6 s×4 · ←, wait 1.6 s · ↑, wait 2 s · →, wait 1.6 s · wait 0.72 s×4 · activate, wait 1.6 s · wait 0.72 s
Hero 1 →, wait 1.6 s · ↓, wait 1.6 s · →, wait 1.6 s×2 · ↓, wait 1.6 s · →, wait 1.6 s×3 · ←, wait 1.6 s×3 · ↑, wait 1.6 s
Hero 2 ↓, wait 1.6 s×6 · ←, wait 1.6 s · ↓, wait 1.6 s · →, wait 2 s · ↓, wait 1.6 s · →, wait 1.6 s · ↑, wait 2 s×7 · ←, wait 1.6 s×2 · ↓, wait 1.6 s×3 · ↓, wait 2 s×2 · ←, wait 1.6 s · ↓, wait 1.6 s · →, wait 2 s×2 · ↑, wait 1.6 s×6 · →, wait 1.6 s · ↑, wait 2 s · →, wait 1.6 s · wait 0.72 s×2 · activate, wait 1.6 s · wait 0.72 s · activate, wait 1.6 s
Hero 1 ↓, wait 1.6 s
Hero 2 activate, wait 1.6 s · ←, wait 1.6 s×2 · ↓, wait 1.6 s×8 · →, wait 1.6 s · ↑, wait 2 s×5 · activate, wait 1.6 s · ←, wait 1.6 s · ↓, wait 0.278 s
Pieces that end up somewhere new: the crystal and all 4 mirrors.
Hint 2
Start: push the lower middle mirror up, push the upper middle mirror left 2 tiles and push the upper middle mirror down 2 tiles.
Hint 3
Finish: push the upper middle mirror left 9 tiles, push the upper middle mirror up 3 tiles and push the lower middle mirror up, then head for the exit.
Heroes in order of first use: Hero 1 → Hero 2. Pieces that end up somewhere new: one of the 2 crystals and the mirror. 1 other piece stays where it starts.
Hint 2
Start: push the middle mirror down, push the upper middle crystal left 2 tiles and push the lower middle crystal right 5 tiles.
Hint 3
Finish: push the middle mirror down, push the lower middle crystal down and push the upper middle crystal down 2 tiles, then head for the exit.
Hint 4
Timing matters here: follow the wait times shown beside each step.
Full solution · 94 steps
Hold slow time. Follow the wait times beside each step.
Hero 1 wait 0.8 s, ↓, wait 1.4 s · ↑, wait 1 s · ←, wait 1 s×3 · ←, wait 1.4 s×2 · ↓, wait 1 s · →, wait 1.4 s×5 · ↑, wait 1 s · →, wait 1 s×2 · ↓, wait 1 s×2 · ←, wait 1 s · ←, wait 1.4 s×5 · ↑, wait 1 s · ←, wait 1 s · ↓, wait 1.4 s · ↑, wait 1 s×2 · →, wait 1 s×6 · ↓, wait 1.4 s · ↑, wait 1 s · ←, wait 1 s×6 · ↑, wait 1 s · ←, wait 1 s · ↓, wait 1.4 s×3 · ↑, wait 1 s · →, wait 1 s×7 · ↓, wait 1.4 s · wait 0.96 s×5 · activate, wait 1 s · wait 0.96 s×16 · activate, wait 1 s · wait 0.96 s×8
Pieces that end up somewhere new: 2 of the 3 mirrors and the crystal. 1 other piece stays where it starts.
Hint 2
Start: push the right left mirror down 3 tiles, push the left left mirror right and push the right left mirror left.
Hint 3
Finish: move the bottom crystal up, move the bottom crystal left and push the bottom crystal right 5 tiles, then head for the exit.
Hint 4
Timing matters here: follow the wait times shown beside each step.
Full solution · 518 steps
Hold slow time. Follow the wait times beside each step.
Hero wait 0.8 s, ←, wait 1 s · ←, wait 1 s×8 · ↓, wait 1 s×2 · ←, wait 1 s · ↓, wait 1 s · activate, wait 1 s · ←, wait 1 s · ↑, wait 1 s×6 · ←, wait 1 s · ↓, wait 1.4 s×3 · ↑, wait 1 s · ←, wait 1 s×2 · ↓, wait 1 s · →, wait 1.4 s · ↑, wait 1 s · →, wait 1 s×2 · ↓, wait 1 s×4 · →, wait 1 s · activate, wait 1 s×2 · ←, wait 1 s · ↑, wait 1 s×2 · ←, wait 1.4 s · ↑, wait 1.4 s · →, wait 1 s · ↑, wait 1 s · ←, wait 1.4 s · →, wait 1 s · ↓, wait 1 s×4 · →, wait 1 s · ←, wait 1 s · ↑, wait 1 s×2 · ←, wait 1 s · activate, wait 1 s×2 · →, wait 1 s · ↓, wait 1 s×2 · →, wait 1 s · ↓, wait 1 s×2 · activate, wait 1 s · ↑, wait 1 s · ←, wait 1 s · ↑, wait 1 s · →, wait 1 s · ↓, wait 1 s×2 · →, wait 1 s · activate, wait 1 s · →, wait 1 s×19 · ↑, wait 1 s×6 · →, wait 1 s · ↑, wait 1 s×8 · ←, wait 1 s · ↑, wait 1 s×4 · →, wait 1 s×3 · ↑, wait 1.4 s · activate, wait 1 s · wait 3.2 s · ↓, wait 1 s×4 · →, wait 1 s · ↓, wait 1 s×8 · ←, wait 1 s · ↓, wait 1 s×6 · ←, wait 1 s×17 · ↑, wait 1 s×5 · →, wait 1 s · ↑, wait 1 s×4 · →, wait 1.4 s×2 · ↓, wait 1.4 s×2 · →, wait 1.4 s×11 · ↑, wait 1 s · ↓, wait 1 s · →, wait 1.4 s · ↑, wait 1 s · →, wait 1 s×2 · ↑, wait 1 s×2 · ←, wait 1 s×3 · →, wait 1 s · ↓, wait 1 s×2 · →, wait 1 s · ↑, wait 1.4 s · →, wait 1 s · ↑, wait 1 s · ←, wait 1.4 s · ↓, wait 1 s · ←, wait 1 s · ↑, wait 1 s×2 · ←, wait 1 s×5 · →, wait 1 s · ↓, wait 1 s · →, wait 1 s · ↑, wait 1 s×2 · ↓, wait 1 s · →, wait 1 s×2 · ↑, wait 1 s · ←, wait 1 s · ↑, wait 1 s · →, wait 1 s×2 · ↓, wait 1 s · →, wait 1 s · ↑, wait 1 s · ↓, wait 1 s · →, wait 1 s · ↑, wait 1 s · →, wait 1 s · ↑, wait 1 s×3 · ↓, wait 1 s · ←, wait 1 s · ↑, wait 1 s · ←, wait 1 s · →, wait 1 s · ↑, wait 1 s×8 · ←, wait 1 s · ↑, wait 1 s×4 · ←, wait 1 s · ↓, wait 1 s · →, wait 1 s×3 · ←, wait 1 s×3 · ↑, wait 1 s · ↓, wait 1 s · →, wait 1 s×5 · ←, wait 1 s×3 · ↑, wait 1 s · →, wait 1 s×6 · ↑, wait 1 s · ↓, wait 1 s · ←, wait 1 s×7 · ↑, wait 1 s · →, wait 1.4 s×4 · ←, wait 1 s · ↓, wait 1 s · →, wait 1 s×2 · ←, wait 1 s · ↑, wait 1 s · →, wait 1.4 s · ↓, wait 1 s · →, wait 1 s · ↑, wait 1.4 s · ↓, wait 1 s · wait 0.72 s · activate, wait 1 s · wait 0.72 s×3 · activate, wait 1 s · wait 0.72 s×6 · ↑, wait 1 s · →, wait 1 s · ↑, wait 1 s×3 · →, wait 1 s · ↑, wait 1 s×8 · ←, wait 1 s · ↑, wait 1 s×4 · ←, wait 1 s×3 · ↓, wait 1 s×2 · ←, wait 1 s×3 · ↓, wait 1 s · →, wait 1 s×2 · ↓, wait 1 s · ←, wait 1.4 s · →, wait 1 s · ↓, wait 1 s · ←, wait 1 s×2 · ↓, wait 1 s · ↑, wait 1.4 s×3 · →, wait 1 s×6 · ↓, wait 1 s×3 · →, wait 1 s · ↓, wait 1 s · ↑, wait 1 s×3 · →, wait 1 s×3 · ↓, wait 1.4 s×3 · →, wait 1 s · ↓, wait 1 s×8 · ←, wait 1 s · ↓, wait 1 s×3 · ←, wait 1 s×3 · ↓, wait 1 s×2 · ←, wait 1 s×17 · ↓, wait 1 s · ←, wait 1 s · ↓, wait 1 s · activate, wait 1 s · →, wait 1 s · ↓, wait 1 s×8 · ←, wait 1 s · ↓, wait 1 s×3 · ←, wait 1 s×3 · ↓, wait 1 s×2 · ←, wait 1 s×17 · ↓, wait 1 s · ←, wait 1 s · ↓, wait 1 s · activate, wait 1 s · ↑, wait 1 s×2 · ←, wait 1 s · ↑, wait 1 s×2 · →, wait 1 s · ←, wait 1 s · activate, wait 1 s · →, wait 1 s×2 · ↓, wait 1 s×3 · →, wait 1 s · activate, wait 1 s · ↑, wait 1 s · →, wait 1 s×21 · ↑, wait 1 s×6 · →, wait 1 s · ↑, wait 1 s×8 · ←, wait 1 s · ↑, wait 1 s×4 · ←, wait 1 s×6 · ↓, wait 1 s×3 · ↓, wait 0.278 s
30 Mirrors and Stones 30
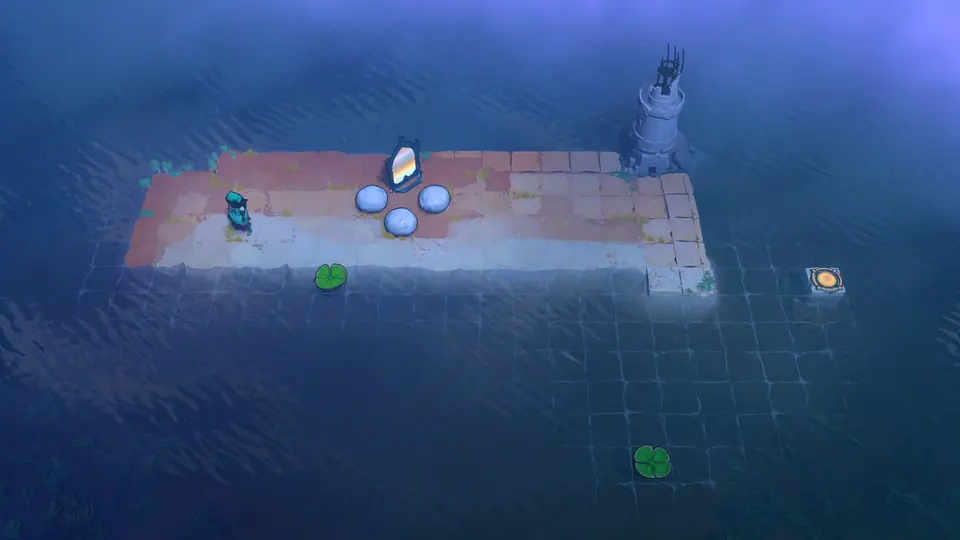
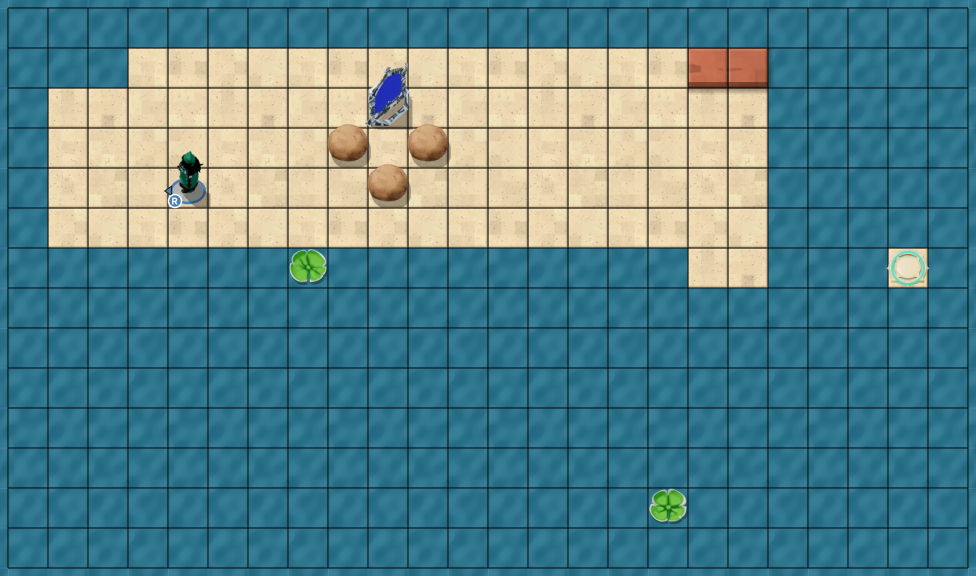
Hero · Mirror ×2 · Skipping stone
Hint 1
Pieces that end up somewhere new: the crystal. 2 other pieces stay where they start.
Hint 2
Start: push the bottom crystal down 3 tiles.
Hint 3
Timing matters here: follow the wait times shown beside each step.
Full solution · 40 steps
Follow the wait times beside each step.
Hero ↓, wait 1 s · →, wait 1 s · activate, wait 1 s · ↑, wait 1 s · ←, wait 1 s · ↑, wait 1 s×3 · →, wait 1 s · ↓, wait 1 s×3 · →, wait 1 s · ↓, wait 1 s · ←, wait 1 s · ↑, wait 1 s · activate, wait 1 s · ←, wait 1 s · ↑, wait 1 s · activate, wait 1 s×2 · ↑, wait 1 s · ←, wait 1 s · wait 0.05 s×2 · wait 0.18 s×2 · activate, wait 1 s×2 · ↑, wait 1 s×2 · wait 0.18 s×2 · activate, wait 1 s×2 · ↑, wait 1 s×2 · wait 0.8 s · ←, wait 1 s · ↑, wait 0.16 s
31 Mirrors and Stones 31
Hero ×2 · Mirror ×2 · Skipping stone ×2
Hint 1
Heroes in order of first use: Hero 1 → Hero 2. Pieces that end up somewhere new: one of the 2 mirrors and both crystals. 1 other piece stays where it starts.
Hint 2
Start: push the left crystal down 5 tiles, push the bottom right mirror left and push the bottom right crystal up 6 tiles.
Hint 3
Timing matters here: follow the wait times shown beside each step.
Full solution · 190 steps
Hold slow time. Follow the wait times beside each step.
Hero 1 wait 0.8 s, →, wait 1 s · ↑, wait 1 s×7 · →, wait 1 s · →, wait 1.4 s · activate, wait 1 s · wait 0.8 s×14
Hero 2 activate, wait 1 s · ↑, wait 1 s×3 · ←, wait 1 s×2 · ↓, wait 1.4 s×2 · →, wait 1 s · ↓, wait 1 s · ←, wait 1.4 s · activate, wait 1 s
Heroes in order of first use: Hero 2 → Hero 1. Pieces that end up somewhere new: both mirrors and the crystal.
Hint 2
Start: push the top right crystal right 4 tiles, push the top right crystal down 3 tiles and push the left top-right mirror down 2 tiles.
Hint 3
Finish: push the right top-right mirror right, push the top right crystal left and push the right top-right mirror down 7 tiles, then head for the exit.
Hint 4
Timing matters here: follow the wait times shown beside each step.
Full solution · 330 steps
Hold slow time. Follow the wait times beside each step.
Hero 2 wait 0.8 s, →, wait 1 s · ↑, wait 1 s×3 · ←, wait 1 s · ↑, wait 1 s · ←, wait 1 s×5 · ↓, wait 1 s×2 · →, wait 1.4 s×3 · activate, wait 1 s · →, wait 1 s · ↓, wait 1 s · →, wait 1.4 s · ←, wait 1 s · ↑, wait 1 s · ←, wait 1 s×2 · ↑, wait 1 s×2 · →, wait 1 s×4 · ↓, wait 1 s×2 · ↓, wait 1.4 s×3 · ←, wait 1 s×2 · ↑, wait 1 s×2 · activate, wait 1 s×2 · →, wait 1.4 s · ←, wait 1 s · ↑, wait 1 s · ←, wait 1 s×2 · ↑, wait 1 s×2 · →, wait 1 s×4 · ↓, wait 1 s×2 · ↓, wait 1.4 s×2 · ←, wait 1 s×2 · ↑, wait 1 s · activate, wait 1 s×2 · →, wait 1.4 s · ←, wait 1 s · ↑, wait 1 s · ←, wait 1 s×2 · ↑, wait 1 s×2 · →, wait 1 s×4 · ↓, wait 1 s×2 · ↓, wait 1.4 s · ←, wait 1 s×2 · activate, wait 1 s×2 · →, wait 1.4 s · ←, wait 1 s · activate, wait 1 s×2 · ↑, wait 1 s · ←, wait 1 s×2 · ↑, wait 1 s×2 · →, wait 1 s×2 · ↓, wait 1.4 s×2 · ↑, wait 1 s · ←, wait 1.4 s · activate, wait 1 s · →, wait 1 s×2 · ↓, wait 1.4 s×3 · ↑, wait 1 s×2 · ←, wait 1.4 s×4 · ↑, wait 1 s×2 · →, wait 1 s · ↓, wait 1.4 s · →, wait 1 s×3 · ↓, wait 1 s×3 · ←, wait 1 s · ↑, wait 1.4 s×2 · →, wait 1 s · ↑, wait 1 s · ←, wait 1.4 s×4 · activate, wait 1.6 s · ↓, wait 1 s · ←, wait 1 s · ↑, wait 1.4 s · ↓, wait 1 s · →, wait 1 s · →, wait 1.4 s×2 · ←, wait 1 s · ↑, wait 1 s · →, wait 1 s×3 · ↓, wait 1 s×2 · ←, wait 1 s · ↑, wait 1.4 s · →, wait 1 s · ↑, wait 1 s · ←, wait 1.4 s×4 · activate, wait 1.6 s · →, wait 1 s×3 · ↓, wait 1 s×5 · →, wait 1 s · ↑, wait 1.4 s×4 · ←, wait 1 s · ↑, wait 1 s · →, wait 1.4 s · ↓, wait 1 s · ←, wait 1 s×4 · activate, wait 1 s · ↑, wait 1 s×2 · →, wait 1 s×3 · ↓, wait 1.4 s×5 · →, wait 1 s · ↑, wait 1 s×3 · ←, wait 1 s×4 · activate, wait 1 s · ↑, wait 1 s · →, wait 1 s · →, wait 1.4 s · ↑, wait 1 s · →, wait 1 s · ↓, wait 1.4 s×3 · ↑, wait 1 s · ←, wait 1 s×3 · activate, wait 1 s · ↑, wait 1 s · →, wait 1.4 s×2 · ↑, wait 1 s · →, wait 1 s · ↓, wait 1.4 s · ←, wait 1 s×3 · ↓, wait 1 s · activate, wait 1 s · →, wait 1 s · ↑, wait 1 s · ←, wait 1.4 s · ↓, wait 1 s · activate, wait 1.6 s · activate, wait 1 s · ↑, wait 1 s · ←, wait 1.4 s · ↓, wait 1 s · →, wait 1 s · activate, wait 1.6 s · ↑, wait 1 s×2 · →, wait 1 s×5 · ↓, wait 1.4 s×7 · ↑, wait 1 s×4 · ←, wait 1 s×2 · ↑, wait 1.4 s · →, wait 1 s · ↑, wait 1 s · ←, wait 1.4 s×5 · activate, wait 1 s · ↓, wait 1.4 s · wait 1.44 s×5 · activate, wait 1 s · wait 3.2 s · wait 1.44 s×19 · →, wait 1 s×6 · ↓, wait 1 s×4 · ←, wait 1 s · ↑, wait 1.4 s×3 · →, wait 1 s · ↑, wait 1 s · ←, wait 1.4 s×5 · activate, wait 1 s · ↓, wait 1.4 s · wait 1.44 s×5 · activate, wait 1 s · wait 3.2 s×10 · →, wait 1 s×6 · ↑, wait 1 s · →, wait 1 s
Hero 1 ↑, wait 1 s · ←, wait 0.278 s
34 Mirrors and Stones 34
Hero · Lily pad ×2 · Mirror ×2 · Crystal ×2
Hint 1
Pieces that end up somewhere new: both mirrors and both crystals.
Hint 2
Start: push the bottom right crystal up, push the bottom mirror down and push the bottom mirror right 4 tiles.
Hint 3
Finish: push the top crystal down, push the top crystal right 2 tiles and push the top left mirror right 2 tiles, then head for the exit.
Hint 4
Timing matters here: follow the wait times shown beside each step.
Full solution · 92 steps
Hold slow time. Follow the wait times beside each step.
Hero wait 0.8 s, ←, wait 1 s · ←, wait 1 s · ↑, wait 1.4 s · ←, wait 1 s×2 · ↑, wait 1 s×2 · →, wait 1 s · ↓, wait 1.4 s · ←, wait 1 s · ↓, wait 1 s · →, wait 1.4 s×4 · ←, wait 1 s×3 · ↑, wait 1 s×2 · →, wait 1 s · ↓, wait 1.4 s · →, wait 1 s · ↓, wait 1 s · ←, wait 1.4 s · ↓, wait 1 s · →, wait 1 s×4 · ↑, wait 1 s · activate, wait 1.6 s · ←, wait 1.4 s · ↓, wait 1 s · ←, wait 1 s×4 · ↑, wait 1 s · activate, wait 1 s · wait 3.2 s×14 · activate, wait 1 s · ←, wait 1 s · ↑, wait 1 s×2 · →, wait 1 s · ↓, wait 1.4 s · ←, wait 1 s · ↓, wait 1 s · →, wait 1.4 s×2 · ↑, wait 1 s · ←, wait 1 s×6 · ↓, wait 1 s · →, wait 1.4 s×2 · ↑, wait 1 s · activate, wait 1.6 s · →, wait 1 s×4 · ↓, wait 1 s · activate, wait 1 s · wait 3.2 s×8 · ↓, wait 4 s · ↓, wait 0.278 s
Pieces that end up somewhere new: all 4 mirrors, all 5 crystals and 3 of the 5 blocks. 2 other pieces stay where they start.
Hint 2
Start: push the 2nd bottom block from the top up, push the 2nd bottom block from the top right and push the 3rd bottom block from the top up 3 tiles.
Hint 3
Finish: push the 1st top crystal from the left up, push the 1st top crystal from the left right and push the top mirror up, then head for the exit.
Hint 4
Timing matters here: follow the wait times shown beside each step.
Full solution · 230 steps
Hold slow time. Follow the wait times beside each step.
Hero wait 0.8 s, →, wait 1 s · →, wait 1 s · ↑, wait 1 s×5 · →, wait 1.4 s · ←, wait 1 s · ↓, wait 1 s×2 · →, wait 1 s · ↑, wait 1.4 s · ←, wait 1 s · ↑, wait 1 s · →, wait 1.4 s×2 · ←, wait 1 s×2 · ↓, wait 1 s×4 · →, wait 1 s · ↑, wait 1.4 s×3 · ←, wait 1 s · ↑, wait 1 s · →, wait 1.4 s×3 · wait 2.4 s×8 · ←, wait 1 s×2 · ↓, wait 1 s · ←, wait 1 s×3 · ↑, wait 1 s×3 · wait 0.2 s×2 · wait 1.078 s, ↑, wait 1 s · ↑, wait 4 s · ↑, wait 1 s×2 · →, wait 1 s×2 · ↓, wait 1 s · →, wait 1 s · ↑, wait 1.4 s · ←, wait 1 s×3 · ↑, wait 1 s×5 · →, wait 1 s · ↓, wait 1 s · →, wait 1.4 s · activate, wait 1.6 s · ↑, wait 1 s · ←, wait 1 s×2 · ↑, wait 1 s · wait 2.4 s×14 · ↑, wait 1 s · ↑, wait 4 s · ↑, wait 1 s · →, wait 1 s×3 · ↑, wait 1.4 s×3 · ←, wait 1 s×3 · ↑, wait 1 s×3 · →, wait 1 s · ↓, wait 1 s · →, wait 1 s · ↑, wait 1.4 s · ←, wait 1 s · ↑, wait 1 s · →, wait 1.4 s · activate, wait 1.6 s · ←, wait 1 s · ↓, wait 1 s · ←, wait 1 s · ↑, wait 1 s · wait 2.4 s×14 · ↑, wait 1 s · ↑, wait 4 s · ↑, wait 1 s · →, wait 1 s×3 · ↑, wait 1.4 s×3 · ←, wait 1 s×3 · ↑, wait 1 s×3 · →, wait 1 s · ↑, wait 1 s · →, wait 1.4 s · activate, wait 1.6 s · ←, wait 1 s · ↓, wait 1 s · ←, wait 1 s · ↑, wait 1 s · wait 2.4 s×14 · ↑, wait 1 s · ↑, wait 4 s · ↑, wait 1 s · →, wait 1 s×3 · ↑, wait 1.4 s×2 · ←, wait 1 s×3 · ↑, wait 1 s×4 · →, wait 1 s · ↓, wait 1 s · →, wait 1 s×2 · ↑, wait 1.4 s · ↓, wait 1 s · ←, wait 1 s · activate, wait 1.6 s · ↑, wait 1.4 s · ←, wait 1 s · ↑, wait 1 s · →, wait 1.4 s · ←, wait 1 s · ↓, wait 1 s · ←, wait 1 s · ↓, wait 1 s×4 · →, wait 1 s×3 · ↑, wait 1.4 s · activate, wait 1.6 s · ←, wait 1 s×3 · ↑, wait 1 s×4 · wait 2.4 s×14 · ↑, wait 1 s · ↑, wait 0.278 s
36 Mirrors and Stones 36
Hero · Mirror · Crystal ×2 · Lily pad ×2 · Skipping stone
Hint 1
Pieces that end up somewhere new: the mirror and both crystals. 1 other piece stays where it starts.
Hint 2
Start: push the bottom left mirror up, push the bottom left block up 2 tiles and push the bottom left mirror right.
Hint 3
Finish: push the right bottom-left crystal left 3 tiles, push the bottom left block right 2 tiles and push the bottom left block up 3 tiles, then head for the exit.
Hint 4
Timing matters here: follow the wait times shown beside each step.
Full solution · 124 steps
Hold slow time. Follow the wait times beside each step.
Hero wait 0.8 s, ←, wait 1 s · ←, wait 1 s · ↓, wait 1 s×3 · ←, wait 1 s · ↓, wait 1 s×2 · ←, wait 1 s · ↓, wait 1 s · ←, wait 1 s · ↓, wait 1 s×2 · ←, wait 1 s×3 · ↓, wait 1 s×2 · ←, wait 1 s · ↑, wait 1.4 s · ↓, wait 1 s · ←, wait 1 s · ↑, wait 1.4 s×2 · →, wait 1.4 s · ↓, wait 1 s×2 · ←, wait 1 s×2 · ↑, wait 1.4 s×2 · ↓, wait 1 s×2 · ←, wait 1 s · ↑, wait 1.4 s · →, wait 1 s · ↑, wait 1 s · ←, wait 1.4 s×2 · ↑, wait 1 s · activate, wait 1.6 s · ↓, wait 1 s×2 · →, wait 1 s×6 · ↑, wait 1 s · ←, wait 1.4 s · ↓, wait 1 s · ←, wait 1 s · ↑, wait 1.4 s · ←, wait 1 s×3 · ↑, wait 1 s×2 · →, wait 1 s×2 · ↓, wait 1.4 s×2 · ↑, wait 1 s · ←, wait 1.4 s×3 · ↑, wait 1 s · activate, wait 1.6 s · ↓, wait 1 s×3 · →, wait 1 s×2 · →, wait 1.4 s×2 · ↓, wait 1 s · →, wait 1 s · ↑, wait 1.4 s×2 · wait 3.2 s · ←, wait 1 s×6 · ↑, wait 1 s · activate, wait 1 s · →, wait 1.4 s · wait 3.2 s · ←, wait 1 s · activate, wait 1 s · ↓, wait 1 s · →, wait 1 s×9 · ↑, wait 1 s×2 · →, wait 1 s · ↑, wait 1 s · →, wait 1 s · ↑, wait 1 s×2 · →, wait 1 s · ↑, wait 1.4 s×3 · →, wait 1 s · ↑, wait 1 s · →, wait 1 s · ↑, wait 1 s×2 · →, wait 1 s · ↑, wait 1 s · wait 3.2 s · ↑, wait 1 s · →, wait 0.278 s
37 Mirrors and Stones 37
Hero · Lily pad ×2 · Skipping stone ×2 · Crystal · Mirror
Pieces that end up somewhere new: 2 of the 3 blocks and the mirror. 1 other piece stays where it starts.
Hint 2
Start: push the top mirror left 2 tiles, push the top mirror down 4 tiles and push the 3rd top block from the left right 7 tiles.
Hint 3
Finish: push the 2nd top block from the left down, push the 2nd top block from the left left 2 tiles and push the 3rd top block from the left down, then head for the exit.
Hint 4
Timing matters here: follow the wait times shown beside each step.
Full solution · 110 steps
Hold slow time. Follow the wait times beside each step.


 12345678910111213141516171819202122232425262728293031323334353637383940414243444546474849